JETMASTER (VIC) PTY LTD
ACN 005 872 159 ABN13 659 821 337
444 Swan St. Richmond VIC 3121 PO Box 5051 Burnley 3121
Phone: (03) 9429 5573 Fax: (03) 9427 0031
Website: www.jetmaster.com.au Email:
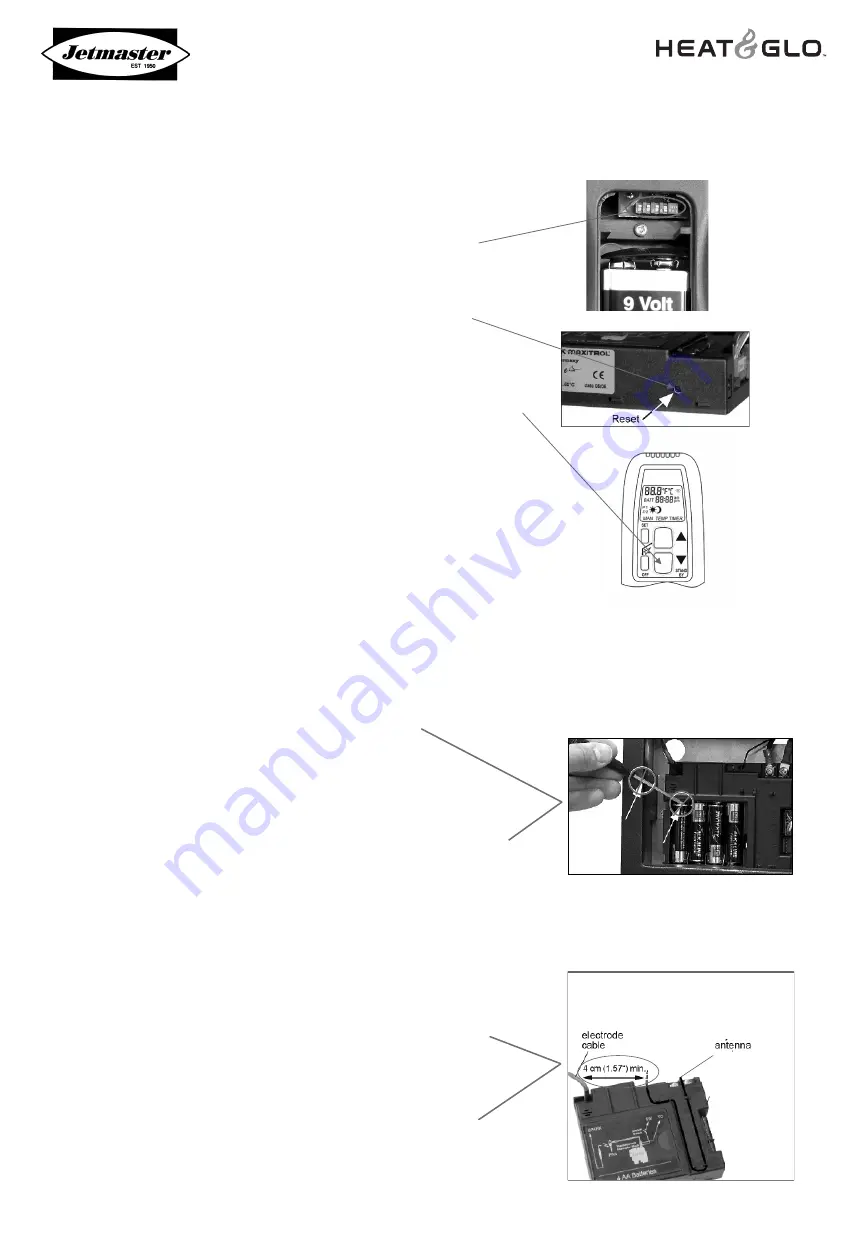
• Each remote transmitter MUST be programmed to
the remote receiver at time of each installation
• To program:
– Flip any combination of the dip switches
(located on the back of the remote transmitter)
– Press and hold the receiver’s reset button until
you hear two (2) acoustic signals
– After the second longer acoustic signal, release
the reset button and within the subsequent 20
seconds, press the DOWN arrow on the remote
transmitter until you hear an additional long
acoustic signal confirming the new code is set
– The remote transmitter is now programmed
• Failure to program the remote can cause the
transmitter to operate more than one fireplace
• Recommend replacing the deluxe control batteries
each year prior to the heating season.
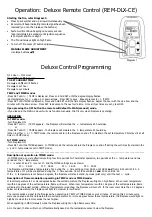
Deluxe Control - Programming
• Do not use metal tools to remove batteries.
Doing so will render the receiver inoperable.
• In the event of a power failure of if for some other
reason mains power is not available, the AC Mains
Adapter must be unplugged from the receiver module
and 4 AA batteries
fi
tted to the receiver module. The
fi
re can now be operated normally. (Note that the 240
volt fan will not operate during a power failure) When
power is restored the batteries should be removed, and
the AC Mains Adapter plugged back into the receiver
module again. Should the
fi
re be operated solely on
battery power, it is recommended that the batteries
should be changed at the beginning of each heating
season.
• Make sure the adjustable antenna is not too close
to the electrode cable and ignition coil (beneath the
cover). It will damage the receiver. Minimum 4cm
clearance required.
• No adjustment to the antenna wire is required.
Antenna wire should remain
fl
at against receiver.
• The module/receiver is to remain on the velcro
attachment located below the
fi
replace.
Module/Receiver Special Requirements
Diagram 2
Diagram 3


