128-7061B
1 of 14
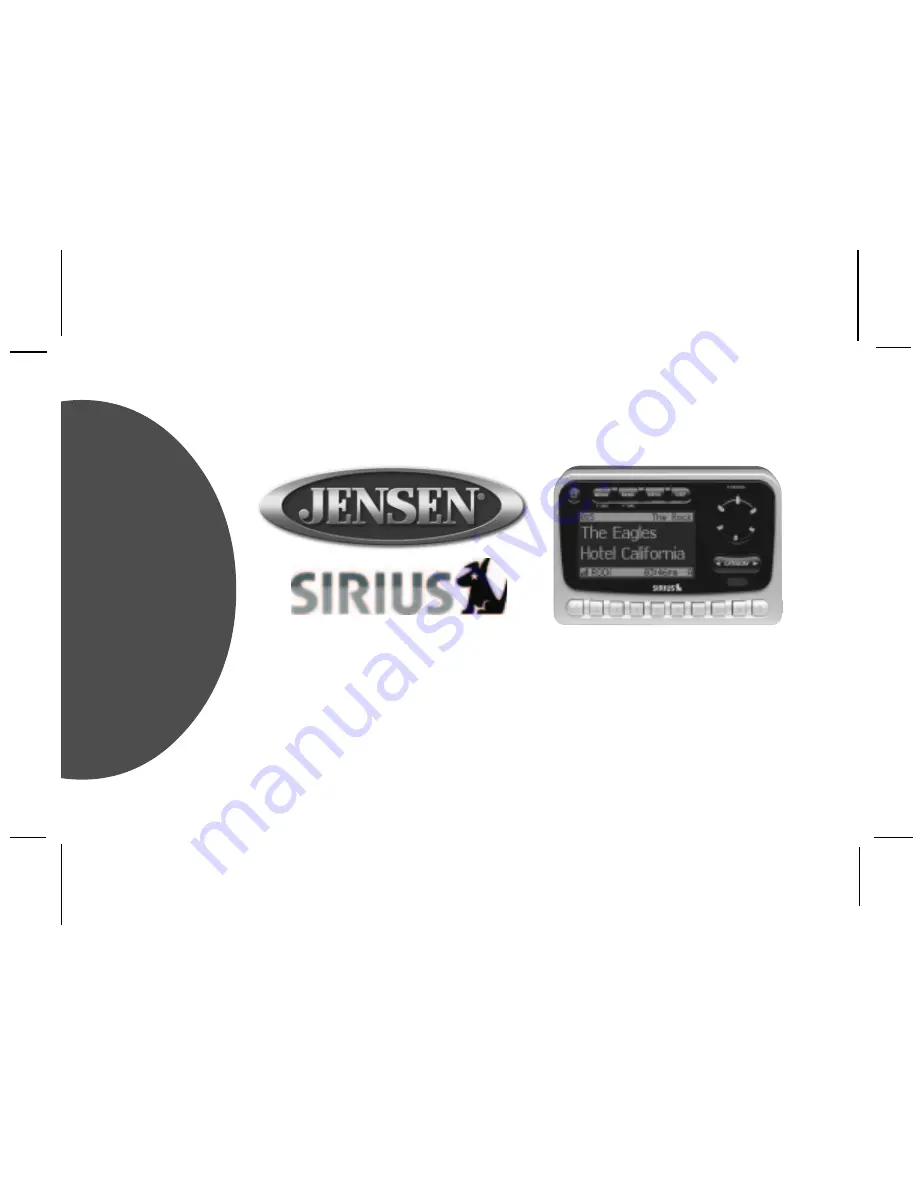
Vehicle Installation Guide JCKFM1
SHUTTLE
Revision A: Inserted PNP2 3/24/04.
Revision B: Changed cradle and shuttle connector and image 4-27-04.
Страница 1: ...128 7061B 1 of 14 Vehicle Installation Guide JCKFM1 SHUTTLE Revision A Inserted PNP2 3 24 04 Revision B Changed cradle and shuttle connector and image 4 27 04 ...
Страница 2: ...veloped in house by Sirius team of Master Music Programmers talented and seasoned professionals who love the music as much as the listeners World class partners such as ESPN ABC CNBC Bloomberg Discovery and Radio Disney are developing news sports and entertainment programming Your Jensen Shuttle receiver must be used with an adapter kit such as the Jensen Boom Box or Jensen Vehicle Kit as required...
Страница 3: ...s the vehicle operator to adhere to all safe driving and traffic regulations 4 This unit complies with the interference limits relative to a Class B digital device applicable under Part 15 of the FCC Rules regarding installation in a residential environment If the unit is not installed in accordance with these instruc tions it could cause harmful interference to radio or television reception If th...
Страница 4: ...hing Box Assy P N SIR SWB 6 Meter AudioCable 1 pc DC Power Adapter 1 pc Flat Washer M4 4 pcs PhillipsMachine Screw M4 x 8mm 4 pcs Split Lock Washer M4 4 pcs HARDWARE KIT P N 150 1519 3 4 W X 3 Long Double Sided Tape 1 pc Antenna 1 pc Cradle P N 136D3471 1 pc 1 pc P N 136C3484 P N 112B3293 P N 112B3294 P N 118C1130 ...
Страница 5: ...t mounting surfaces a Interconnect all of the components as shown on the adjacent page to verify that the system operates normally b Locate a firm reasonably flat surface within your car to permit optimum viewing and line of sight access by the supplied remote control unit 5 Installation Wiring Precautions 1 To prevent a short circuit be sure to turn off the ignition and remove the negative batter...
Страница 6: ...SWITCH SELECT 1 OF 4 AVAILABLE FREQUENCIES AND SET YOUR EXISTING CAR RADIO TO THE SAME FREQUENCY TO VEHICLE 12 VDC POWER RECEPTACLE VEHICLE RADIO ANTENNA DC POWER ADAPTER VEHICLE FM RADIO NOTE 1 THE FM TRANSMITTER OPTION MUST BE SET TO FM ON IN THE SHUTTLE USER MENU REFER TO THE OWNER S MANUAL 2 WHEN THE FM TRANSMITTER IS TO BE USED DO NOT CONNECT THE AUDIO CABLE TO THE AUDIO OUT CONNECTOR OF THE ...
Страница 7: ...wires or other items to prevent unintentional damage c Using the alcohol swab supplied with your kit clean the mounting surface and thoroughly wipe the area dry with a clean lint free cloth d The cradle contains two mounting plates one on the rear and one on the bottom After deciding which configuration to use loosen and remove two flat head screws securing the plate to the cradle and remove the p...
Страница 8: ...o the mounting surface If the mount is to be screwed in place do not remove the plastic liner from the adhesive backing Use appropriate sheet metal or machine screws for this purpose f Insert the end of the ball strut into the keyed opening on the cradle mounting plate and secure the plate to the ball strut using the flatwasher lockwasher and flat head screw through the back of the plate g Reattac...
Страница 9: ...osition the cradle on the mounting surface gently pressing the cradle into place 9 4 Using Other Manufacturer s Mounts The Shuttle Cradle can also be installed using other manufacturer s mounts the mounting plate provisions on the rear and bottom of the cradle provide you with multiple mounting options within the vehicle using various vehicle specific aftermarket brackets such as those purchased s...
Страница 10: ...smitter In this instance when using the CK1 cradle an optional FM Switching Box assembly Part No SIR SWB is available and provides a hard wired FM output when connected to the FM OUT connector on the left side of the cradle the other end of the switching box plugs into the antenna jack of your radio By using this assembly and selecting the appropriate FM output frequency 88 1MHz 88 3MHz 88 5MHz or...
Страница 11: ...ving an optimum signal If necessary move the antenna to different positions on the surface until an audio output is heard This is the desired antenna position and should be marked with masking tape or by another non scratch method 7 Mounting the Vehicle Antenna The antenna should be placed on a relatively flat surface on the vehicle exterior preferably on the roof high point or on the trunk conver...
Страница 12: ...ng make adjustments and take up slack whenever necessary g At the lowest point of the rear window route the cable into the trunk taking advantage of existing cable conduits Then snake the cable around the passenger compartment to the back of the Sirius cradle h In SUV s minivans etc route the cable into the vehicle under the rubber molding of the hatch door or tailgate and then under the interior ...
Страница 13: ...ter into the lighter receptacle The integral power LED of the power button will light red j You are now ready to enjoy Sirius programming within your vehicle CAUTION You could drain the vehicle battery if the cigarette lighter adapter remains plugged in after the ignition is turned off Unplug the adapter to prevent this possibility ...
Страница 14: ...ng misuse neglect accident or by removal or defacement of the factory serial number bar code label s THE EXTENT OF THE COMPANY S LIABILITY UNDER THIS WARRANTY IS LIMITED TO THE REPAIR OR REPLACEMENT PROVIDED ABOVE AND IN NO EVENT SHALL THE COMPANY S LIABILITY EXCEED THE PURCHASE PRICE PAID BY PURCHASER FOR THE PRODUCT This Warranty is in lieu of all other express warranties or liabilities ANY IMPL...