SO53 3LE
Customer Helpline
0845 600 5526
SAFETY AND OPERATING MANUAL
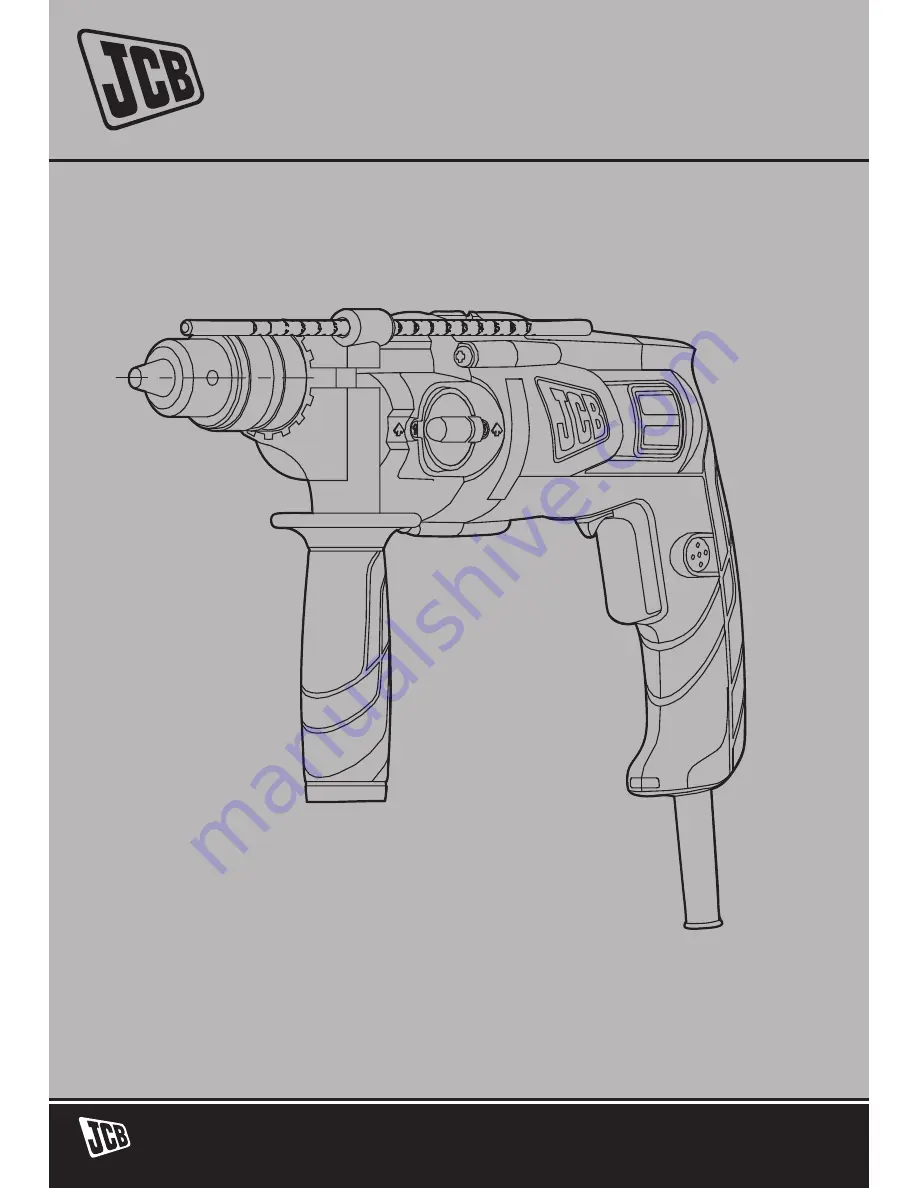
Hammer Drill
JCB-D800-2
Original instruCtiOns
Страница 1: ...SO53 3LE Customer Helpline 0845 600 5526 SAFETY AND OPERATING MANUAL Hammer Drill JCB D800 2 Original Instructions...
Страница 2: ......
Страница 3: ...body contact with grounded surfaces such as pipes radiators ranges and refrigerators There is an increased risk of electric shock if your body is grounded c Do not expose power tools to rain or wet co...
Страница 4: ...ction can reduce dust related hazards 4 Power tool use and care a Do not force the power tool Use the correct power tool for your application The correct power tool will do the job better and safer at...
Страница 5: ...of the power tool for operations different from those intended could result in a hazardous situation 5 Service a Have your power tool serviced by a qualified repair person using only identical replac...
Страница 6: ...ssible electrical insulation failure within the tool 6 Always check walls and ceilings to avoid hidden power cables and pipes 7 After long working periods external metal parts and accessories could be...
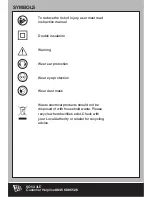
Страница 7: ...ust read instruction manual Double insulation Warning Wear ear protection Wear eye protection Wear dust mask Waste electrical products should not be disposed of with household waste Please recycle whe...
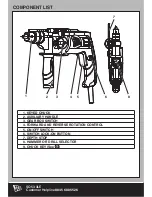
Страница 8: ...5 600 5526 1 KEYED CHUCK 2 AUXILIARY HANDLE 3 GEAR BOX SWITCH 4 FORWARD AND REVERSE ROTATION CONTROL 5 ON OFF SWITCH 6 SWITCH LOCK ON BUTTON 7 DEPTH STOP 8 HAMMER OR DRILL SELECTOR 9 CHUCK KEY See 6 C...
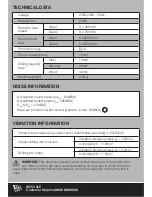
Страница 9: ...triax vector sum determined according to EN 60745 Impact drilling into concrete Vibration emission value ah 14 8m s Uncertainty K 1 5m s Drilling into metal Vibration emission value ah 3 2m s Uncertai...
Страница 10: ...off and when it is running idle but not actually doing the job This may significantly reduce the exposure level over the total working period Helping to minimize your vibration exposure risk ALWAYS us...
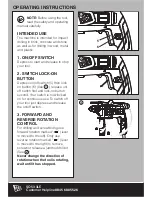
Страница 11: ...Depress on off switch 5 then lock on button 6 See 1 release on off switch first and lock on button second Your switch is now locked on for continuous use To switch off your tool just depress and relea...
Страница 12: ...ating the handle grip anti clockwise Slide the depth stop until the distance between the depth stop end and the drill driver bit end is equal to the depth of hole screw you wish to make Then clamp the...
Страница 13: ...torque low speed range for large diameter drill bits and screw driving Choose position 2 for low torque High speed range for small diameter drill bits If the gears do not engage easily then rotate th...
Страница 14: ...ool requires no additional lubrication or maintenance There are no user serviceable parts in your power tool Never use water or chemical cleaners to clean your power tool Wipe clean with a dry cloth A...
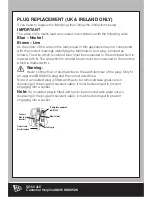
Страница 15: ...ch is marked with N The wire which is colored brown must be connected to the terminal which is marked with L Warning Never connect live or neutral wires to the earth terminal of the plug Only fit an a...
Страница 16: ...in this warranty period we guarantee to Replace or repair all defective parts free of charge or Repair products free of charge or Replace the unit with a new or re conditioned unit free of charge Cond...
Страница 17: ...EC Machinery Directive 2006 42 EC EC Low Voltage Directive 2006 95 EC EC Electromagnetic Compatibility Directive 2004 108 EC Standards conform to EN 55014 1 EN 55014 2 EN 61000 3 2 EN 61000 3 3 EN 60...
Страница 18: ......
Страница 19: ......
Страница 20: ......