21
Starting to sew
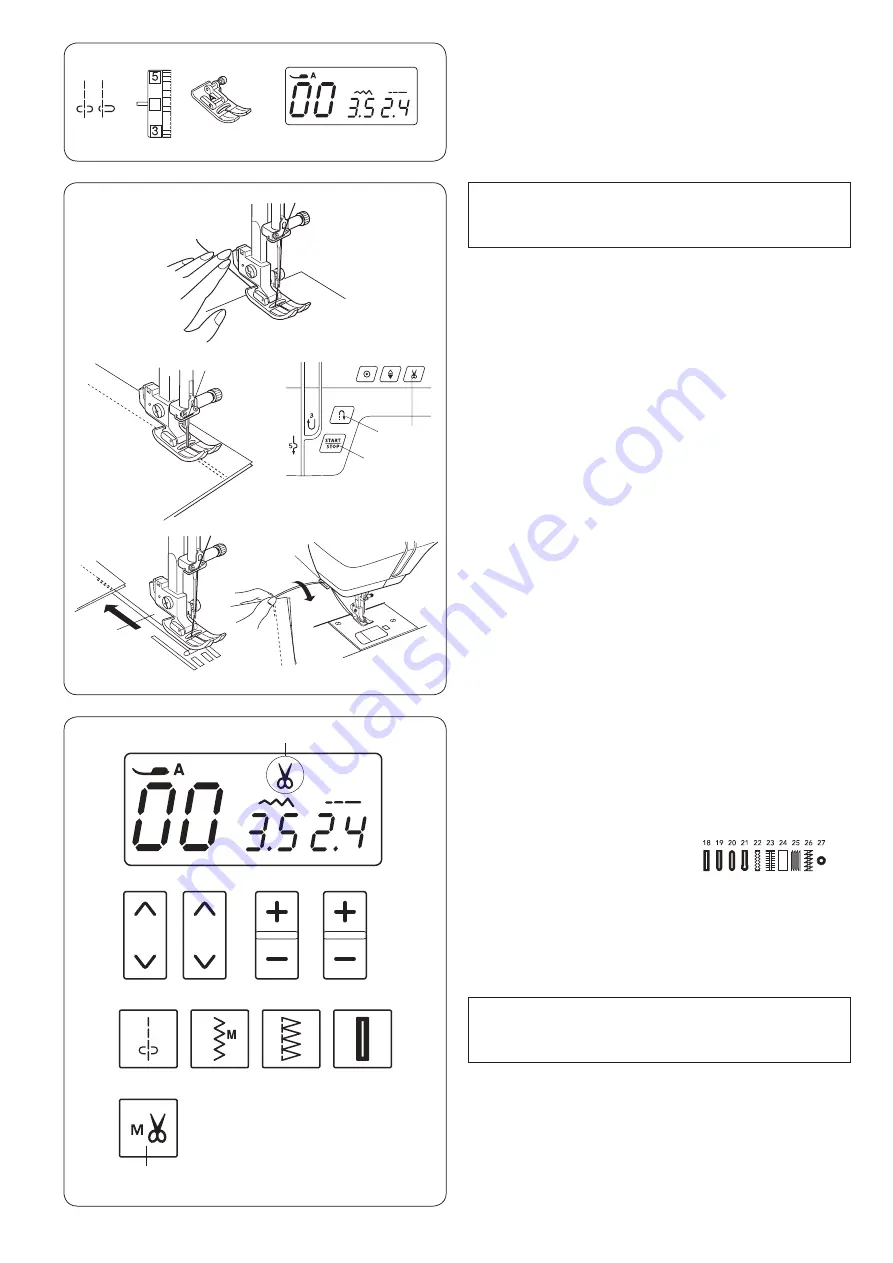
Raise presser foot and position the fabric next to a seam
guide line on the needle plate. Lower the needle to the
point where you want to start.
Pull the thread toward the rear and lower the presser
foot.
Press the start/stop button or depress the foot control to
start sewing.
Gently guide the fabric along a seam guide line letting
the fabric feed naturally.
q
Start/stop button
Securing seam
To secure the end of seam, press the reverse button and
sew several reverse stitches.
Press the thread cutter button to cut the threads.
w
Reverse button
e
Thread cutter button
Use the thread cutter on the face cover to cut thicker
threads.
r
Thread cutter
BASIC SEWING
Straight Stitch Sewing
q
Stitch pattern:
00 or 03
w
Needle thread tension:
2 to 6
e
Presser foot:
Zigzag foot A
r
w
q
e
4
q
w
e
q
w
Auto Thread Cutting
To cut the threads automatically after locking stitches,
press the thread cutter memory key.
The thread cutter icon appears on the LCD display.
q
Thread cutter memory key
w
Thread cutter icon
When buttonhole, tacking, darning
or eyelet is selected, the machine will cut the threads
automatically after sewing is finished.
Press the auto-lock button or reverse button to cut the
threads automatically after locking stitches when other
stitch is selected.
NOTE:
When sewing with the satin stitch foot F or buttonhole
foot R, pull the thread to the left to hold the thread.
NOTE:
Use the thread cutter on the face cover if the thread is
30 or thicker.
Содержание M100QDC
Страница 1: ...Instruction Book...
Страница 2: ......
Страница 57: ...55 Stitch Chart...
Страница 58: ......
Страница 59: ......
Страница 60: ...812 800 157 EN...


