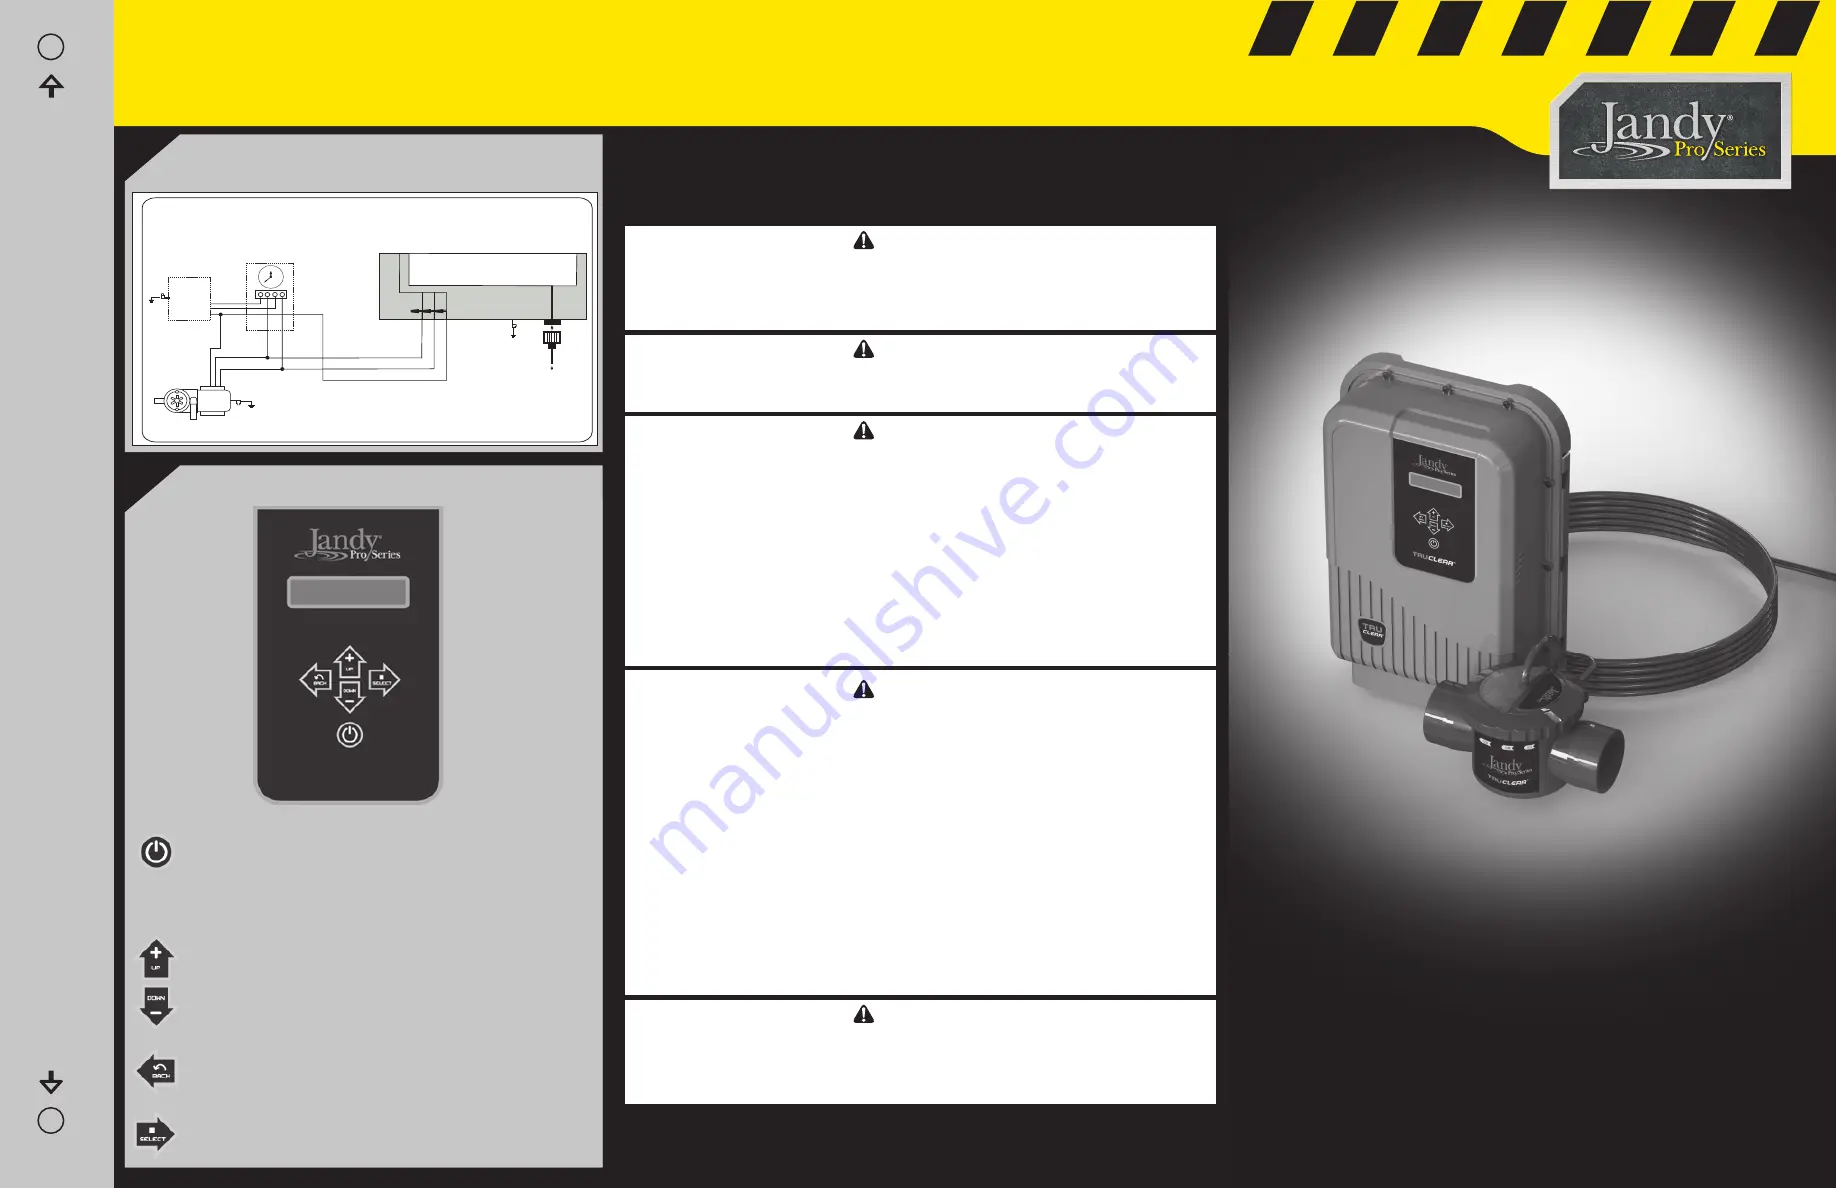
TruClear
™
Chlorine Generating System
Quick Start Guide
←
Top Left Mounting Indicator
Power Pack Mounting Template
Use this template to drill holes for mounting the power pack
Top Right Mounting Indicator
→
Use Copper Conductors Only – Rated for 90°C Minimum
Pool Pump
TO EARTH
BONDING POINT
POOL PUMP TIMER
3
12
6
9
240 VAC
CIRCUIT BREAKER
PANEL
TO CELL
GROUND
LINE 1
LINE 2
BLK
GRN
LINE 2
LINE 1
GROUND (CHASSIS)
RED
TO EARTH
BONDING POINT
Wiring Diagram
Control Panel
Important Safety Instructions
All electrical work must be performed by a licensed electrician and conform to all national,
state, and local codes. When installing and using this electrical equipment, basic safety
precautions should always be followed, including the following:
WARNING
EQUIPMENT UNDER PRESSURE:
Always turn pump off prior to installing or servicing the
power pack or cell. Your pump/filter system is operated under pressure and the pressure must
be released before you begin work. Please see your pump/filter owner’s manual for further
instructions.
WARNING
To reduce the risk of electric shock, fire or injury, service should only be attempted by a qualified pool
service professional.
WARNING
Jandy
®
Pro Series chlorine generating devices are designed for domestic (residential) swimming
pool use only. Contrary use could affect performance, void warranty, and may result in property
damage, serious injury, or death.
•
Operating a chlorine generator without water fl owing through the cell may cause a build up
of fl ammable gases, resulting in fi re or explosion.
• Keep equipment out of reach of children.
• A damaged supply cord should only be replaced by the manufacturer, service agent or
electrician.
• When installing and using this electrical equipment, always follow basic safety precautions.
• Before performing installation, disconnect all power.
• Connect to a circuit that is protected by a ground-fault circuit interrupter (GFCI).
• Do not install within an outer enclosure or beneath the skirt of a hot tub or spa.
WARNING
Installation must be done in accordance with the National Electrical Code
®
(“NEC
®
” or NFPA-70
®
)
in the US, the Canadian Electrical Code (“CEC” or C22.1) in Canada, and/or any other local and
national installation codes.
RISK OF ELECTRIC SHOCK, FIRE, PERSONAL INJURY, OR DEATH
. Connect only to a branch
circuit that is protected by a ground-fault circuit interrupter (GFCI). Contact a qualified electrician
if you cannot verify that the circuit is protected by a GFCI. Make sure such a GFCI is provided by
the installer and should be tested on a routine basis. To test the GFCI, push the test button. The
GFCI should interrupt power. Push the reset button. Power should be restored. If the GFCI fails to
operate in this manner, the GFCI is defective. If the GFCI interrupts power to the pump without the
test button being pushed, a ground current is flowing, indicating the possibility of electrical shock.
Do not use the device. Disconnect the device and have the problem corrected by a qualified
service representative before using.
A green/yellow grounding wire is provided inside the power pack. To reduce risk of electric shock,
connect the ground wire to the grounding wire that is supplying power to the unit.
WARNING
The power pack must be interlocked/interconnected with the pool pump motor power source to
ensure that the chlorinator only operates when the pool pump is operating.
H0471000_REVB
This controls the operational mode of the chlorinator between
auto and standby.
• In Auto mode, the system will produce chlorine when the
system is powered and when it detects fl ow through the cell.
• In Standby mode, the system will NOT produce chlorine,
even when the pump is running and the system detects fl ow
through the cell.
In normal operation, the up and down arrows are used to
set the output level of the chlorinator. The output should
be adjusted in order to achieve the desired Free Available
Chlorine level of 2-4 ppm.
The back/save button will save any changes you have made
in the menu and send you back to the previous menu screen.
The select button will scroll through and open any available
parameters for editing.


