Version: 3.1.0
51
3.1.1.2 System Construction of Type II and Type V Sensors
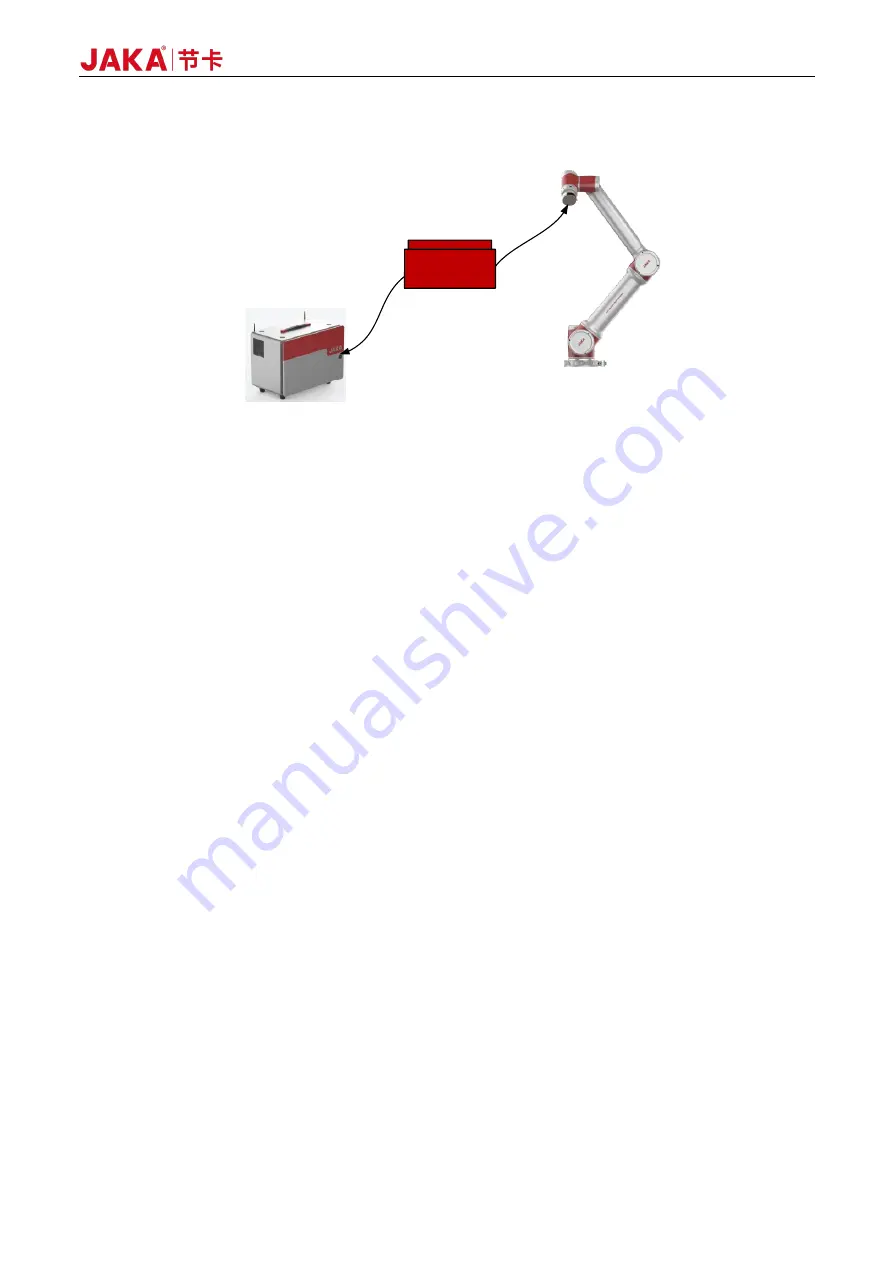
Figure 3-3 Se System (USB Type)
To use a type II or type V torque sensor, configure it as follows:
a.
Correctly install the hardware to ensure that the X-axis positive direction of the type II sensor is
consistent with that of the robot end flange;
b.
Plug the sensor cable to the USB port on the front panel of the control cabinet;
c.
Connect the sensor power supply, which can be powered by the internal power supply of the robot CAB
or an additional 24V DC power supply;
d.
Turn on the robot CAB, open the JAKA Zu app, connect the robot to the app, and power on the robot;
e.
As shown in Figure 3-4, tap [Settings] at the upper right of the Home page, and then tap [Hardware and
communication] → [End sensor] to enter the sensor configuration interface;
f.
In the sensor configuration interface, select the appropriate sensor type, tap [Confirm], and tap the
toggle switch on the right to change its status from [Edit] to [Run].
g.
Open the "Manual operation" page, tap [Configure], check [Do not initialize], tap [confirm], and close
the page. Then tap the [View] button on the right, and turn on all the toggle switches (Fx, Fy, Fz, Mx,
My, Mz, and real-time. If it is a type V sensor, turn on the toggle switch of Fz). Slightly push or pull the
sensor. If the graph fluctuates, the sensor communication is normal (See the usage of the real-time
display of external force function for details);
Note: If the communication fails, please check whether the sensor hardware is in good condition and whether
the wiring and configurations are correct. Then restart the sensor and the robot as follows: Power off the
sensor → unplug the network cable → power off the robot and the CAB → plug the network cable into the
corresponding interface on the CAB → power on the sensor → turn on the CAB → redo the configurations. If
the problem persists after restarting, please contact us. Any unauthorized attempt to disassemble and repair
the sensor, robot, CAB or cable is NOT allowed.
Sensor
网线
USB
、电源
USB and power supply
Содержание Zu Series
Страница 1: ...JAKA ROBOTICS Force Control Products JAKA Se and JAKA Sp...
Страница 3: ......
Страница 4: ......
Страница 17: ...Version 3 1 0 13 M3 2 0 M4 4 0 M5 8 0 M6 13 0 M8 35 0...
Страница 41: ...Version 3 1 0 37 Figure 2 36 Installation and Dimensions of the Force Sensor Indicator light...
Страница 61: ...Version 3 1 0 57 Figure 3 8 Force Display Interface of the App...
Страница 75: ...Version 3 1 0 71 Figure 3 19 Force Display Interface of the App...
Страница 79: ...Version 3 1 0 75 Figure 3 21 Collision Detection Function Settings of JAKA Zu Sp...


