1
IMPORTANT INFORMATION
This Jagg oil cooler must be installed following these instructions. Read the easy-to-follow instructions fully prior to starting
the installation of the oil cooler kit. Correct installation is the only way to ensure proper operation of the oil cooler kit.
BASIC SYSTEM INSTALLATION GUIDELINES
INSTALLATION INSTRUCTIONS
•
Route oil hose to avoid any hot surfaces or moving
parts. Ensure all bends are smooth, with no sharp turns
that may restrict oil supply to the engine.
•
Oil cooler is designed to mount as detailed in these
instructions. Any modifications may lead to decreased
performance or item failure.
•
When cutting oil hoses, always use a sharp knife, sin-
gle-edge razor blade, or hose cutter. Make a straight,
clean cut at 90º to the oil hose. This will ensure a prop-
er fit where the oil hose attaches to its connection.
•
Over tightening hose clamps may cause oil leaks.
QTY.
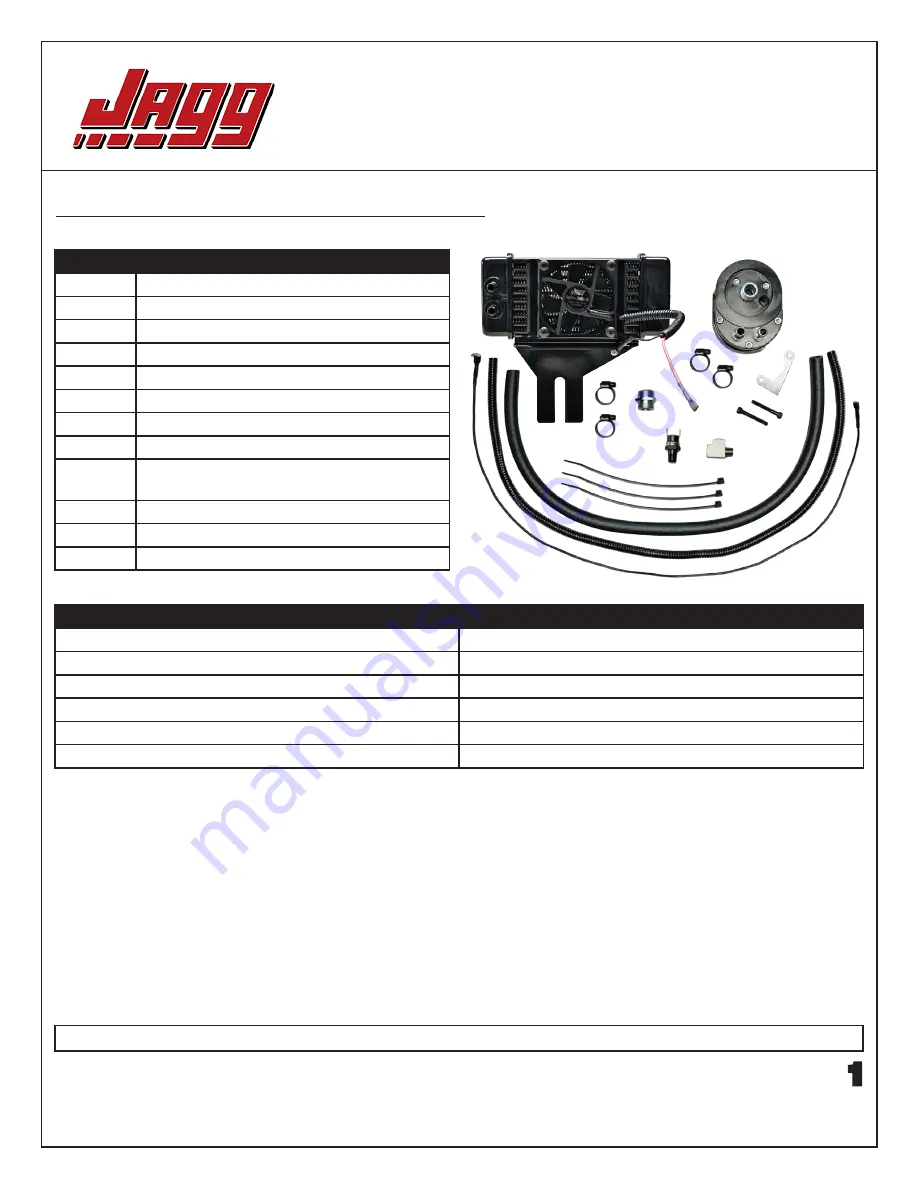
KIT CONTENTS
1
Jagg FP2500 Fan-assisted oil cooler assy.
1
Jagg 4700 offset oil filter adapter assembly
2 ft
Jagg 30R7spec black oil hose
4
7/8” black worm-drive hose clamps
1
Jagg anti-rotation device
2
Bolts: 10-24 x 1-3/8” cap head, black
1
Stock-to-Jagg oil filter nipple
1
Jagg automatic fan switch, 190ºF
1
Street-tee pipe fitting, NPT1/8 male to
2xNPT1/8 female
45”
Wiring harness for WeatherTek fan
45”
Convoluted wire cover
3
Plastic zip-ties
CAUTION: ALLOW MOTORCYCLE TO COOL BEFORE ATTEMPTING INSTALLATION OR RISK SERIOUS INJURY.
TOOLS NEEDED
Strap wrench or oil filter removal tool
5/32” Allen wrench
Phillips head screwdriver
7/16” Allen wrench (if removing a stock H-D oil cooler)
7/8” socket
Hose cutter or sharp knife
1” deep-well socket
Teflon pipe sealant (e.g., Loctite 592)
7/16” deep-well socket
Dielectric grease
Needle-nose pliers
Part # 751-FP2500


