Jaco Ultralite Power Blade Hot-Swap 300 Series Скачать руководство пользователя страница 10


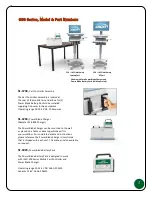
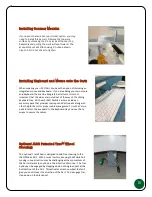
Installing Stand and LCD Monitor: 


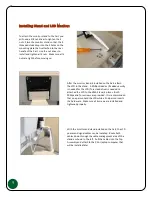
To attach the monitor stand to the Cart you 

will need a 3/8 nut driver to tighten the 4 

nuts.  Place the monitor stand so that the 4 

threaded studs drop into the 4 holes on the 

mounting plate that is attached to the rear 

handle of the Cart.  Use the nut driver to 

install and tighten all 4 nuts.  Make sure all 4 

nuts are tight before moving on. 


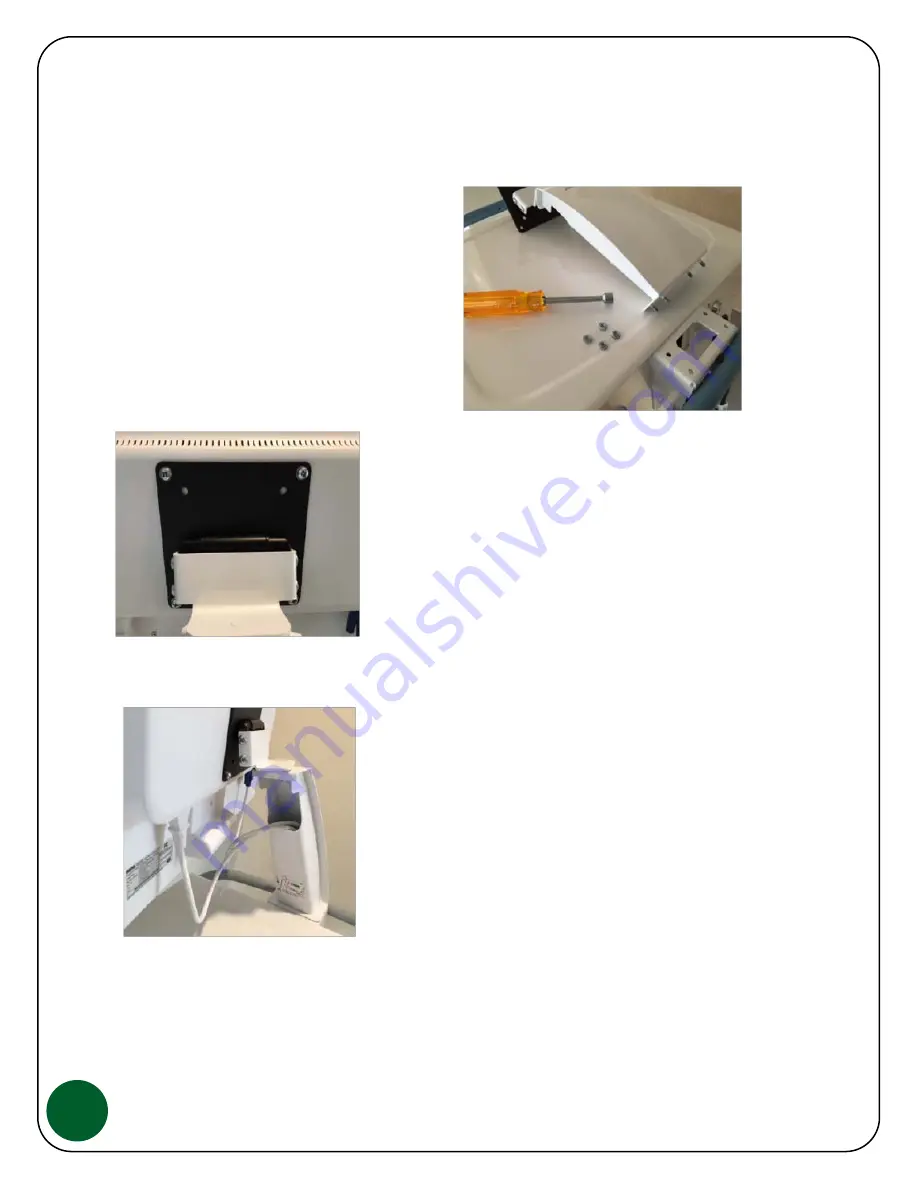
After the monitor stand is installed on the Cart, attach 

the LCD to the stand.  A Phillips Head or (if added security 

is needed for the LCD) Torx Head driver is needed to 

attached the LCD to the VESA Stand, 4 places.  Both 

Phillips and Torx screws are provided.  It is recommended 

that one person hold the LCD while a 2nd person inserts 

the hardware.  Make sure all 4 screws are installed and 

tightened properly. 


With the monitor and stand installed on the Cart, the LCD 

power and signal cables can be installed.  Route both 

cables down through the cable management area of the 

stand as shown to the left.  Pull the cables into the Top 

Assembly and attach to the PC or laptop computer that 

will be installed later. 


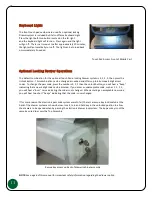
Содержание Ultralite Power Blade Hot-Swap 300 Series

Страница 1: ...25 0163 Rev 02...

Страница 2: ...IGHT POSITION 8 INSTALLING YOUR COMPUTER OR LAPTOP 8 INSTALLING STAND AND LCD MONITOR 9 INSTALLING SCANNER MOUNTS 10 INSTALLING KEYBOARD AND MOUSE ONTO THE CART 10 OPTIONAL JACO PATENTED TRAC WHEEL ST...

Страница 3: ...r placed on a Table or desk top whichever fits your workflow For complete details and instructions please reference the Power Blade Charger Users Guide that is shipped with each unit This manual is al...

Страница 4: ...a P N Serial Number label for tracking and service assistance This label is located on the outside surface on the white raised area of the battery The information on this label is needed when contact...

Страница 5: ...heel Base 16 x 13 x16 Cart Weight without options 310 Laptop Cart 75 lbs includes 2 Power Blade Battery Packs base counterweight 320 PC Cart 85 lbs including 2 Power Blade Battery Packs base counter w...

Страница 6: ...ntrol which is available through your JACO contact The JACO 300 Series Power Blade status parameters and configuration files are fully accessible via the Cart s built in HTML web server Web pages are...

Страница 7: ...the Shippers responsibility to follow all Federal State regulations when shipping lithium batteries WARNING Do not open or dismantle the JACO Power Blade Battery Pack or Power Blade Charger note that...

Страница 8: ...t free of liquids dirt and dust and a max room temperature of 77 deg 25 C The Power Blade Charger should be reviewed weekly for proper care and cleaning The bays should be used only for the charging o...

Страница 9: ...o change the height simply squeeze the handle located at the right side of the cart as shown below While holding the handle tight the cart height can be changed by pushing downward or pulling upward w...

Страница 10: ...CD to the stand A Phillips Head or if added security is needed for the LCD Torx Head driver is needed to attached the LCD to the VESA Stand 4 places Both Phillips and Torx screws are provided It is re...

Страница 11: ...liding keyboard tray With each JACO Mobile Cart we include an accessory pack that provides ty wraps and Velcro pads along with other helpful items for proper cable management Use the Velcro pads to fa...

Страница 12: ...digit access codes To change the pass code press the numbers 3 1 2 then the unlock button you will hear a beep indicating that a new 4 digit code can be entered If you enter an unacceptable code such...

Страница 13: ...r will switch instantly from one to the other when one Power Blade Battery Pack is removed LED Charge Capacity Status The Power Blade Battery Pack ports on the Mobile Cart are labeled as Battery 1 and...

Страница 14: ...Battery Packs are designed to be a safe and reliable solution for health care applications As with any battery system the amount of time that the battery will power the equipment is dependent on the d...

Страница 15: ...h each unit This manual is also available on request Agency Certification 51 4218 Power Blade Charger Safety IEC 60601 3rd Edition 60601 1 2005 A1 2012 IEC 60601 1 EN ISO 14971 EMI EMC 60601 1 2005 A1...

Страница 16: ...fully charged batteries If the status LED s are still not showing you will need to reset the controller unit To reset insert a paper clip into the reset port at the back of the Cart as shown Once pape...

Отзывы: