Assembly Instructions
IWS Dripper System
IWS are proud to announce the launch of their professional
dripper system which comes complete in kit form. The IWS
Dripper System utilises the already successful technology of
the IWS Flood & Drain System but uses drippers as its main
delivery of nutrients to the plant. The minute timer supplied
with this system has been specially designed to run the large
pumps used in dripper technology and special stands are also supplied for the dripper assemblies.
All the pots can be connected to the main controller which will pump away all the waste nutrients to a
desired location out of the growing area. The dripper system uses the leading dripper technology from D.I.G
drippers allow 12 flood drippers to run from one location instead of drippers running all over the grow area.
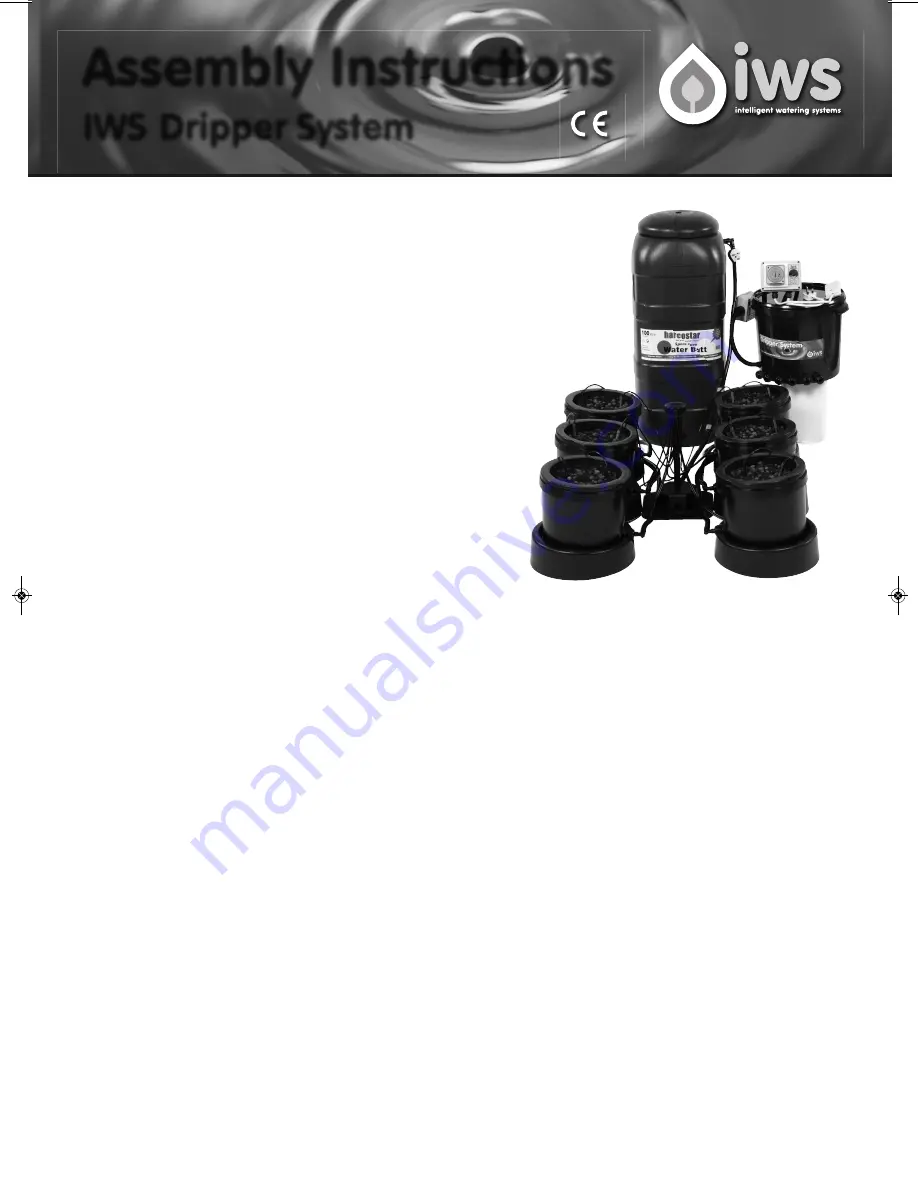
The pots are made up of three parts:
1. A stand with a preset height and a 15 degree slope which allows all the water to drain back to the
main control tank which will then pump it to either to waste or back to the reservoir to be recalculated.
2. A base pot which incorporates a patented water tight sealing gland through which the nutrient is
delivered to the plant.
3. A separate drain mesh pot that allows even and controlled saturation of the growing medium, this
enables the pots to be removed with the plant intact without damaging the roots. Do not forget to fit
the sleeve inside the pot to stop any medium from washing out of the pot.
The IWS dripper timer works by reducing the sectional timers fifteen minutes segments down into minutes,
the pump in the reservoir tank is then plugged into the timer which turns the unit on/off as required. The
high pressure pump sends nutrient down the feed lines and up into the D.I.G dripper head which when
pressure is reached allows an even feed to the drippers, the nutrients then flow down through the medium
and into the run to waste brain which in turn will pump the waste to any desired location.
Firstly how
does it all
work?
Flood, Drain & Dripper Instructions May 11:Layout 2 02/04/2012 12:56 Page 6


