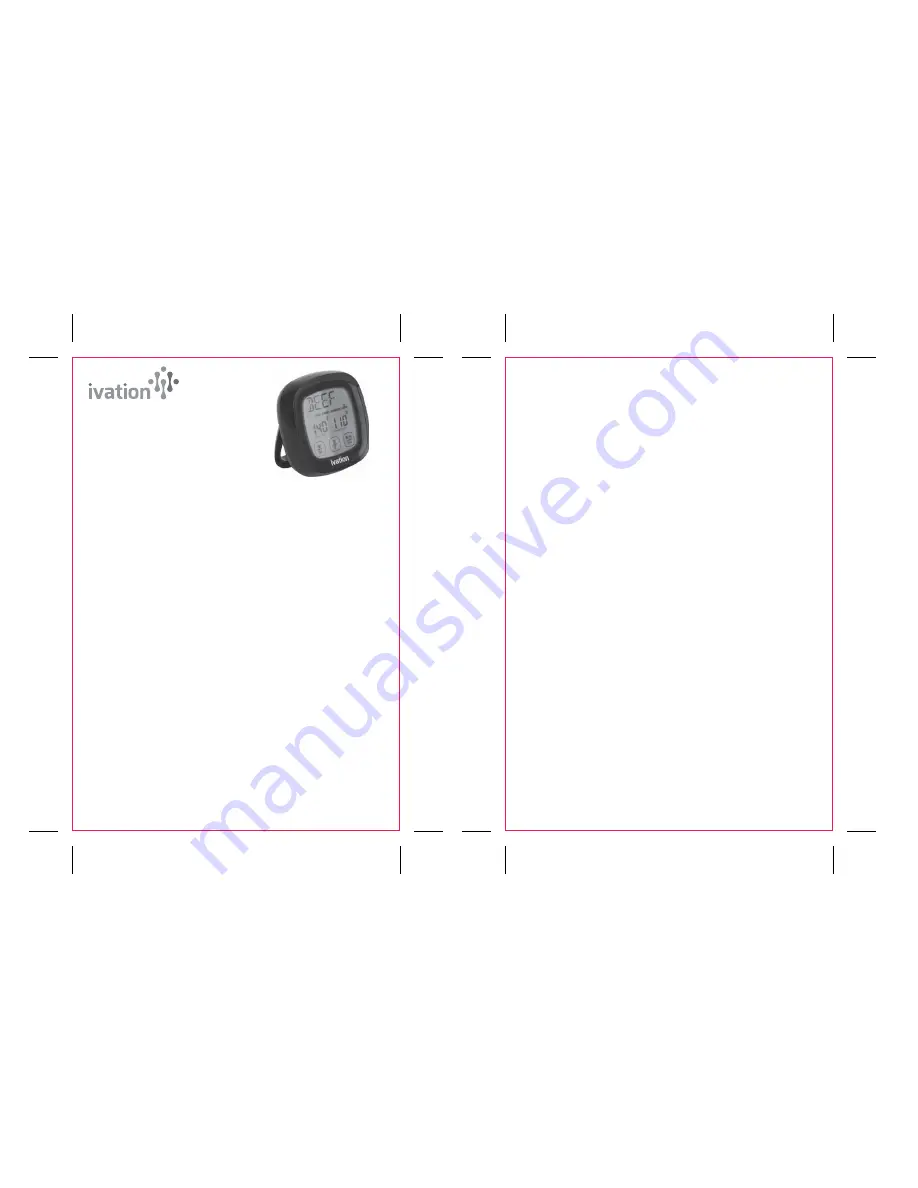
Touchscreen Digital
Cooking Thermometer
User Guide
Thank you for purchasing the Ivation Touchscreen Digital Cooking Thermometer. This user guide is intended to
provide you with guidelines to ensure that operation of this product is safe and does not pose risk to the user. Any
use that does not conform to the guidelines described in this manual may void the limited warranty.
Please read all directions before using the product and retain this manual for reference. This product is intended
for household use only.
This product is covered by a limited one-year warranty. Coverage is subject to limits and exclusions. See warranty
for details.
Safety Precautions
• Always wear proper protection when touching the metal probe or wire during or just after cooking. Never touch
them with bare hands.
• Keep this product away from children.
• Sterilize the metal probe before each use.
• NEVER PLACE THE PROBE OR WIRE DIRECTLY ONTO OR INTO FIRE. DAMAGE WILL OCCUR.
• Do not expose the probe to open flames or direct sunlight.
• Do not expose the wire to water, open flames, or direct sunlight.
• Do not expose the monitor to water, direct heat, open flames, or direct sunlight.
• Do not use this thermometer in a microwave oven.
• Make sure the plug on the end of the wire is clean and dry before plugging it into the thermometer. Debris or
moisture inside the opening will result in an incorrect temperature reading.
• Do not use for oven temperatures higher than 572° F/300° C.
• Do not bend or crimp the wire.
• Do not use the wire to lift or move the probe or monitor.
Cleaning and Maintenance
• Clean thermometer with a soft, damp cloth. Wipe the probe clean with a soft cloth and warm water immediately
after direct contact with foods.
• Sterilize the probe before each use.
• Do not wash any components in dishwasher.
• Do not immerse the wire, plug, or monitor in water.
• Do not use caustic cleaners or abrasives.
• Store the unit in a cool, dry location.
Operation
• For best results please follow the instructions below. Always make sure that you insert the probe at least 2
inches into the middle of the thickest part of the food being cooked. It should not touch any fat or bone or the pan.
• Do not reposition the probe while cooking. Once the doneness alarm has sounded, you may reinsert the probe
into other areas to double-check that the entire item has reached the desired temperature.
• Once the probe is inserted into your food, run the wire out of the oven or away from the grill. Close the oven door
or cover the grill. The monitor has 2 strong magnets on the back. You can affix the monitor to the outside of the
oven or grill (not on direct heat.)
• Plug the wire into the monitor. Keep the monitor away from heat and moisture.
• The temperature range for the probe is -4° to 572° F (-20° to 300° C). The rated maximum temperature for the
wire is 662° F (350° C.)
Functions and Keys:
• There are two switches on the back of the monitor. The switch on the right turns the unit ON and OFF. The one on
the left lets you choose between the thermometer (COOK) or the timer (TIMER.)
• When the unit is powered on, you will see 3 touchscreen keys on the LCD: M|M, S|T and S|S. These keys allow you
to select the type of meat, temperature settings, and doneness alert.
• The default temperature measurement is Fahrenheit (F.) To change to Celsius (C), press and hold the S|T key
for 2 seconds.
Temperature Setting (COOK Mode):
1. Switch the power ON. Switch to the COOK mode. Plug in the probe.
2. Press M|M to cycle through food selections: beef, pork, chicken, turkey, veal, lamb, ham, and fish. The last
selection is PROGM. This selection allows you to program custom temperature settings. (See Programming
Mode section, below.)
3. NOTE: For pork, chicken, turkey, ham, and fish, the setting will default to the recommended safe cooking
temperature. (To override, see below.)
4. For beef, veal, and lamb, you have the option of choosing 4 doneness levels. To select a doneness preference after
choosing beef, veal, or lamb, press the S|T key. An arrow will appear above each doneness option (Well, Medium,
Med Rare, and Rare) and the target temperature for each will be displayed.
5. Press S|S to turn on the alert. The monitor will beep when the target temperature has been reached.
Programing (PROGM) Mode:
1. Press the M|M key until the display reads "PROGM." Press and hold the S|S key for 2 seconds. The temperature
will flash. Press M|M successively to raise the target temperature setting by degrees; press S|T to lower the setting.
2. Press S|S to save this new temperature setting.
NOTE: You can also override the preset temperature for any other setting by using the same procedure as above.
The last setting will be recorded once the unit is turned off and back on again.
TIMER Function:
You can affix the magnetic-backed monitor to a metal surface, or flip open its built-in stand.
1. Switch the power to ON. Switch to TIMER mode.
2. Press M|M to adjust minutes; Press M|T to adjust seconds.
3. Press S|S to start or stop the countdown.
4. To reset 0.00, press and hold both M|M and M|T simultaneously.
Specifications:
Probe length:
8.46" (21.5cm)
Probe material:
aluminum/heatproof stainless steel
Probe temp rating:
up to 572° F/300° C
Wire length:
39.3" (100cm)
Wire material:
Teflon
Wire temp rating:
up to 662° F/350° C
Batteries required:
2 AAA (not included)
Customer Service:
866-849-3049
Distributed by
C & A Marketing
2 Bergen Turnpike
Ridgefield Park, NJ 07660
Made in China
Ivation is a trademark of
C&A IP Holdings, LLC
©2015 All rights reserved


