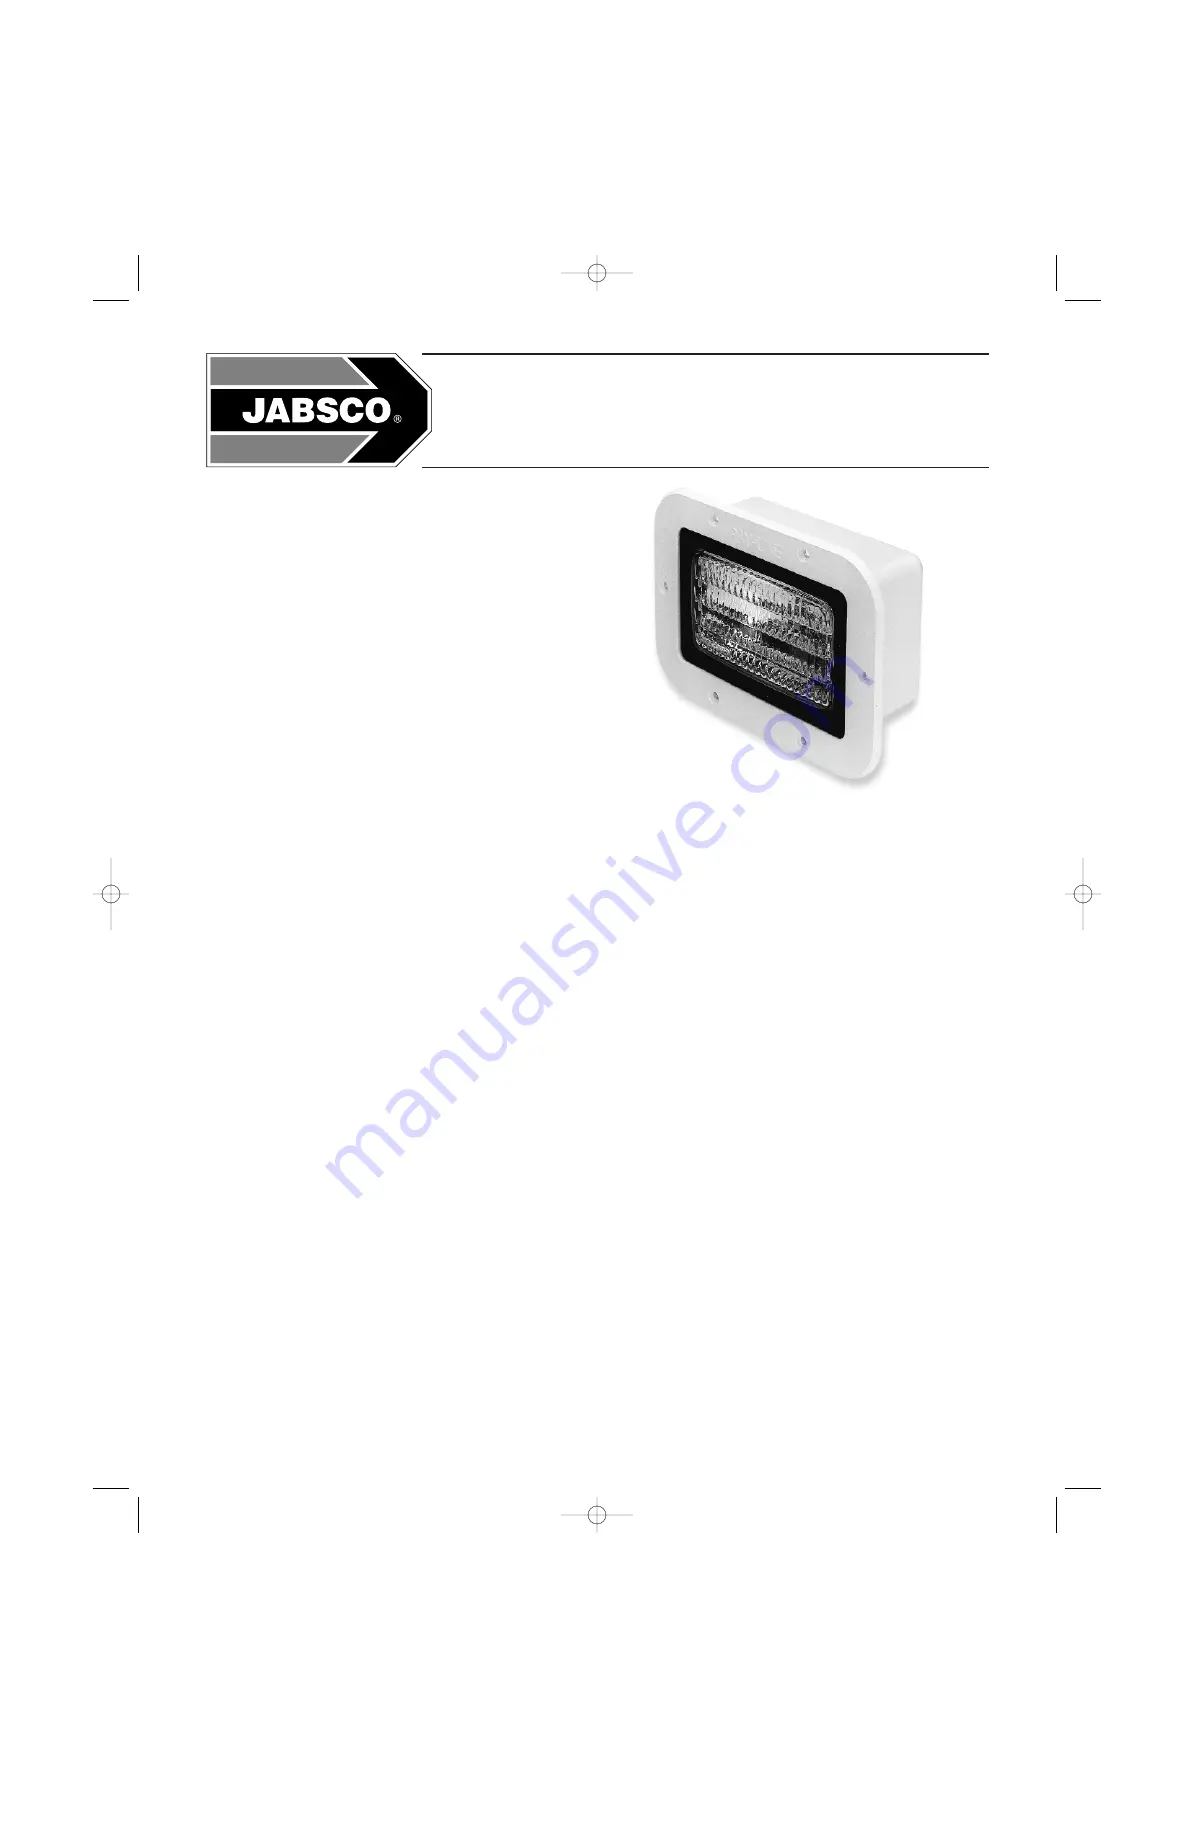
Model 45960-Series
HALOGEN FLOODLIGHT
FEATURES
• Sealed Beam Halogen Bulb
• Heavy Duty Corrosion Resistant Materials
• Smooth Flush Mount Design
• Low Amp Draw
• Easy Aiming Adjustment
• Glare Free Below Deck Mounting
• 2 Unique Beam Patterns
SPECIFICATIONS
Voltage:
12 Vdc
Amperage:
3.8
Watts:
50
Bulb:
18753-0351 Flood Beam
18753-0352 Trapezoidal Beam
Shipping
Weight:
2.5 lb (1.1 kg)
MODELS
• 45960-0000 – Trapezodial Beam Pattern
• 45960-0001 – Flood Beam Pattern
INSTALLATION
Determine the location on the transom/bulkhead where
the light is to be mounted.
1.
Tape the template to the transom/bulkhead at the
desired location.
2.
Check inside the transom/bulkhead for obstruction
or anything that might be damaged by cutting a hole.
NOTE: Minimum cut out depth clearance is 4 inches
to allow for full lamp adjustment.
3.
Cut hole per template.
NOTE: Do not use light as a drill jig, as drill may
damage light.
4.
Apply sealing compound to the light flange and
mount light. Tighten the six (6) mounting bolts in a
random pattern to pull flange evenly to mounting
surface. Compound should squeeze out all around
the flange. Do not over-tighten screws. Wipe off all
excess compound.
5.
Connect wires to 12 Vdc with 16 ga wire for up to
15 foot distance. Larger wire required for longer runs.
NOTE: Do not cut factory supplied wires shorter.
The length is required to facilitate replacing the bulb.
Model 45960-Series
BEAM AIMING ADJUSTMENT
The Jabsco flush mount floodlight lamp is adjustable up
to 7° horizontally and 12° vertically to custom fit to any
transom/bulkhead.
To adjust beam up, turn the two (2) top screws in the rubber
housing clockwise about the same number of turns each
to get the tilt required. Limit adjustment to 25 turns in, on
any one (1) screw. The settings may be changed within
that range at any time. Turn screws counterclockwise to
the original position to re-center the lamp.
To adjust beam down, follow the same procedure using
the two (2) bottom screws.
To adjust beam to the left or right follow the same pro-
cedure using the left or right side screws.
43000-0561 10/11/02 5:25 PM Page 1


