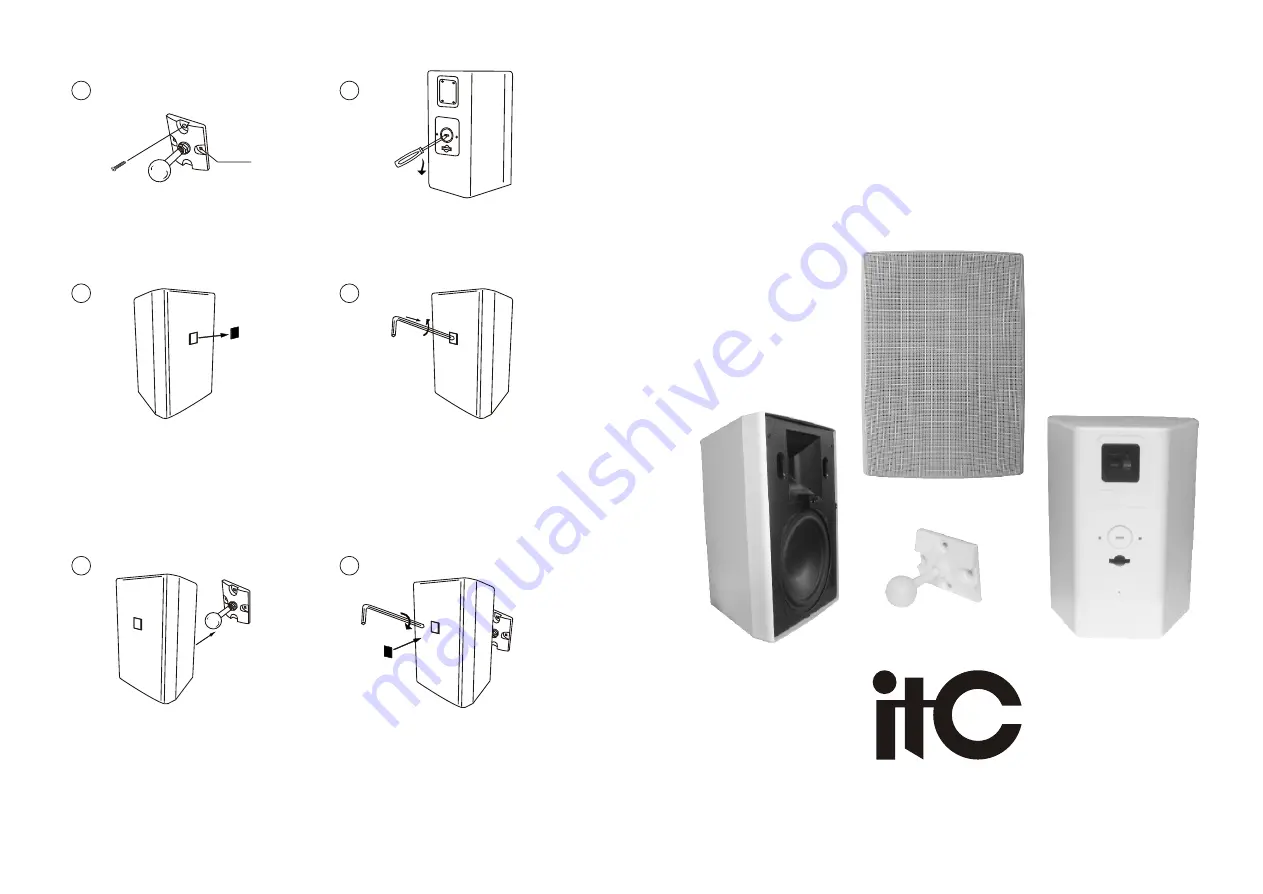
3.The net cast out of the LOGO
signs.
4.Will be provided with the product
Hexagon Wrench insert LOGO just
out of position, The back of the slow
rotation of the mounting hole release
Clamp.
5.The product installed on the
stent.
6. Hexagon Wrench used to clamp a
little tight solid product, and then
to the product required direction,
and then to fully clamp fastening,
LOGO will be back in situ marker.
6
1. The mounting brackets by icons
on the wall with screws.
2.The word screwdriver bolt icon to
insert the location of the bolt down
onto the top.
2
4
1
3
5
Product installation steps:
3
7mm
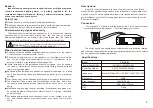
Wall Mount Speaker
Please follow the instructions in this manual to obtain the optimum results from this unit.
We also recommend that you keep this manual handy for future reference.


