5) Establish connection between the computer and scanner B and finish configuration preparations according
to Chapter 3.1.
6) In the main menu Click on [ File ] then select [ Open ] and navigate to the location where the file was
saved. The configuration information of scanner A will be displayed in the following configuration tabs.
[
Response time
]
,
[
Reset/EDM
]
,
[
Field activity
]
and
[
Field sets
]
7) Carry out the following steps as described in Chapter
3.2.4
to transfer the current configuration information
to the scanner B.
3.6 Transfer configuration to scanner
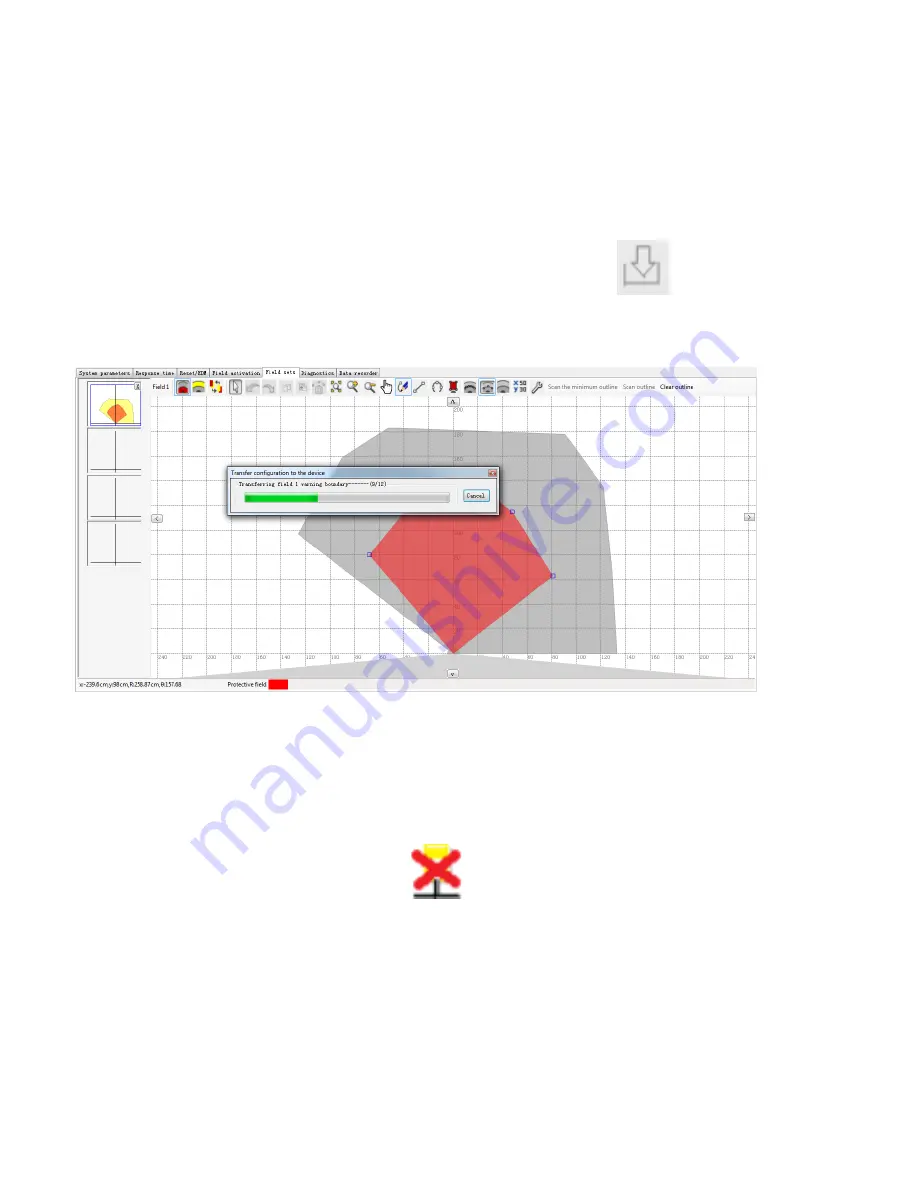
Configuration can be transferred to the LSPD scanner by clicking on the icon in the toolbar. Pop-up
During the transfer a pop-up window will appear showing the progress and the Nixie tube on the scanner will
display
0
during the transmission. As shown in Fig.3.6.1.
Fig.3.6.1 Transfer configuration to scanner
When the transfer is complete the pop-up window will disappear and the Nixie tube on the LSPD scanner will
display
9
.
Reminder:
After the user has completed the configuration, it is recommend that the file be saved as a
.bin.
To save the file click on the
[
File
]
tab
[
Save as
]
then select
project.bin
. The user may change the name
as required.
After successful configuration, click on the icon to disconnect, the pop-up window will prompt that
disconnection is successful. The Nixie tube of the indicator window on the scanner displays
1
at the same
time.
User can close the LSPD software and unplug the configuration cable when configuration has been finished.
8) When the above steps have been finished, the configuration information has been transferred from
scanner A to scanner B successfully. Then disconnect, close the configuration software and unplug the
configuration cable.
56
Содержание LSPD
Страница 6: ...6 ...


