Invacare
®
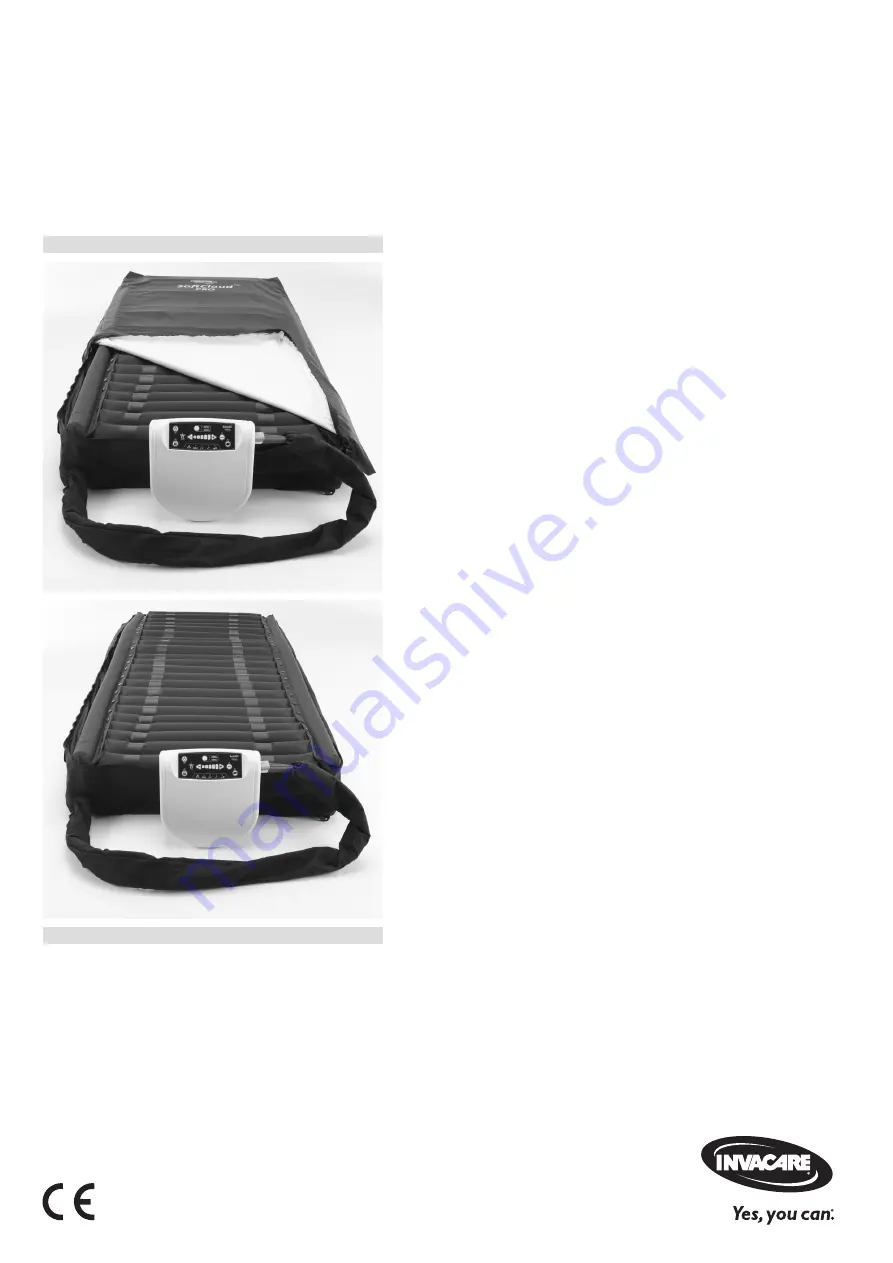
SoftCloud
TM
family
Top, Air, Ace, Pro
Alternating mattress systems
Service Manual
en
PROVIDER: Keep this manual.
The procedures in this manual MUST be performed by a
qualified technician.
Страница 1: ...Invacare SoftCloudTM family Top Air Ace Pro Alternating mattress systems Service Manual en PROVIDER Keep this manual The procedures in this manual MUST be performed by a qualified technician...
Страница 2: ...ation duplication or modification in whole or in part is prohibited without prior written permission from Invacare Trademarks are identified by and All trademarks are owned by or licensed to Invacare...
Страница 3: ...1 4 Replacing the Dual Compressor 10 4 1 5 Replacing the Motor 11 4 1 6 Replacing the Air Tube Connector 12 4 1 7 Replacing the Bottom Housing 13 4 1 8 Replacing the Tube Subassembly 14 4 1 9 Replaci...
Страница 4: ...injury or property damage See the information below for definitions of the signal words WARNING Indicates a hazardous situation that could result in serious injury or death if it is not avoided CAUTIO...
Страница 5: ...Always use the complete new kit when replacing a part Spare parts kits can be ordered from Invacare Refer to your local Invacare website to access the electronic spare parts catalogue ESPC IMPORTANT R...
Страница 6: ...IEC Mains socket fixture 1 International Electrotechnical Commission Standards Fig 3 1 C B A D K J I E F G H 3 2 Circuit Board PCB Overview 3 2 1 Ace Pro PCB L Power switch connector M Pressure sensor...
Страница 7: ...ss system in optimal operating condition Failure to keep the filters clean will result in system downtime and increase repair costs It is recommended that the air filter be replaced annually Replaceme...
Страница 8: ...op side 5 Open the housing Unplug the speaker wire B and FPC s C and D 6 Detach the housing Preparing Housing 7 Open the spare parts kit Use the old housing as a guide and apply the fuse type and insu...
Страница 9: ...maging the PCB by electro static discharge Handle PCB s only in Electrostatic Protected Areas T10 T20 Torx keys Wire clippers 1 Switch off the control unit and disconnect from mains supply 2 Detach th...
Страница 10: ...cing the Dual Compressor Refers to spare parts kit SP1631542 Risk of damaging the PCB by electro static discharge Handle PCB s only in Electrostatic Protected Areas T10 T20 Torx keys Wire clippers 1 S...
Страница 11: ...ly in Electrostatic Protected Areas T10 T20 Torx keys Wire clippers 1 Switch off the control unit and disconnect from mains supply 2 Detach the top housing the speaker cable and both FPC s see 4 1 2 3...
Страница 12: ...connector assembly firmly with one hand Remove all the air tubes A B and C from the connector 4 Loosen and remove the screws D with the appro priate Torx key 5 Discard both the nonfunctioning connect...
Страница 13: ...ee 4 1 3 7 Loosen and remove the four PCB screws with the appropriate Torx key see 4 1 3 8 Cut the cable tie that holds the compressor T valve to the bottom housing 9 Loosen and remove the eight compr...
Страница 14: ...it with the new one 7 Plug the air tube to the motor and the air tubes from the T valve to the dual compressor Secure the connections with cable ties Cut the excess cable tie length 8 Re install the...
Страница 15: ...th its back panel facing upward place a soft cloth under the unit to prevent scratches 4 While keeping the hanger brackets apart care fully remove the air filter cover and its filter A Discard the fil...
Страница 16: ...he digital control panel to the front of the housing Installing Housing 11 Plug both FPC s and the speaker cable 12 Install the new housing Ensure no cable or tube is kinked or clamped 13 Hold the uni...
Страница 17: ...ed 4 2 4 Replacing the Compressor Refers to spare parts kit SP1631541 Risk of damaging the PCB by electro static discharge Handle PCB s only in Electrostatic Protected Areas T20 Torx key Wire clippers...
Страница 18: ...sk of damaging the PCB by electro static discharge Handle PCB s only in Electrostatic Protected Areas T10 T20 Torx keys Wire clippers 1 Switch off the control unit and disconnect from mains supply 2 D...
Страница 19: ...and tighten with the provided screws 7 Re install the air tubes to the connector Ensure to install the tubes in the correct sequence 8 Place the connector assembly in the bottom hous ing Ensure that t...
Страница 20: ...cable tie length 12 Connect all the cables to the PCB 13 Reinstall the top housing Ensure no cable or tube is kinked or clamped 4 2 8 Replacing the Tube Subassembly Refers to spare parts kit SP1633186...
Страница 21: ...H1 Phillips key T20 Torx key Wire clippers 1 Switch off the control unit and disconnect from mains supply 2 Detach the top housing the speaker cable and both FPC s see 4 2 2 3 Unplug the power switch...
Страница 22: ...3194 SP1633195 SP1633196 SP1633197 SP1633203 SP1633204 SP1633205 SP1633206 Wire clippers 1 Switch off the control unit and disconnect from mains supply 2 Open the zipper of the bed cover and take off...
Страница 23: ...nd unplug it 6 Remove the defective air cell by sliding it out of the mattress and discard it Fig 5 4 7 Install the new air cell in place 8 Slightly brush off any existing dust from the side bolster s...
Страница 24: ...ds the mattress on the left hand side two L shaped blue tubes are connecting the heel cell to the side bolster Using the wire clippers cut the two cable ties A securing them 6 Carefully cut the end of...
Страница 25: ...ers cut cable tie A securing the upper L shaped blue tube connecting the head cell to the side bolster and unplug it Repeat this procedure for the remaining two head cells there are three in total 5 U...
Страница 26: ...26 60129675 B Invacare SoftCloudTM family page left intentionally blank...
Страница 27: ...60129675 B 27 Invacare SoftCloudTM family page left intentionally blank...
Страница 28: ...invacare com www invacare no Deutschland Invacare GmbH Alemannenstra e 10 D 88316 Isny Tel 49 0 7562 700 0 Fax 49 0 7562 700 66 kontakt invacare com www invacare de Suomi Camp Mobility Patam enkatu 5...