USER MANUAL
INTEL® FALCON™ 8+ UAS
© 2018 Intel Corporation. All rights reserved
73
Even if the battery is not in use, it is possible to get information on the actual charging
state by the BMS. One short push (< 2 sec) on the button (shown above) and the battery
will show the charging state represented by the respective number of LEDs.
2.6.1. Charging the Intel® Powerpack Batteries
Upon receipt of new Intel® Powerpack Batteries, you should charge them to 60 - 80%
to ensure batteries will not completely drain in storage. To charge the batteries, please
use the provided power supply unit.
During the charging process (defined as when the battery is connected to the power
supply unit and the power supply unit is connected to a wall outlet 100 V - 240 V AC 50
Hz - 60 Hz) the actual battery state and the progress of the charging process is
automatically shown by the LEDs.
As displayed in the table above, the number of permanently lighted LEDs shows the
actual progress of charging. Additionally, the next higher LED is flashing. This means
that this charging step is not yet finished.
When the charging process is finished and the battery is at full capacity, all five LEDs
will continue flashing simultaneously.
When charging is finished, unplug the battery and the AC adapter.
Table 2.9: Charging State
THE LEDS SHOW THE STATE / PHASE OF CHARGE OF THE BATTERY.
STATUS OF LED NO. 1 2 3 4 5
CHARGING STATE
ON
OFF OFF OFF OFF
0% - 20%
ON ON
OFF OFF OFF
20% - 40%
ON ON ON
OFF OFF
40% - 60%
ON ON ON ON
OFF
60% - 80%
ON ON ON ON ON
80% - 100%
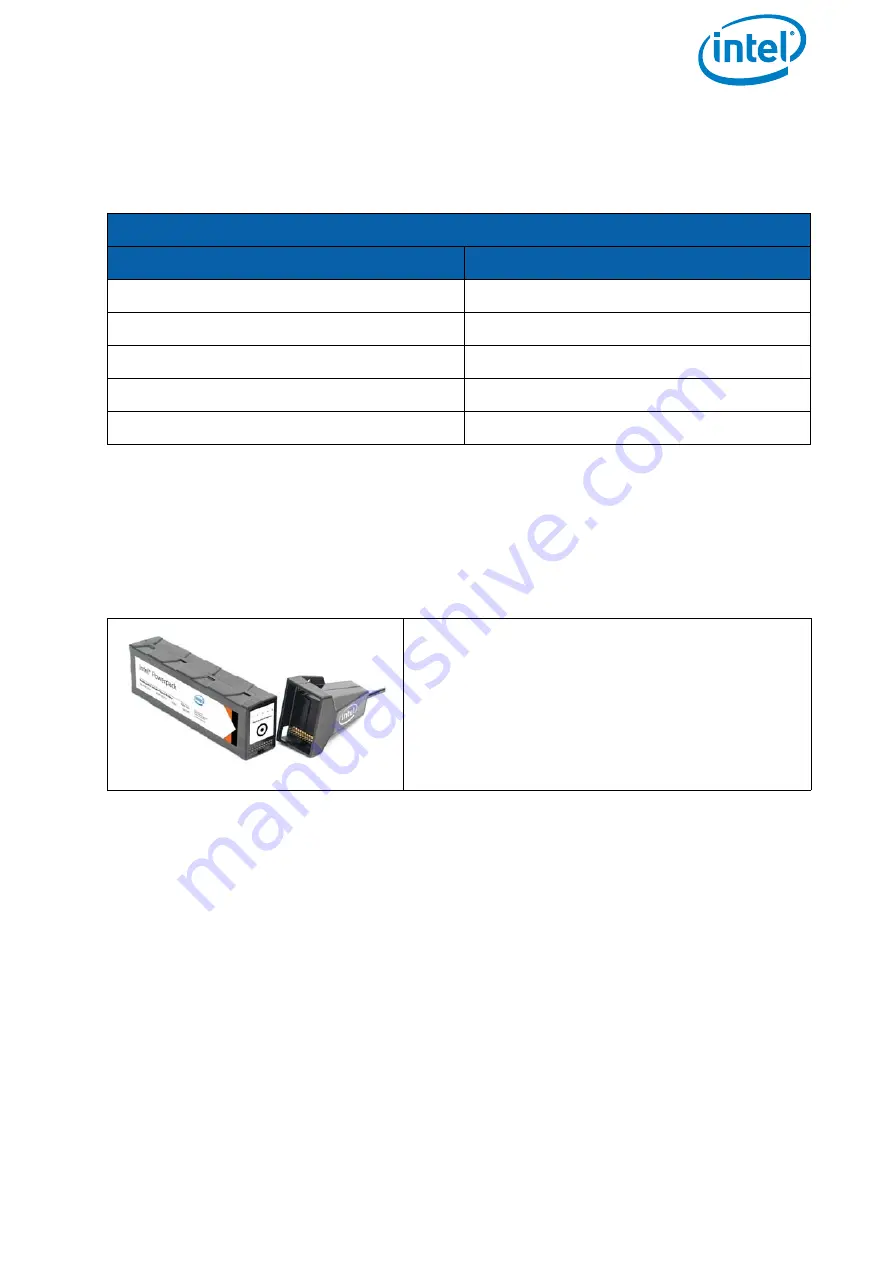
Figure 2.33: Charging
To charge the Intel® Powerpack:
1. Connect the Intel® Powerpack Battery to the
adapter of the power supply unit.
2. Connect the power supply unit to a wall
socket.
Charging will begin immediately indicated by
flashing LEDs.


