manualshive.com logo in svg
background image


USER MANUAL 

– EN 

IN 18714 Air Exercise bike inSPORTline Air Beast 


Содержание 18714

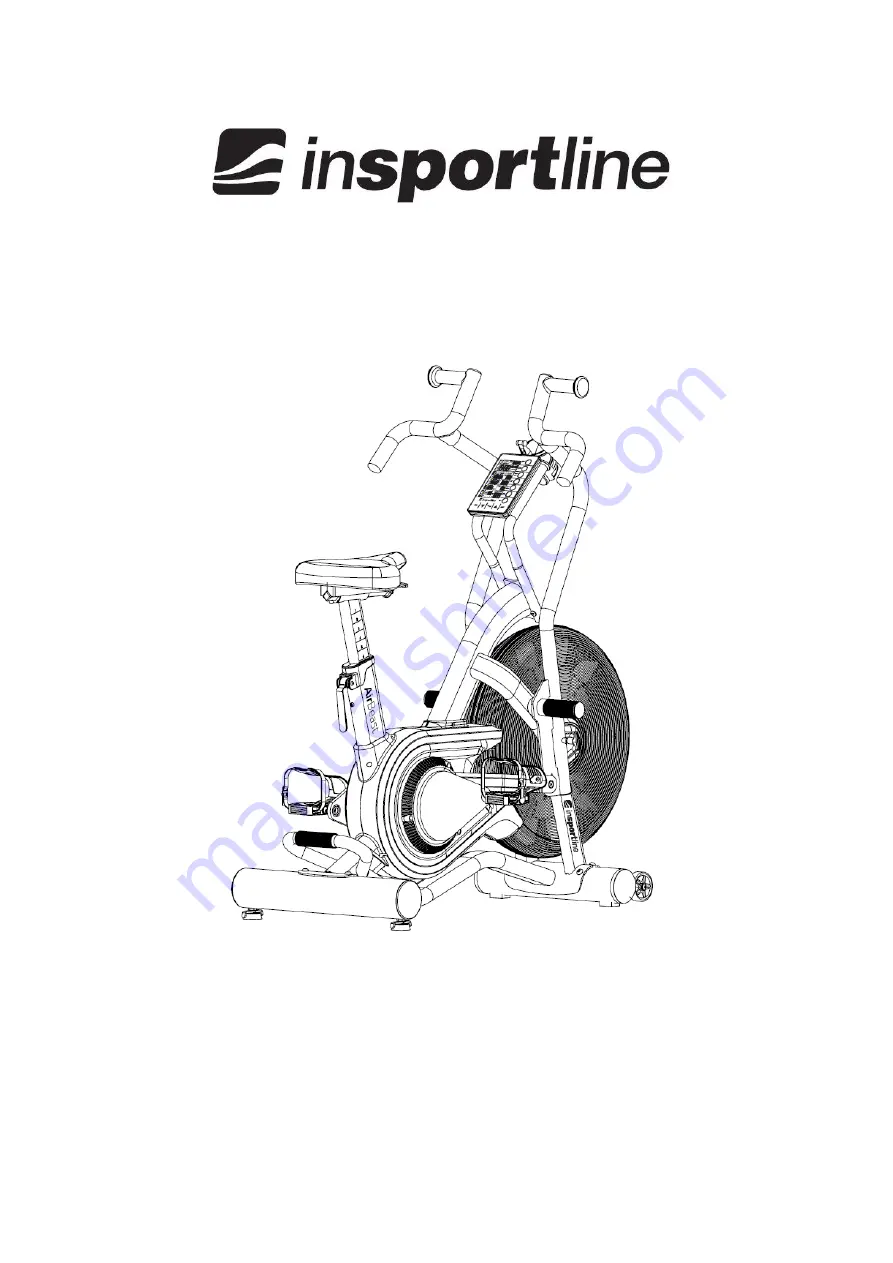
Страница 1: ...USER MANUAL EN IN 18714 Air Exercise bike inSPORTline Air Beast...

Страница 2: ...RECAUTIONS 3 DIAGRAM 4 PARTS LIST 5 ASSEMBLY 7 FEATURES 14 CONSOLE 16 PROGRAMS 18 MAINTENANCE 21 CORRECT BODY POSTURE 21 WARM UP EXERCISE 21 ENVIRONMENT PROTECTION 23 TERMS AND CONDITIONS OF WARRANTY...

Страница 3: ...Never operate the machine if the machine is not functioning properly Only carry out training work on the equipment when it is in perfect working order Only use original spare parts in the event of a r...

Страница 4: ...4 DIAGRAM...

Страница 5: ...d Crank Arm Assembly L 1 A74 Phillip Head Self Tapping Screw M4 x 15mm 4 A8 Shaped Crank Arm Assembly R 1 A76 Plastic Strip Holder 2 A9 Hex Socket Head Cap Bolt M5 X 6mm 4 A77 Phillip Head Machine Scr...

Страница 6: ...m 2 D2 2 Lock Pin Axle Keeper 1 A42 Bearing 6005ZZ 4 D2 3 Lock Pin Spring 1 A43 Axle Adapter Washer 1 D2 4 Lock Pin Axle 1 A44 Hex Socket Head Cap Bolt M6 X 20mm 1 E Console Support Frame 1 A45 Metal...

Страница 7: ...bar 1 D2 Right handlebar 1 E Console holder 1 E2 Holder 1 F Console 1 G Foot peg 2 H1 Pedal 1 H2 Pedal 1 I Fix plate 2 J1 End cap 2 J2 Screw M8x30 mm 4 J3 M8 Nylon nut 2 J4 Disc spring spacer 2 J5 Scr...

Страница 8: ...8...

Страница 9: ...th bolts J6 and tighten them with 6mm Allen key Lubricate the bolts before fastening Attach the rear stabilizer Loosen bolts J6 from the cardboard tube and remove the cardboard tube Attach front stabi...

Страница 10: ...ure that the peg G is fully tightened with Allen key Installing of fixing plate and connection bar Connect the handlebar D1 with Connection Bar with plate I spacer J4 screw J2 and nylon locknut J3 Use...

Страница 11: ...g G is fully tightened with Allen key Installing of fixing plate and connection bar Connect the handlebar D2 with Connection Bar with plate I spacer J4 screw J2 and nylon locknut J3 Use 5 mm Allen key...

Страница 12: ...m and fasten with wrench 14 15 Fasten the screw J7 anti clock wise to the crank arm with 5 mm Allen key Right pedal Loosen the screw J7 on the right crank arm Attach the left pedal H2 to the right cra...

Страница 13: ...fastening Attach the console Remove the screws on the back of the console 8 Connect the console cable and middle wire together and attach the console F to the console holder E with four screws F1 Att...

Страница 14: ...adjust the height Push down the handle A32 after adjusting the height Maximum indicator is on the seat post Levelling the bike Two height adjusters are included on the rear stabilizer Turn them to ad...

Страница 15: ...rallel with the dual arm Release the T knob as shown in the picture Lock the dual arms Pull and twist the T knob to the dual arm with right hand Guide the dial arm to locking position with left hand R...

Страница 16: ...IME DISTANCE CALORIES WATTS SPEED RPM HEART RATE if detected If you stop pedaling without pressing the STOP button after 30 seconds the program will automatically pause You can resume the program by p...

Страница 17: ...tes TARGET TIME or TARGET DISTANCE or TARGER CALORIES TIME Shows exercise time default count up to 1 59 00 count down if a target had been set DISTANCE Shows travelled distance count from 0 to 999 9 k...

Страница 18: ...d custom interval The interval 20 10 and interval 20 30 programs offers user a series of eight high intensity workout intervals with pre set time segments These High Intensity Interval Training H I I...

Страница 19: ...intervals 1 99 Press ENTER to confirm Press START to begin the workout and then star pedaling The program will not start until you begin exercising You can press the STOP button to stop the program a...

Страница 20: ...begin exercising You can press the STOP button to stop the program at any time Summary will be displayed on the screen Target HR program You need to wear a compatible wireless heart rate chest belt to...

Страница 21: ...heck replace console AA batteries Clean fan of dust Check the bike for sign of wear or damage replace these parts as soon as possible Do not use damaged of wear product CORRECT BODY POSTURE When train...

Страница 22: ...p your head to your chest for one count Shoulder Lift Lift your right shoulder up toward your ear for one count Then lift your left shoulder up for one count as you lower your right shoulder Calf Achi...

Страница 23: ...stomer is a Businessman that buys Goods or uses services for the purpose of using the Goods or services for his own business activities The Buyer conforms to the General Purchase Agreement and busines...

Страница 24: ...Seller shall fix the reported defects by means of repair or by the exchange of the damaged part or product for a new one Based on the agreement of the Buyer the Seller has the right to exchange the de...

Страница 25: ...25 Web www insportline sk Date of Sale Stamp and Signature of Seller...

Отзывы: