6
!
*
16
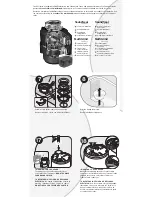
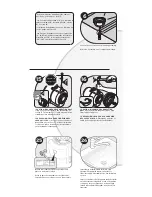
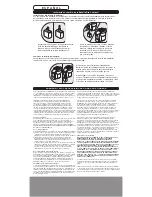
Loosen the 3 screws on the mounting assembly.
Afloje los 3 tornillos en el conjunto de montaje.
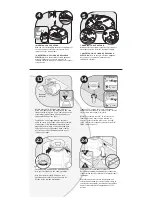
* CAUTION: DISHWASHER CONNECTION
ONLY Knock out drain plug and remove plug
from inside of disposer.
* PRECAUCIÓN: SÓLO PARA LA CONEXIÓN
DEL LAVAVAJILLAS. Extraiga de un golpe el
tapón de desagüe del interior del triturador.
26
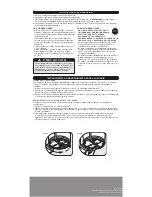
Insert Quiet Collar® Sink Baffle into sink
opening. Fill sink with water, then test for
leaks. Install Bio-Charge® bottle. See following
section.
Inserte el deflector del fregadero Quiet Collar®
en la abertura del fregadero. Llene el fregadero
con agua y luego verifique que no haya fugas.
Instale la botella Bio-Charge®. Vea la sección
siguiente.
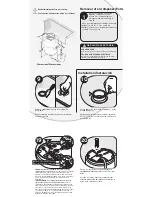
If the new disposer mounting is the same as
the old one, you can go to step 15.
Note: For sinks thicker than 3/8”, you will need to
replace existing 1-1/2” screws with 1-1/8” screws
(H). See step 14.
Si el montaje del triturador nuevo es el mismo que
el viejo, puede ir al Paso 15.
Nota: Para los fregaderos con espesor mayor de
3/8” (0,95 cm), deberá reemplazar los tornillos
existentes de 1-1/2” (3,81 cm) por tornillos de
1-1/8” (2,85 cm) (H). Consulte el Paso 14.
05081500028
05081500028
Model Evolution
Model Evolution
18005585700
18005585700
AMPS 8.1 HP 3/4
Volts 120 Hz 60 1PH
InSinkErator
Emerson Electric
Racine, WI 53406
25
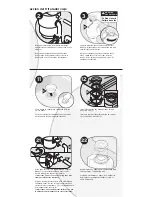
Detach removable portion of spec label and
place on a visible location.
Corte la parte desmontable de la etiqueta de
especificaciones y colóquela en un lugar visible.
15
J
!
*
Stop and read
Deténgase y lea
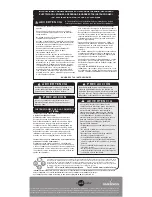
* CAUTION: DISHWASHER CONNECTION ONLY
If you do not need to attach the dishwasher, go
to step 17. Turn disposer (J) onto side and insert
screwdriver into dishwasher inlet.
* PRECAUCIÓN: SÓLO PARA CONEXIÓN DEL
LAVAVAJILLAS. Si no es necesario conectar el
lavavajillas, pase al Paso 17. Voltee el triturador
(J) sobre un lado e introduzca el destornillador
en la entrada del lavavajillas.


