Before using your new product, please read these instructions to prevent any damage.
USER GUIDE
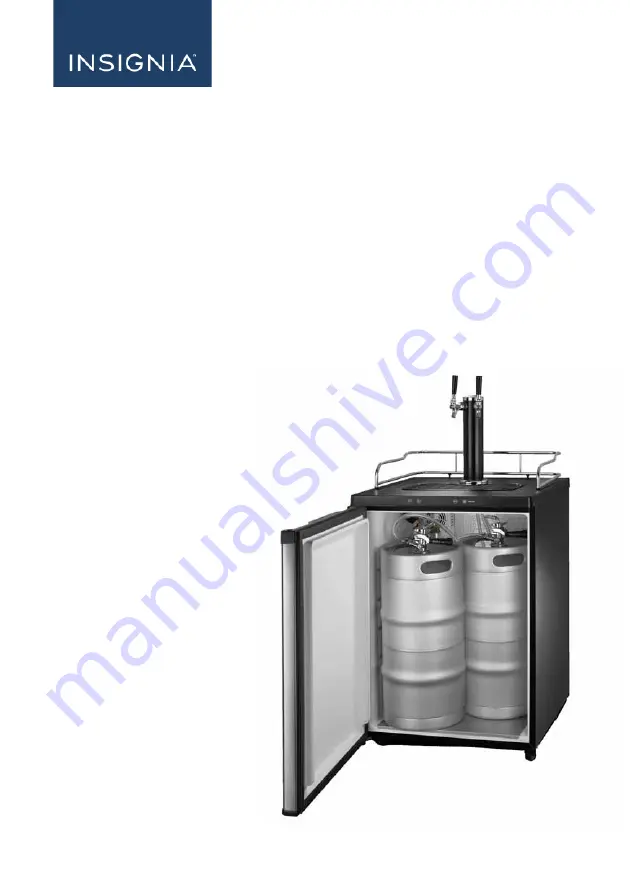
Dual Beer Kegerator/Beverage Cooler
NS-BK2TBS8/NS-BK2TBK8
Страница 1: ...Before using your new product please read these instructions to prevent any damage USER GUIDE Dual Beer Kegerator Beverage Cooler NS BK2TBS8 NS BK2TBK8 ...
Страница 2: ...ching the CO2 tank 13 Installing and setting up a beer keg 14 Using your kegerator 16 Setting the temperature 16 Dispensing Beer 17 Maintaining your kegerator 19 Automatic defrosting 19 Replacing kegs 20 Replacing the CO2 tank 20 Storing your kegerator 20 Moving your kegerator 21 Converting your beer dispenser to a beverage refrigerator 21 Troubleshooting 22 Beer quality 22 Cooler 23 Specification...
Страница 3: ...or the third prong are provided for your safety If the provided plug does not fit into your outlet consult an electrician for replacement of the obsolete outlet 10 Protect the power cord from being walked on or pinched particularly at plugs convenience receptacles and the point where they exit from the appliance 11 Do not attempt to modify or extend the power cord of this appliance 12 Unplug this ...
Страница 4: ...iance is not intended for use by persons including children with reduced physical sensory or mental capabilities or lack of experience and knowledge unless they have been given supervision or instruction concerning use of the appliance by a person responsible for their safety 21 Children should be supervised to ensure that they do not play with the appliance 22 If the SUPPLY CORD is damaged it mus...
Страница 5: ...tor beverage cooler due to flammable refrigerant and gas All refrigeration products contain refrigerants which under the guidelines of federal law must be removed before disposal It is the consumer s responsibility to comply with federal and local regulations when disposing of this product 9 This kegerator beverage cooler is intended to be used in household and similar environments 10 Do not store...
Страница 6: ...age contents Cabinet parts CO2 parts Metal washers 2 for locking caster wheels Drip tray 2 pieces Locking casters 2 Casters 2 Wire shelf Guard rail Wire half shelf CO2 regulator 5 lb CO2 tank shipped empty Notes See your local beer keg provider air gas or welding supplier or sporting goods store to fill your CO2 tank The CO2 tank must be empty to return your kegerator CO2 gas line and Sankey keg c...
Страница 7: ... and setting up a beer keg on page 14 for compatibility information Fill the included CO2 tank with CO2 See your local beer keg provider air gas or welding supplier or sporting goods store to fill your CO2 tank Inside dimensions Draft arm assembly Beergasketwith screws 4 Beer tap handle 2 Extra valve washers 2 each Metal wrench for cleaning 21 2 in 539 mm 28 4 in 722 mm 16 5 in 420 mm ...
Страница 8: ... Drip tray 2 pieces Worktop Guard rail Bolt and nut for retainer CO2 tank retainer CO2 gas line Beer keg s not included Metal washers for locking casters 2 Locking casters 2 CO2 tank regulator Sankey keg coupler 5 lb CO2 tank Control panel Adjust temperature Display Change temperature unit Quick cool ...
Страница 9: ...is allows for proper air ventilation If you install the casters lock them If not adjust the leveling feet to keep the kegerator level Locate the kegerator away from direct sunlight and sources of heat stove heater radiator and so on Direct sunlight may affect the acrylic coating and heat sources may increase electrical consumption Ambient temperature below 50 F 10 C or above 85 F 29 4 C will hinde...
Страница 10: ...h all four casters tightened evenly stand the unit in the upright position 6 Step on the front of the locking casters to lock the kegerator into place or step on the back to unlock the kegerator Notes The kegerator should always be plugged into its own individual electrical outlet which has a voltage rating that matches the rating plate We strongly recommend that you do not use an extension cord H...
Страница 11: ...n the worktop until the draft arm assembly is resting on the top of the cabinet 4 Align the holes in the draft arm with the holes in the gasket then attach the draft arm to the worktop with the four screws provided 5 Attach the black plastic beer tap handles to the top of the faucets tightening by hand Hold the silver ring snug so it does not move Note If there is a small drip after you pour a bev...
Страница 12: ... possible death or injury when the tank valve is opened NEVER connect the CO2 tank directly to the beer keg ALWAYS follow correct procedures when tanks are changed ALWAYS secure the tank in an upright position NEVER drop or throw a CO2 tank ALWAYSkeepaCO2 tankawayfromheat Storeextratanksinacoolplace preferably 70 F Securely fasten with a chain in an upright position when storing ALWAYS ventilate a...
Страница 13: ...ption B Option A Inside the kegerator Slide the tank through the retainer and secure it with the provided bolt and nut Position the tank so you can read the gauge and have easy access to the shut off valve Option B On the back of your kegerator 1 Align the four holes on the CO2 tank retainer with the four screws on the back of the kegerator 2 Place the CO2 tank in the retainer 3 Feed the gas line ...
Страница 14: ...stalling the keg coupler 1 Insert the sankey keg coupler into the neck of the beer keg and turn it clockwise to lock it into position Make sure that the washer is in the connector on the top of the sankey keg coupler 2 Insert the beer tube into the top of the sankey keg coupler then tighten the wing nut 3 Repeat steps 1 2 if you have a second keg BARREL SIZE GALLONS 12 oz GLASSES short pony slim H...
Страница 15: ... shut off valve is closed sideways if closed down if open then slowly turn the main valve on the CO2 tank counter clockwise until it is fully open 2 Open the shut off valve to allow gas to flow into the keg 3 Release the adjustment lock nut behind the regulator screw by turning it clockwise about 5 7 turns Note If beer comes up through the top of the wing nut remove the wing nut reposition the was...
Страница 16: ... pressure while this happens Adjust as needed 7 Plug the kegerator into a 120V 60Hz 15A grounded outlet Using your kegerator Setting the temperature 1 Press the F C button to switch between Fahrenheit or Celsius 2 Press to adjust the temperature to 32 F 0 C then let the kegerator cool for 48 hours Note Listenforahissingsoundatallconnectionstodetermineifthere are any leaks Note Press Quick Cool to ...
Страница 17: ...the glass upright and aim for the middle to start forming the head Slowly lower the glass as you approach your finish to improve the head even more 4 When your glass is full close the tap quickly Notes To change the thermostat setting adjust it by one increment at a time Allow several hours for the temperature to stabilize between adjustments The kegerator s temperature range 32 50 F 0 10 C See Us...
Страница 18: ...head Greasy glasses Wash glasses thouroughly then air dry Rinse in fresh cold water just before serving Improper pour Open the tap quickly and completely Not enough pressure Increase the pressure or refill the CO2 tank if empty Abnormal beer taste and or smell System requires cleaning See Maintaining your kegerator on page 19 Old beer Buy a new keg Lagers 35 40 F Stouts 50 F Ales 45 50 F Craft Bee...
Страница 19: ...d detergent Rinse well and wipe dry with a clean soft cloth 7 Be sure to keep the door gasket seal clean to keep the unit running efficiently 8 Dry the interior and exterior with a soft cloth Cleaning the beer components To prevent a build up of yeast and mold in the beer lines and to prevent a bad taste clean your beer components when you replace a keg 1 Remove the keg coupler and thoroughly rins...
Страница 20: ... the steps in Installing the keg coupler on page 14 to insert a new keg Replacing the CO2 tank 1 Unplug your kegerator from the wall outlet to turn it off 2 Close the main valve on the CO2 tank 3 Close the shut off valve on the CO2 regulator 4 Disconnect the CO2 gas line from the keg coupler 5 Remove the CO2 tank 6 Follow the steps in Installing the CO2 regulator and tank on page 12 to insert a ne...
Страница 21: ...sition during transportation and protect the exterior with a blanket or similar padding Converting your beer dispenser to a beverage refrigerator 1 Follow the steps in Replacing kegs on page 20 and Replacing the CO2 tank on page 20 2 Remove the draft arm assembly and pull the beer line thru the top of the cabinet 3 Replace the top cabinet plug 4 Remove the guard rail and cover the guard rail insta...
Страница 22: ... for a five foot hose Use a shorter hose No beer flow from the beer faucet Low Empty CO2 tank Make sure that the CO2 tank has pressure Closed CO2 valve and or shutoff valve Make sure that both the CO2 tank and regulator shutoff valve are open Empty beer keg Replace beer keg Line or dispenser obstructions Verify that there are no kinks or obstructions in either the air line or the dispenser line an...
Страница 23: ...hed completely into the outlet Thefuseonthecircuitisblown or the circuit breaker is tripped Checkthehousefuse circuitbreakerboxandreplacethefuseor reset the circuit breaker Power failure If a power failure occurs the kegerator turns off Wait until the power is restored then turn it on again The cooler door does not close completely The door was not properly installed Make sure that the door was pr...
Страница 24: ... out from the wall A rattling noise may be heard This is caused by the flow of refrigerent in the kegerator As each cooling cycle ends you may hear gurgling sounds Contraction and expansion of the inside walls may cause popping or crackling noises This is normal Moisture is building up in the interior of the cooler Thedoor has beenopenedtoo often or was not closed properly Make sure that the door ...
Страница 25: ...uired after the Warranty Period expires you must pay all labor and parts charges This warranty lasts as long as you own your Insignia Product during the Warranty Period Warranty coverage terminates if you sell or otherwise transfer the Product How to obtain warranty service If you purchased the Product at a Best Buy retail store location please take your original receipt and the Product to any Bes...
Страница 26: ...lures or Damage caused by any contact including but not limited to liquids gels or pastes REPAIR REPLACEMENT AS PROVIDED UNDER THIS WARRANTY IS YOUR EXCLUSIVE REMEDY FOR BREACH OF WARRANTY INSIGNIA SHALL NOT BE LIABLE FOR ANY INCIDENTAL OR CONSEQUENTIAL DAMAGES FOR THE BREACH OF ANY EXPRESS OR IMPLIED WARRANTY ON THIS PRODUCT INCLUDING BUT NOT LIMITED TO LOST DATA LOSS OF USE OF YOUR PRODUCT LOST ...
Страница 27: ...nd Canada or 01 800 926 3000 Mexico INSIGNIA is a trademark of Best Buy and its affiliated companies Distributed by Best Buy Purchasing LLC 7601 Penn Ave South Richfield MN 55423 U S A 2017 Best Buy All rights reserved Made in China V1 ENG 16 1100 ...