Page 42
EN
Chapter 6 Installation
6.5 Regulation of the water pressure
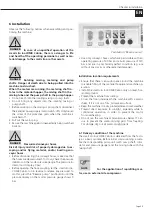
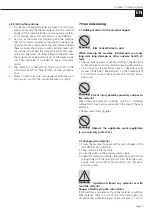
A pressure reducer is installed and pre-set at the factory to
regulate the water pressure. The control cap on the pres-
sure reducer allows you to readjust the water pressure if
necessary.
6.6 Material preparation
Fill the material hopper with dry material.
!
CAUTION
Make sure that no bag parts fall into the
material hopper when emptying the dry material.
These would mix with the material and could clog the
sprayer and thus damage the machine.
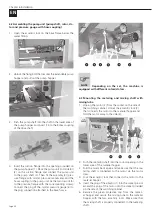
!
WARNING
Machine does not start.
Check the position of the main switch on the switch-
ing cabinet and all electrical connections. In the event
that all connections are correct and the main switch
is in the vertical position (“ON’) and the pump motor
still does not rotate, have the machine checked by a
qualified electrician. Only this person is authorised to
open the switching cabinet.
6.7 Adjusting the material consistency
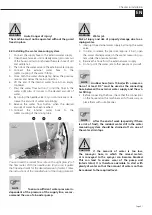
1. Slide the pump hopper under the machine and place a
suitable container under the mixing tube.
2. Then start the mixer by pressing the “Mixer ON” but-
ton and check the material consistency. Use the needle
valve (3) to set the desired material consistency.
3. Stop the mixer by pressing the “Mixer OFF” button.
6.8 Preparing the machine
1. Extend the pump hopper again and lock the fixing bolt
that secures the pump hopper in its exact position.
2. Fill approx. 2-3 litres of milk of lime, mortar slurry or
wallpaper paste into the delivery hose as pre-lubrica-
tion and then connect it to the mortar coupling.
3. Start the mixer motor by pressing the “Mixer ON” but-
ton and fill the pump hopper up to the upper probe
rod.
4. Then start the pumping process by pressing the “Pump”
button. The button of the pump lights up green and
the button of the mixer flashes (ready message).
5. Lift the end of the material hose into an empty contain-
er and run the pre-lubrication into the container until
material comes out of the hose.
6. Use the potentiometer to set the speed and thus the
desired delivery rate of the material transport.
7. Read the current mortar pressure in the delivery hose
on the mortar pressure gauge.
8. The machine is now ready for operation.
!
DANGER
Pressurised conveyor hoses.
Risk of injury and risk of property damage due to es-
caping and/or flying material, and/or bursting con-
veyor hoses.
• Before disconnecting the conveyor hoses, make sure that
the hoses are depressurised. To do so, check the pressure
indicator on the mortar pressure gauge. The pressure in-
dicator must display 0 bar!
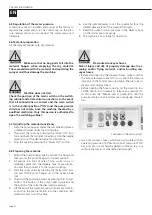
• Before opening the hose coupling, let the small silo ino-
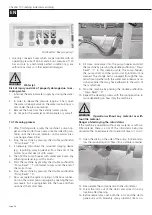
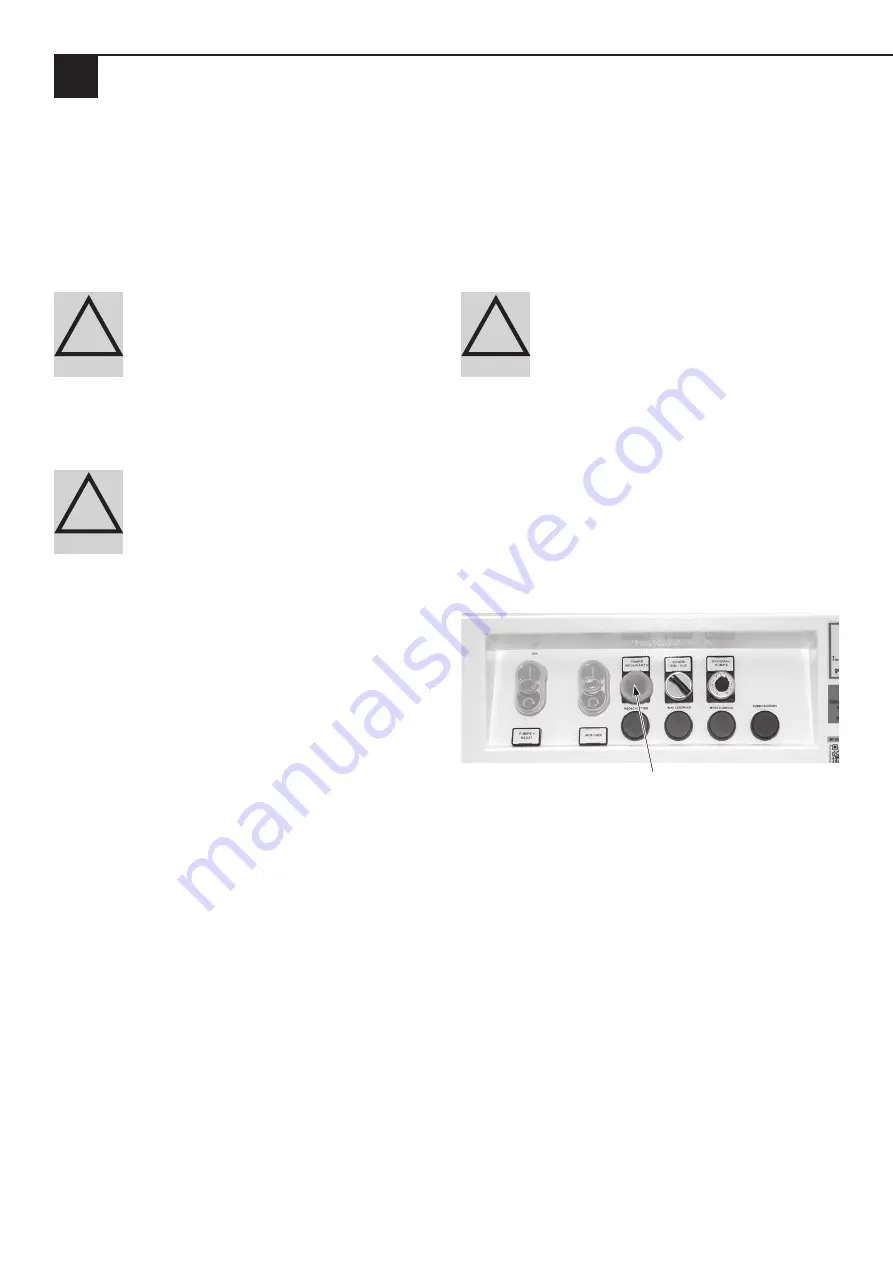
COMB Cabrio run in reverse to release any pressure! To
do this, press the “Reverse pump” pushbutton until the
pressure display on the mortar pressure gauge shows 0
bar.
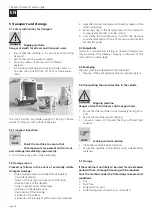
Pushbutton “Reverse pump”
• Use only conveyor hoses which are permissible with an
operating pressure of 40 bar and a burst pressure of 120
bar, and are in a technically perfect condition (e.g. are
without any cracks or other external damage!).


