Montageanleitung
Installation Instructions
Notice de Montage
Infrarotsensoren
Infrared heat sensors
Détecteurs
d'infrarouges
OWF
R
701346 / 02 09 / 2007
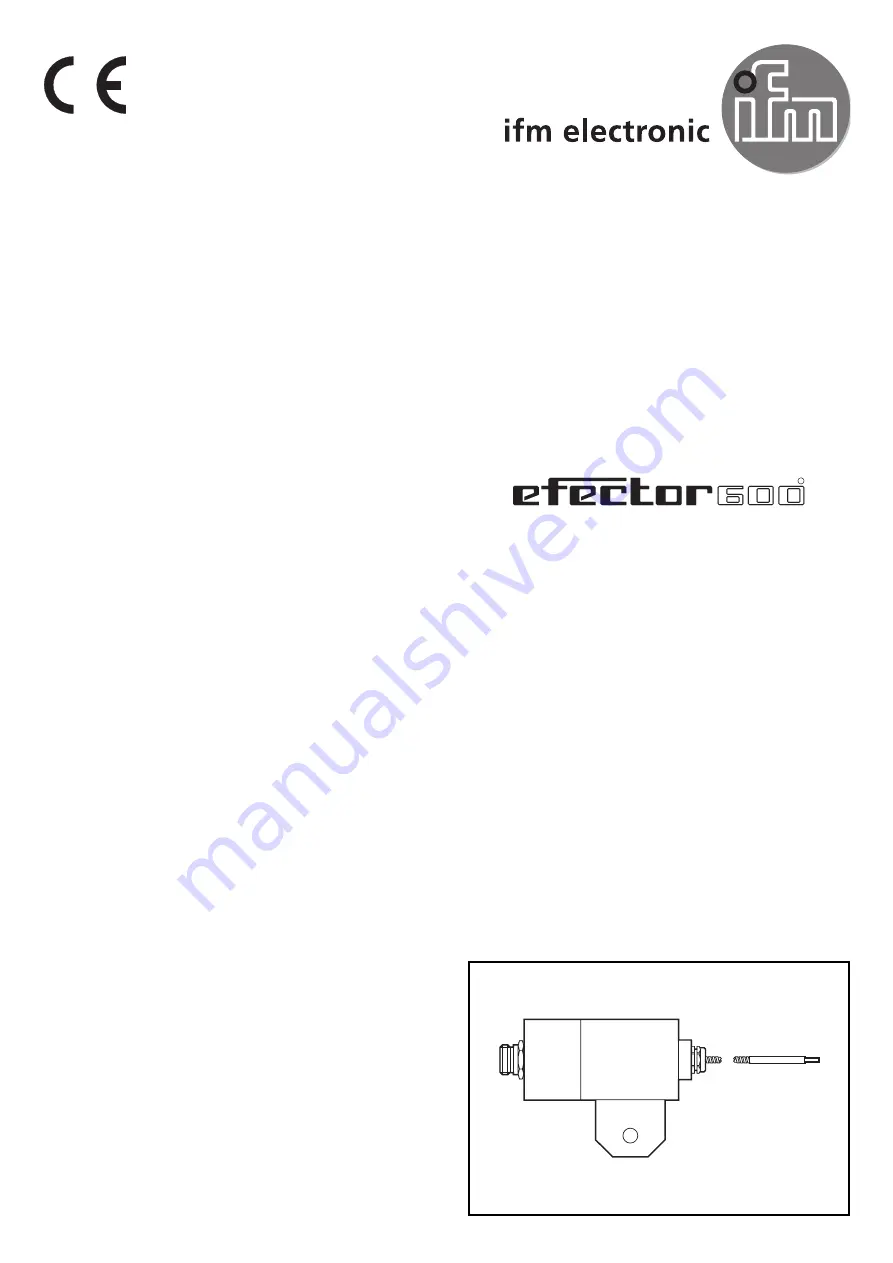
Страница 1: ...Montageanleitung Installation Instructions Notice de Montage Infrarotsensoren Infrared heat sensors Détecteurs d infrarouges OWF R 701346 02 09 2007 ...
Страница 2: ...ichen Abtastabstand im Heißbe reich max 250 C an Verwenden Sie zur Vergrößerung des Abtastabstandes und Präzisie rung des Schaltpunktes als Zubehör erhältliche Aufstecklinsen Das Objekt muß mindestens die Schalttemperatur des Sensors haben und es muß den Abtastdurchmesser des Sensors ausfüllen Der Abtats durchmesser hängt ab von Öffnungswinkel und Abtastabstand Achtung Knicken Sie die Fiberoptik n...
Страница 3: ...e deshalb deutlich über der Schalt temperatur des Sensors liegen Elektrischer Anschluß Schalten Sie die Anlage spannungsfrei und schließen Sie das Gerät folgendermaßen an 3 1 1 2 3 2 3 4 5 6 7 8 9 10 11 12 13 OWF 68 OWF 7 OWF 2 Abtastabstand l m Abtastdurchmesser d cm 2 1 3 L1 L L N L L 1 2 3 DC PNP AC DC L L 1 2 3 DC NPN ...
Страница 4: ...ummidichtung 3 vorsichtig aus dem Gewindestutzen Entfernen Sie die defekte Fiberoptik 4 Schieben Sie die mitgelieferte neue Überwurfmutter 1 Unterlegschei be 2 und Dichtung 3 über die Ersatzfiberoptik Führen Sie die Ersatzfiberoptik bis zum Anschlag in die dafür vorgese hene Öffnung des Elektronikteils ein Drücken Sie die Dichtung 3 in den Gewindestutzen Sichern Sie durch festdrehen der Überwurfmu...
Страница 5: ...g Mount the fibre optics in the hot area max 250 C in the required sensing distance Use a lens attachment to extend the distance and to set the switch point more accurately available as accesssory The object must at least have the switching temperature of the sensor and must cover the visible area which depends on the chosen angle of aperture and sensing distance Notice Do not bend the fibre optic...
Страница 6: ... should therefore be much higher than the switching temperature of the sensor Electrical connection Disconnect power then connect the unit according to the wiring diagram 6 1 1 2 3 2 3 4 5 6 7 8 9 10 11 12 13 OWF 68 OWF 7 OWF 2 sensing distance l m sensing diameter d cm 2 1 3 L1 L L N L L 1 2 3 DC PNP AC DC L L 1 2 3 DC NPN ...
Страница 7: ...arefully remove the rubber packing 3 from the connection piece Remove the faulty fibre optics 4 Slide the supplied new nut 1 washer 2 packing 3 onto the replace ment fibre optics Insert the replacement fibre optics until the end into the hole of the switching amplifier provided for this Press the packing 3 into the connection piece Secure the replacement fibre optics by tightening the nut 1 Operat...
Страница 8: ...re optique voir formule dans la zone chaude maxi 250 C Pour augmenter la portée et régler le point de commutation avec précision possibilité de monter une lentille supplémentaire vendue en accessoire La température de l objet doit au moins correspondre à la températu re de commutation du détecteur La zone de détection qui dépend de l angle d ouverture et de la distance de détection doit être couve...
Страница 9: ...pérature de l objet doit être nettement supérieure à la température de commutation du détecteur Raccordement électrique Mettre l installation hors tension et raccorder l appareil selon le schéma de branchement 9 1 1 2 3 2 3 4 5 6 7 8 9 10 11 12 13 OWF 68 OWF 7 OWF 2 diamètre de détection d cm distance de la cible l m 2 1 3 L1 L L N L L 1 2 3 DC PNP AC DC L L 1 2 3 DC NPN ...
Страница 10: ...t la rondelle 2 Enlever précautionneusement le joint caoutchouc 3 Enlever la fibre optique défectueuse 4 Faire glisser l écrou 1 la rondelle 2 le joint 3 sur la nouvelle fibre optique Enfoncer la nouvelle fibre optique dans l embase de l amplificateur Remettre le joint d étanchéité 3 Fixer la nouvelle fibre à l aide de l ecrou 1 Fonctionnement Véifier le bon fonctionnement du détecteur Si dans l a...