PPC-FxxA-H81 Panel PC
Page 59
Step 6:
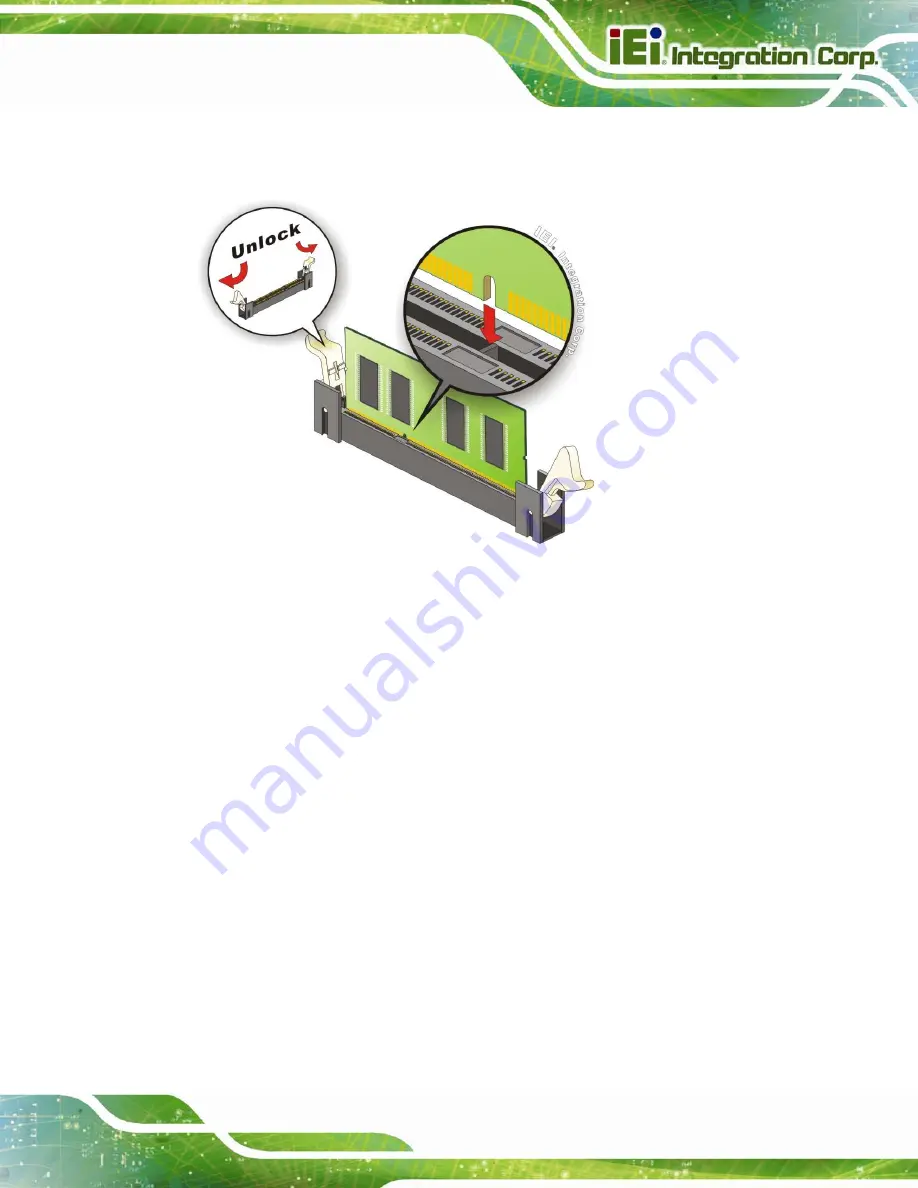
Once aligned, press down until the SO-DIMM is properly seated. Clip the two
handles into place.
Step 0:
Figure 4-2: SO-DIMM Module Installation
4.5 System Cooling Fan Replacement
If the system cooling fans have been damaged, they must be replaced. To replace the
system cooling fans, please follow the steps below.
4.5.1 Remove the Old System Cooling Fans
Step 1:
Remove the back cover (
Section
7
3.5
).
Содержание PPC-FxxA-H81
Страница 2: ...PPC FxxA H81 Panel PC Page ii Revision Date Version Changes September 2 2014 1 00 Initial release ...
Страница 14: ...PPC FxxA H81 Panel PC Page 1 1 Introduction Chapter 1 ...
Страница 20: ...PPC FxxA H81 Panel PC Page 7 Figure 1 4 Bottom View ...
Страница 23: ...PPC FxxA H81 Panel PC Page 10 1 8 2 PPC F17A H81 Dimensions Figure 1 8 PPC F17A H81 Dimensions mm ...
Страница 24: ...PPC FxxA H81 Panel PC Page 11 1 8 3 PPC F22A H81 Dimensions Figure 1 9 PPC F22A H81 Dimensions mm ...
Страница 25: ...PPC FxxA H81 Panel PC Page 12 1 8 4 PPC F24A H81 Dimensions Figure 1 10 PPC F24A H81 Dimensions mm ...
Страница 28: ...PPC FxxA H81 Panel PC Page 15 2 Unpacking Chapter 2 ...
Страница 32: ...PPC FxxA H81 Panel PC Page 19 3 Installation Chapter 3 ...
Страница 69: ...PPC FxxA H81 Panel PC Page 56 Chapter 4 4 System Maintenance ...
Страница 75: ...PPC FxxA H81 Panel PC Page 62 5 BIOS Setup Chapter 5 ...
Страница 113: ...PPC FxxA H81 Panel PC Page 100 6 Driver Installation Chapter 6 ...
Страница 142: ...PPC FxxA H81 Panel PC Page 129 7 Interface Connectors Chapter 7 ...
Страница 162: ...PPC FxxA H81 Panel PC Page 149 A BIOS Configuration Options Appendix A ...
Страница 165: ...PPC FxxA H81 Panel PC Page 152 B Safety Precautions Appendix B ...
Страница 170: ...PPC FxxA H81 Panel PC Page 157 C Watchdog Timer Appendix C ...
Страница 173: ...PPC FxxA H81 Panel PC Page 160 D Hazardous Materials Disclosure Appendix D ...


