Part 2 - Configuration
42
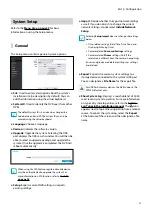
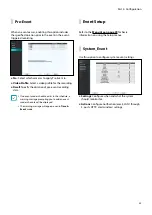
Set Camera Password
For IDIS protocol cameras that support changing and
finding the camera password, you must set the camera
password at the time of initial camera registration. The
email information is used to change and find the camera
password.
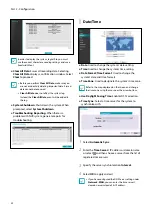
1
Select the dedeivce from the list and click the
Add
Camera
button, then Set Password window will
appear.
Only the camera that does not set password of the
camera which supports the password setting function
is displayed.
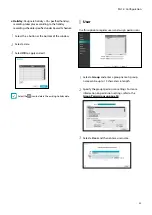
2
Enter the password and e-mail address, and then
select
OK
.
•
If you do not authenticate your email address, you
may not be able to find your password unless you
enter the correct information.
•
FEN setup is required for authentication.
•
By selecting
Apply to All Devices
, you can apply
the same password and e-mail information to
cameras that require password settings in the scan
list.
•
When you select multiple network devices from the
list and click the
Add camera
button, a window for
the network device will appear. Select
Skip
to skip
the authentication settings for the current network
device and to display the Authentication window of
the next network device.
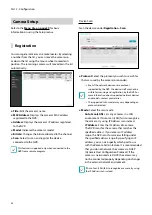
3
When the password is set, the login window will
appear.
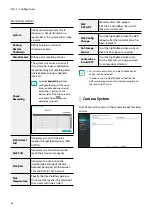
General
Enable/disable the covert view and rename cameras.
●
Title
: Edit the camera’s name.
●
Use
: Set the camera as
Normal
,
Covert 1
, or
Covert 2
.
Live images and video recordings from cameras that
have been set as
Covert 1
or
Covert 2
will not be
available to users who do not have covert camera
access. Setting a camera as
Covert 1
hides its images
but does display OSD information about the camera.
Setting a camera as
Covert 2
hides its images as well
as ODS information about the camera as if it has been
deactivated completely.


