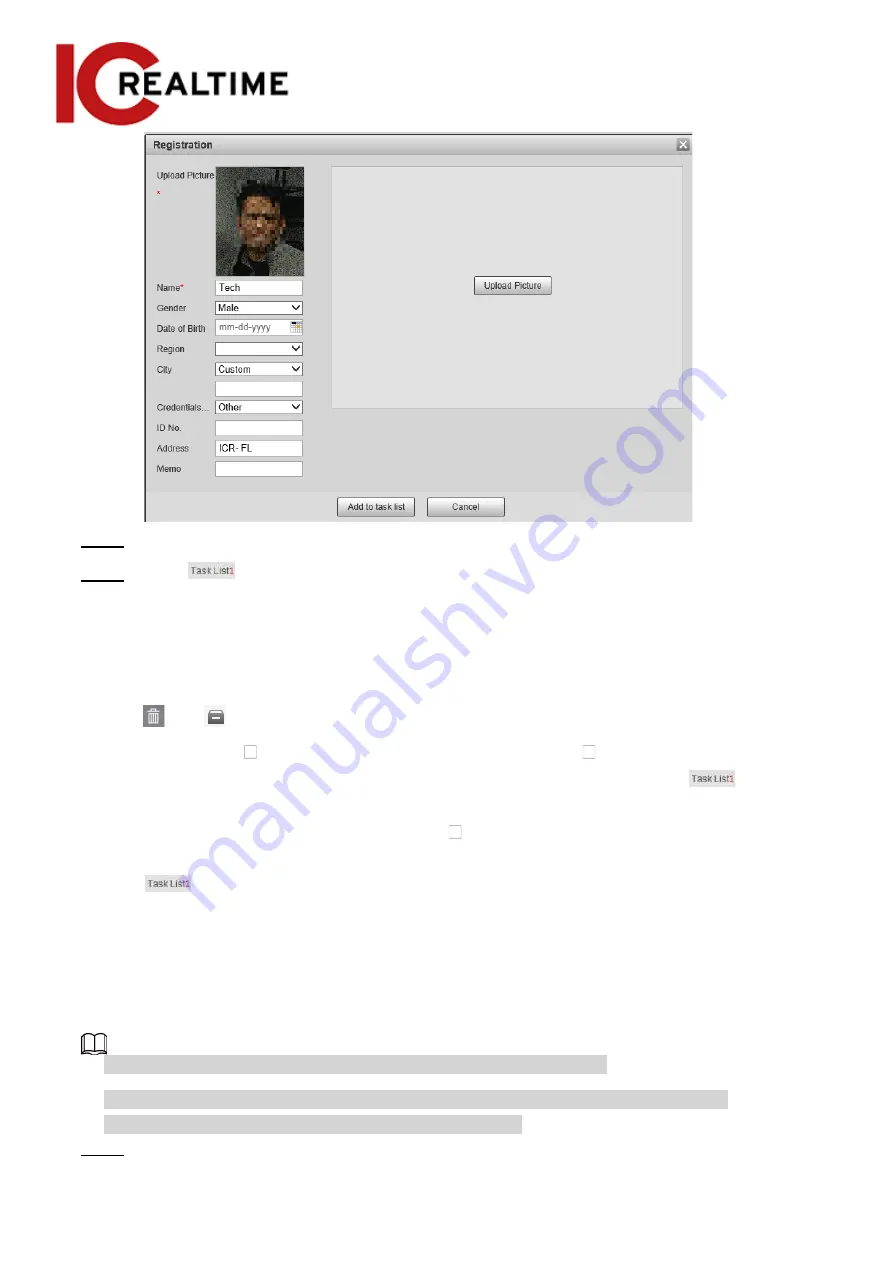
Step 3
Modify face information as necessary. Click
Add to task list
.
Step 4
Click
, and then click
OK
.
5.10.2.3.2
Deleting Face Picture
Navigate to the
Face Database Config
interface, and delete a face picture in the database.
●
Single delete: Select the row where the face picture or the personnel information is located, and
click
or
to delete the face picture.
●
Batch delete: Select
at the upper right corner of the face picture or of the row where the
personnel information is located. Select the information, click
Add to Deletion List
,
, and
then click
OK
to delete the selected face picture.
●
Delete all: When viewing face pictures in a list, click of the row where the serial number is
located; when viewing by thumbnail, select
All
to select all face pictures. Click
Add to Deletion
List
,
, and then click
OK
to delete all face pictures.
5.10.2.4
Face Modeling
Face modeling extracts face picture information and imports the information to a database to
establish relevant face feature models. Through this function, the face recognition and other intelligent
detections can be function.
●
A high amount of selected images to model will take longer to process.
●
During modeling, some intelligent detection functions (such as face recognition) are not
available temporarily, but will be available after modeling.
Step 1
Select
Setting
>
Event
>
Face Recognition
>
Face Database Config
.
The
Face Database Config
interface is displayed.
157
Содержание Edge IPEG-D20F-IRW3
Страница 1: ...User s Manual V2 1 1 ...
Страница 25: ...4 2 4 Window Adjustment Bar 13 ...
Страница 29: ...Figure 4 5 Zoom and focus 17 ...
Страница 114: ...Figure 4 100 Add user restricted login 102 ...
Страница 126: ...Step 7 Click Open Figure 4 114 Certificate information Step 8 Click Install Certificate 114 ...
Страница 127: ...Step 9 Click Next Figure 4 116 Certificate store Step 10 Select the storage location and click Next 115 ...


