ENGLISH
USER’S GUIDE
Version 1.0.0
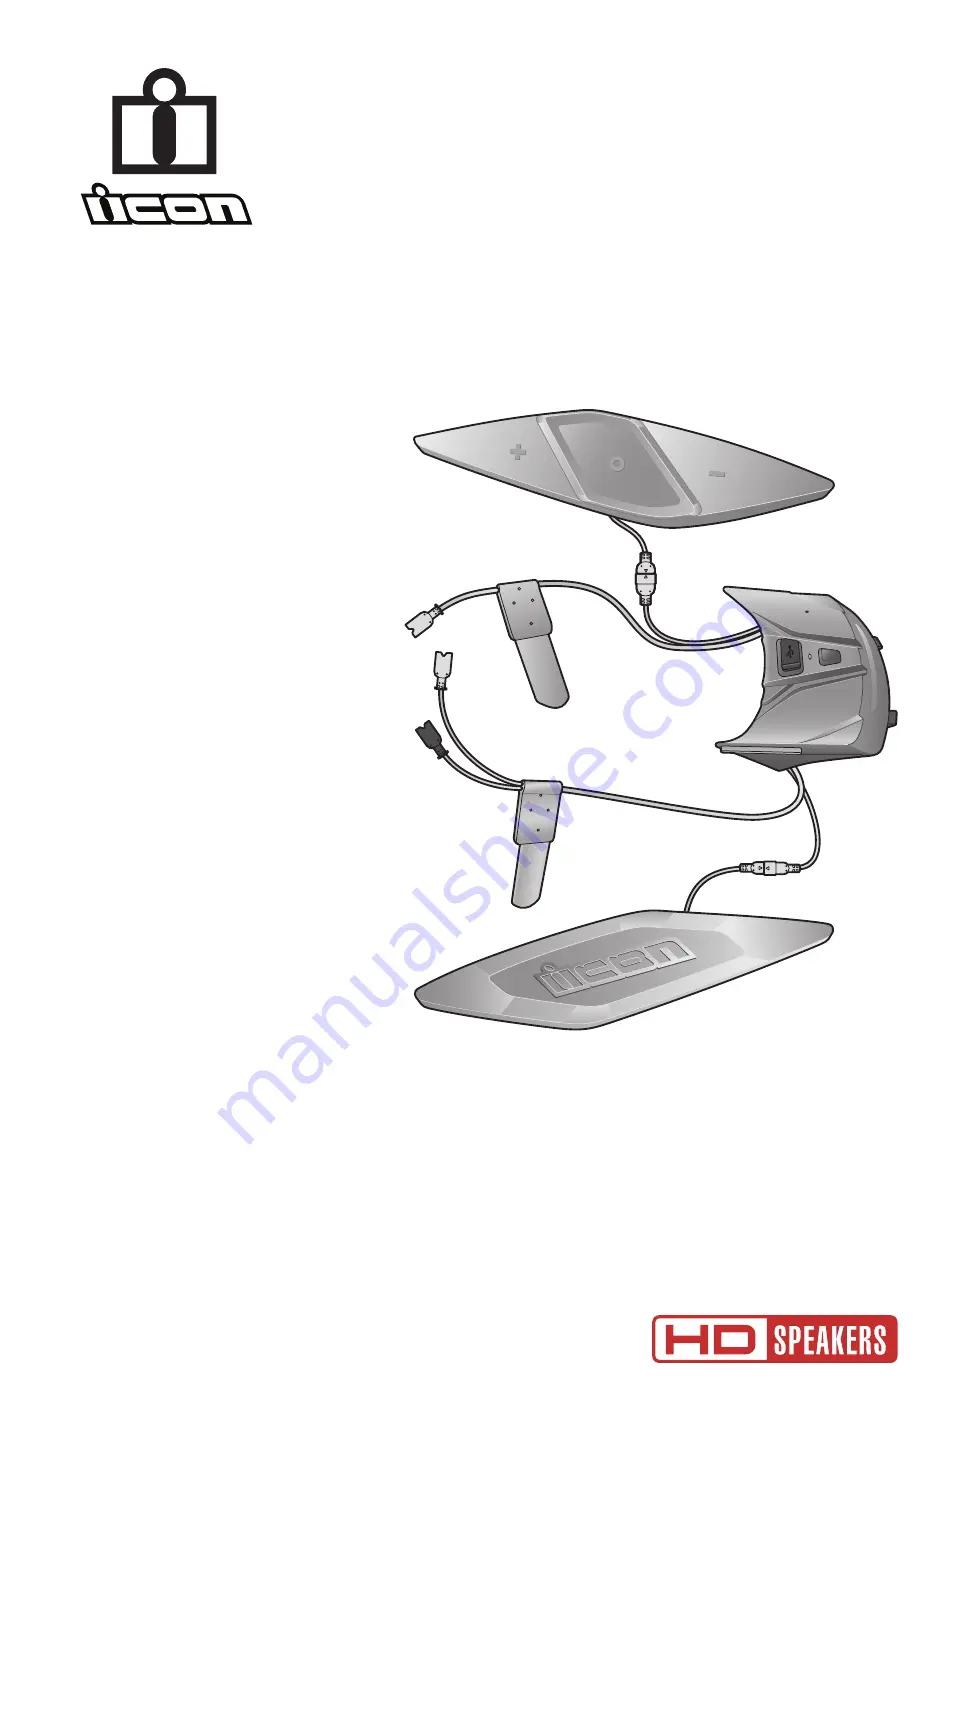
HELMLINK
BLUETOOTH COMMUNICATION SYSTEM
Страница 1: ...ENGLISH USER S GUIDE Version 1 0 0 HELMLINK BLUETOOTH COMMUNICATION SYSTEM...
Страница 2: ...GETTING STARTED 17 3 1 Downloadable Sena Software 17 3 1 1 Sena Motorcycles App 17 3 1 2 Sena Device Manager 17 3 2 Charging 17 3 3 Legend 18 3 4 Powering On and Off 18 3 5 Checking the Battery Level...
Страница 3: ...Making and Answering Calls 25 5 2 Siri and Google Assistant 25 5 3 Speed Dialing 25 5 3 1 Assigning Speed Dial Presets 25 5 3 2 Using Speed Dial Presets 26 6 STEREO MUSIC 27 6 1 Bluetooth Stereo Musi...
Страница 4: ...rcom Pairing SIP 35 8 1 2 Using the Button 36 8 2 Last Come First Served 37 8 3 Two Way Intercom 38 8 4 Multi Way Intercom 39 8 4 1 Starting a Three Way Intercom Conference 39 8 4 2 Starting a Four Wa...
Страница 5: ...USING THE FM RADIO 48 10 1 FM Radio On Off 48 10 2 Seek and Save Radio Stations 48 10 3 Scan and Save Radio Stations 49 10 4 Temporary Station Preset 49 10 5 Navigating Preset Stations 50 11 LED TAILL...
Страница 6: ...able 58 14 2 7 HD Voice Default Enable 58 14 2 8 Bluetooth Intercom Audio Multitasking Default Disabled 59 14 2 9 Intercom Audio Overlay Sensitivity Default 3 59 14 2 10 Audio Overlay Volume Managemen...
Страница 7: ...ation System 7 1 ABOUT THE HELMLINK 1 1 Product Features Bluetooth 5 0 Mesh Intercom up to 2 km 1 2 mi Intercom up to 2 km 1 2 mi Audio Multitasking Multi Language Voice Command Support Siri and Googl...
Страница 8: ...Button Module R Button Module L Mesh Button Bluetooth Module DC Power Charging Firmware Upgrade Port LED Taillight Pinhole Fault Reset Button Taillight Button Status Charging LED Button Module L Conne...
Страница 9: ...Link 1 3 Package Contents HelmLink Button Module R Button Module L Boom Microphone Hook and Loop Fastener for Boom Microphone Speakers Hook and Loop Fasteners for Speakers Microphone Sponges for Boom...
Страница 10: ...1 Detach the snap fasteners located on the center pad and cheek pads Then remove the pads from the helmet 2 Loosen the screw inside helmet using the included Allen wrench 3 Insert the Allen wrench in...
Страница 11: ...2 Preparing the Headset for Installation 2 2 1 Speaker L Speaker R 1 Align the arrows on the Bluetooth Module s microphone connector cable and microphone cables and insert the microphone cable into t...
Страница 12: ...o the hole first and install the Button Module L as shown in the illustration 2 Tighten the screw until the Button Module L unit is fastened firmly to the helmet 2 1 3 Repeat the two processes on the...
Страница 13: ...gn the arrows on the Bluetooth Module s connector and Button Module L s connector cable and insert the Button Module L s connector cable into the Bluetooth Module s connector 7 Peel off the cover of t...
Страница 14: ...the Button Module R s connector into the cavity of the helmet Then put the remains of the cables into the crack in the helmet and organize the cables 2 1 11 Peel off the cover of the hook and loop fa...
Страница 15: ...phone s cable in the ear pocket before you attach it to the ear pocket as shown in the illustration 14 Attach the speaker L and the speaker pad to the hook and loop fastener used for the speaker insid...
Страница 16: ...16 2 INSTALLING THE HEADSET ON YOUR HELMET 17 Reattach the center pad and cheek pads starting from the rear and click the snap fasteners 18 Make sure that the Boom Microphone is located properly close...
Страница 17: ...ent Sena Motorcycles Device Configuration Setting Download the Sena Motorcycles App on Google Play Store or App Store 3 1 2 Sena Device Manager The Sena Device Manager allows you to upgrade firmware a...
Страница 18: ...e the life time or performance of the battery The headset is compatible with 5 V input USB charged devices only 3 3 Legend 1x TAP Tap button the specified number of times 10s HOLD Press and Hold butto...
Страница 19: ...6 Volume Adjustment You can raise or lower the volume by tapping the Button or the Button Volume is set and maintained independently at different levels for each audio source i e phone intercom even w...
Страница 20: ...ne Pairing Second Mobile Phone Pairing and GPS Pairing The headset can also be paired with up to three other ICON headsets Pairs with up to Three ICON headsets Also Pairs with Mobile Phone MP3 Player...
Страница 21: ...ing mode lasts for 3 minutes To cancel phone pairing tap the Center Button 4 1 2 Pairing When the HelmLink is Turned Off 1 While the headset is off press and hold the Center Button and the Button unti...
Страница 22: ...Select HelmLink in the list of Bluetooth devices detected If your mobile phone asks for a PIN enter 0000 Device B Pi Bluetooth HelmLink 4 2 Second Mobile Phone Pairing Second Mobile Phone GPS and SR1...
Страница 23: ...on with two devices 4 3 1 Phone Selective Pairing Hands Free Profile 1 Press and hold the Center Button for 10 seconds 10s HOLD Configuration menu 2 Tap the Button 3 times 3x TAP Blinking Phone select...
Страница 24: ...old the Center Button for 10 seconds 10s HOLD Configuration menu 2 Tap the Button 5 times 5x TAP Blinking GPS pairing 3 Select HelmLink in the list of devices detected If your Bluetooth device asks fo...
Страница 25: ...tant The HelmLink supports the Siri and Google Assistant access directly You can activate the Siri or Google Assistant using the voice through the HelmLink s microphone a wake word will be used This i...
Страница 26: ...peed Dial menu 3s HOLD Speed dial 2 Navigate forward or backward through Speed Dial Preset numbers 1x TAP or 1x TAP 1 Last number redial 2 Speed dial 1 3 Speed dial 2 4 Speed dial 3 5 Cancel 3 Call on...
Страница 27: ...of a Mesh If you start sharing music while Bluetooth intercom and Mesh Intercom are running at the same time then music shared during Bluetooth intercom will take priority over music shared during Me...
Страница 28: ...ercom Music Sharing Start Sharing Music You can start sharing music with one participant of a Mesh Intercom 1 The Creator will send a request message to participants connected during Mesh Intercom Cre...
Страница 29: ...rs to connect and communicate with nearby users without the need to pair each headset together The working distance between each HelmLink in Mesh Intercom can be up to 2 km 1 2 miles in open terrain I...
Страница 30: ...Ch 7 Ch 8 Ch 9 7 1 2 Group Mesh Group Mesh is a closed group intercom function that allows users to join leave or rejoin a group intercom conversation without pairing each headset Users can freely co...
Страница 31: ...Mesh channel 1 Mesh Intercom Off 1x TAP Mesh intercom off 7 3 Using the Mesh in Open Mesh When Mesh Intercom is enabled the headset will be in Open Mesh default channel 1 initially 7 3 1 Channel Sett...
Страница 32: ...HelmLink You can use the Sena Motorcycles App to change the channel 7 4 Using Mesh in Group Mesh 7 4 1 Creating a Group Mesh Creating a Group Mesh requires two or more Open Mesh users Open Mesh Group...
Страница 33: ...en Mesh Existing Group Mesh D F B C You D F B C You 1 To enter Mesh Grouping to join the Existing Group Mesh press and hold the Mesh Button for 5 seconds on the headsets of one You of the current user...
Страница 34: ...twork connection information while in Open Mesh Users can toggle to Group Mesh to communicate with participants from the stored Group Mesh Network connection information Toggle Between Open Mesh and G...
Страница 35: ...m Pairing SIP SIP allows you to quickly pair with your friends for intercom communication by scanning the QR code on the Sena Motorcycles App without remembering the button operation 1 Pair the mobile...
Страница 36: ...ith Intercom Friends C and D Note The Smart Intercom Pairing SIP is not compatible with ICON products that use Bluetooth 3 0 or below 8 1 2 Using the Button YOU B A 1 Users You B enter into Intercom P...
Страница 37: ...irst Intercom Friend For example after the pairing procedures listed above headset D is the First Intercom Friend of headset A Headset C is the Second Intercom Friend of headset A and headset B is the...
Страница 38: ...ith an Intercom Friend A D C B YOU Intercom Friend1 Intercom Friend2 Intercom Friend3 Start End Conversation with the First Intercom Friend D D 1x TAP Intercom Friend1 Start End Conversation with the...
Страница 39: ...m Friends B and C by establishing two intercom connections simultaneously 1 You A need to be paired with two other Intercom Friends B and C for the Three Way Intercom Conference A C B YOU Intercom Fri...
Страница 40: ...com Friend2 D Participant 3 Now you A two Intercom Friends B and C and a new participant D are having a Four Way Intercom Conference A YOU C Intercom Friend1 B Intercom Friend2 D Participant 8 4 3 End...
Страница 41: ...s to the conversation Invite an Intercom Friend into Phone Conference 1x TAP or 2x TAP or 3x TAP 2 To disconnect the intercom during a conference phone call tap the Center Button once twice or three t...
Страница 42: ...cted together Terminate Group Intercom 3s HOLD Group intercom terminated 8 7 Mesh Intercom Conference with Bluetooth Intercom Participant Users can use the existing Bluetooth intercom and Mesh Interco...
Страница 43: ...sues ICON recommends that a closed loop not be created ICON headset HelmLink HelmLink Mesh Intercom Bluetooth Intercom If Bluetooth intercom is accidentally turned on during Mesh Intercom communicatio...
Страница 44: ...vice is paired via Second Mobile Phone Pairing it will be disconnected 9 1 Universal Intercom Pairing 1 10s HOLD Configuration menu 2 3x TAP Universal intercom pairing 3 1x TAP Enter into Universal In...
Страница 45: ...If the intercom connection is made all headsets connected cannot use the mobile phone call function since the connection between the headset and the phone is disconnected temporarily If you disconnec...
Страница 46: ...tercom call You may make a Four Way Universal Intercom connection with a couple of different configurations 1 two headsets and two non ICON Bluetooth headsets or 2 three headsets and one non ICON Blue...
Страница 47: ...tion at the same time In this case it is recommended to communicate with non ICON headset via Two way Universal Intercom connection and use Mesh Intercom between HelmLink headsets A user who is in Ope...
Страница 48: ...adio stations Seek Stations Forward 2x TAP Seek Stations Backward 2x TAP 2 Save the current station Enter Preset Selection Mode 3s HOLD Preset 3 Navigate through the preset numbers that you want to st...
Страница 49: ...or 8 seconds before moving to the next 3 Save the current station The station will be saved as the next preset number Save the Current Station 1x TAP Save preset Note You can use the Sena Motorcycles...
Страница 50: ...munication System 50 10 USING THE FM RADIO 10 5 Navigating Preset Stations Using the methods above up to 10 radio stations can be stored You can navigate through the saved stations Navigate through Pr...
Страница 51: ...tive Flash 1x TAP 1s LED Off 1x TAP Adaptive Flash the LED blinks once every 2 seconds in the normal status but when a large deceleration is detected the LED will blink quickly for 5 seconds After 5 s...
Страница 52: ...attery Volume Up Hey Sena Volume Up Volume Down Hey Sena Volume Down Phone Pairing Hey Sena Phone Pairing Bluetooth Intercom Pairing Hey Sena Pairing Intercom Start End each Bluetooth Intercom Hey Sen...
Страница 53: ...Radio Hey Sena FM Radio Off Answer an Incoming Call Answer Ignore an Incoming Call Ignore Note You can set a language to another language by using the Headset Language feature on the Sena Motorcycles...
Страница 54: ...sic FM radio lowest Bluetooth stereo music A lower priority function gets interrupted by a higher priority function For example stereo music will be interrupted by an Intercom Conversation an Intercom...
Страница 55: ...TAP Execute Menu Options 1x TAP Headset Configuration Menu Voice Configuration Menu Tap the Center Button Mobile Phone Pairing None Second Mobile Phone Pairing None Phone Selective Pairing None Media...
Страница 56: ...the Remote Control device 2 Execute Remote Control Pairing 3 Enter pairing mode in the Remote Control device The headset will automatically connect with the Remote Control device in pairing mode 14 2...
Страница 57: ...his feature is disabled you have to tap the Center Button to answer an incoming call 14 2 4 VOX Intercom Default Disable If this feature is enabled you can initiate an intercom conversation with the l...
Страница 58: ...t of normal intercom HD Intercom will become disabled temporarily when Bluetooth Intercom Audio Multitasking is enabled 14 2 7 HD Voice Default Enable HD Voice allows you to communicate in high defini...
Страница 59: ...h a headset that also supports this feature Some GPS devices may not support this feature The Audio Multitasking feature can be configured through the Intercom Audio Overlay Sensitivity and the Audio...
Страница 60: ...voice prompts are always on headset configuration settings menu battery level indicator speed dial FM radio functions 14 2 14 RDS AF Setting Default Disable Radio Data System RDS Alternative Frequency...
Страница 61: ...requency range for your location Using the region setting you can optimize the seek function to avoid unnecessary frequency ranges Region Frequency range Step Worldwide 76 0 108 0 MHz 100 kHz North Am...
Страница 62: ...back of the main unit 2 Gently insert a paper clip into the hole and press the Pinhole Fault Reset Button with light pressure Pinhole Fault Reset Button FAULT RESET 3 The headset will shut down Note F...