


17
OPTIONS
17-6
When using an application
D
Download procedures (Android device)
1 Turn ON your Android device
2 Touch “Play Store”
3 Enter the application’s name in the search field
L
Do not abbreviate the application name to be sure to
find it
4 Touch “ ”
• The application’s name will be displayed as the
search result
L
If your Android device does not support the
application, its name may not appear on the search
result
5 Touch the application to install
• Displays the introduction screen of the application
6 Touch <INSTALL>
• Installation starts
• After finishing the installation, the icon is displayed on
the screen
D
Download procedures (iOS device)
1 Turn ON your iOS device
2 Touch “App Store”
3 Enter the application’s name in the search field
L
Do not abbreviate the application name to be sure to
find it
4 Touch “ ”
• The application’s name will be displayed as the
search result
L
If your iOS device does not support the application,
its name may not appear on the search result
5 Touch the application to install
• Displays the introduction screen of the application
6 Touch <GET>
• Installation starts
• After finishing the installation, the icon is displayed on
the screen
D
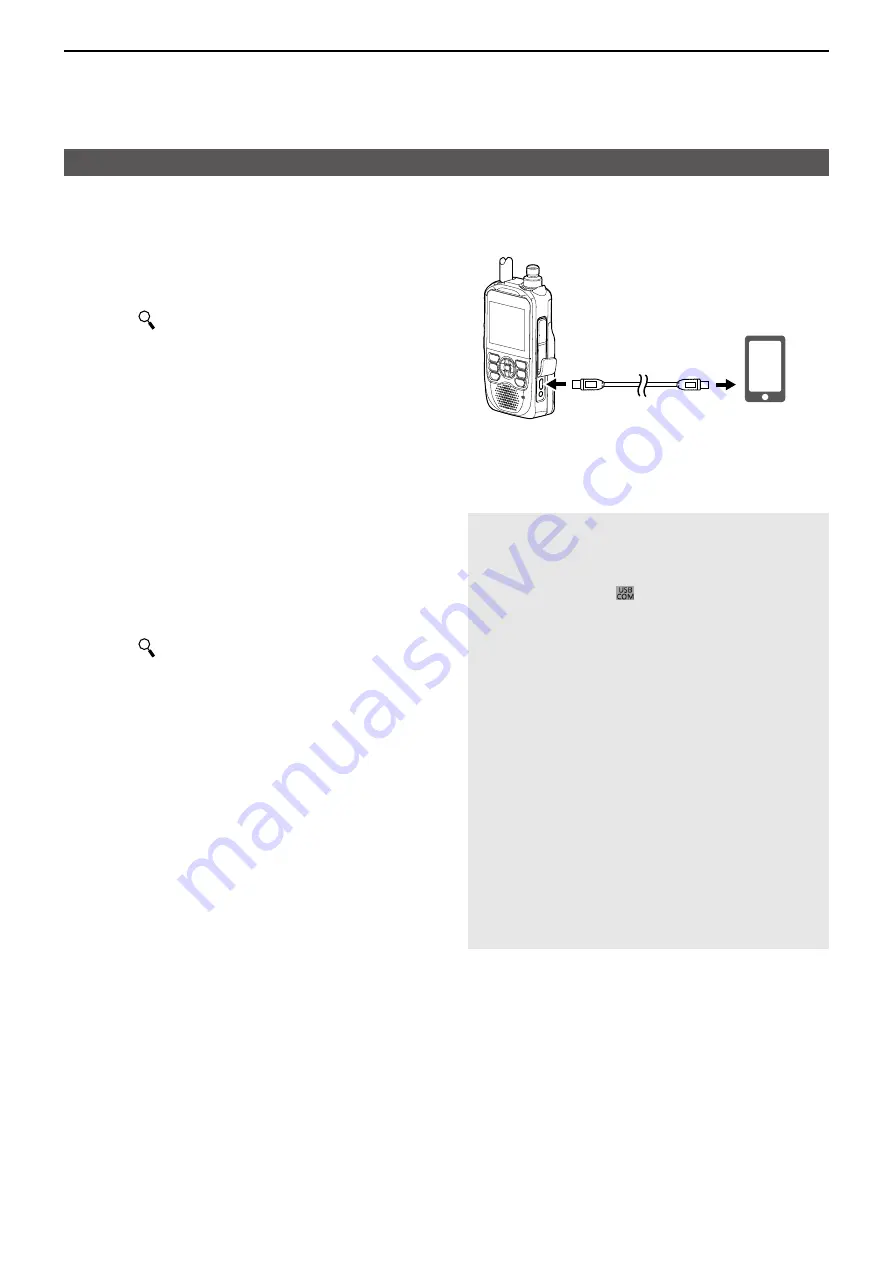
When using a USB cable
Android device
with the USB
host function
To a USB port
To the [USB] port
USB cable
ID-52A/E
L
Connect the USB micro-B connector (for the OPC-2417:
with the white tube) to the transceiver and the other
connector to an Android device
NOTE:
• Turn OFF the transceiver before connecting or removing
the cable
• When an Android device is connected, the USB
connection indicator ( ) is displayed on the
transceiver If the indicator is not displayed, enable your
Android device to detect the USB device
L
No operation is required on a mobile device that
support automatic detection of the USB devices
• When using RS-MS1A, confirm the following items are set
([MENU] > SET > Function >
CI-V
)
Set “CI-V Address” to the value same as the RS-MS1A
side (Default: A6)
L
RS-MS1A side: Application Settings → CI-V settings
(Default: Transceiver[A6])
Set “CI-V Transceive” to “ON”
([MENU] > SET > Function >
USB Serialport Function
)
Set “USB SerialPort Function” to “CI-V (Echo Back OFF)”
([MENU] > SET > Function >
USB Connect
)
Set “USB Connect” to “Serialport”
• When using Access Point mode, RS-MS1A cannot be
used
• Remove the USB cable when you do not use the cable
Otherwise, the battery will be quickly exhausted


