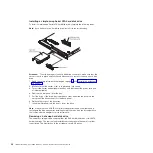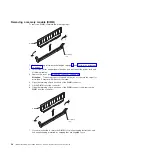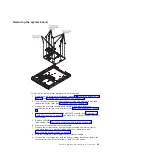
Removing
the
riser-card
assembly
Complete
the
following
steps
to
remove
the
riser-card
assembly:
1.
Read
the
safety
information
that
begins
on
page
and
2.
Turn
off
the
server
and
peripheral
devices,
and
disconnect
the
power
cord
and
all
external
cables.
3.
Remove
the
server
from
the
rack
and
place
it
on
a
flat,
non-conductive
surface.
4.
Remove
the
cover
(see
5.
Grasp
the
riser-card
assembly
at
the
rear
edge
and
lift
to
remove
it
from
the
server.
Place
the
riser-card
assembly
on
a
flat,
static-protective
surface.
6.
If
you
are
instructed
to
return
the
riser-card
assembly,
follow
all
packaging
instructions,
and
use
any
packaging
materials
for
shipping
that
are
supplied
to
you.
Installing
the
riser-card
assembly
The
server
comes
with
one
riser-card
assembly
that
contains
two
PCI-X
connectors.
You
can
replace
the
riser-card
assembly
with
one
that
contains
one
PCI-X
connector
and
one
PCI
Express
connector.
See
the
ServerProven
list
at
http://www.ibm.com/servers/eserver/serverproven/compat/us/
for
a
list
of
riser-card
assemblies
that
you
can
use
with
the
server.
Chapter
4.
Removing
and
replacing
server
components
49
Содержание xSeries 206m
Страница 1: ...IBM xSeries 306m Types 8849 and 8491 Problem Determination and Service Guide...
Страница 2: ......
Страница 3: ...IBM xSeries 306m Types 8849 and 8491 Problem Determination and Service Guide...
Страница 8: ...vi IBM xSeries 306m Types 8849 and 8491 Problem Determination and Service Guide...
Страница 143: ......
Страница 144: ...Part Number 31R1183 Printed in USA 1P P N 31R1183...


