Chapter 6. Loading the System Diagnostics
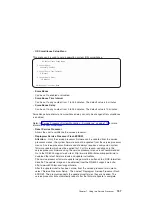
The system diagnostics can be booted either the default boot list or the customized
service mode boot list. (The service mode boot list can be modified using the system
diagnostics
″
Display or Change Bootlist
″
service aid. The service mode boot list cannot
be modified under the System Management Services.)
Performing Slow Boot
To fully analyze all of the available information, perform the following steps before doing
a hardware repair or replacement, especially if the error is related to the CPU or
memory.
1. Record the 8-character error code (and location code if present) displayed in the
operator panel, or that was reported by the customer.
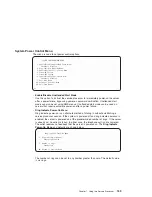
2. Do a slow-mode boot in service mode. This can be specified using the System
Power Control Menu on the service processor main menu. (A fast-mode boot skips
much of the built-in diagnostic testing.) A slow-mode boot may yield a new
8-character error code on the operator panel and new errors in the service
processor error log. If a new error code is reported, use it in subsequent steps to
continue problem analysis.
Standalone Diagnostics
To load standalone diagnostics from the default boot list, perform the following
procedure:
1. Verify with the system administrator and users that all programs may be stopped,
then do so.
2. Turn off the system.
3. Wait 30 seconds, and turn on the system.
4. Immediately insert the diagnostic CD-ROM into the CD-ROM drive.
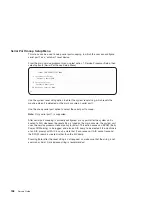
5. When or after the keyboard indicator appears during startup, press the F5 key on a
directly attached keyboard (or the number 5 key on an ASCII terminal).
6. Enter any requested passwords.
Online Diagnostics
Online diagnostics can be loaded using the customized service mode boot list by
pressing the F6 key (on a directly attached keyboard) or the number 6 key on an ASCII
terminal.
The procedure for booting from the devices listed in the service mode boot list (
Online
Diagnostics
) is as follows:
1. Verify with the system administrator and users that all programs may be stopped,
then do so.
2. Turn off the system.
147
Содержание RS/6000 44P Series 270
Страница 1: ...RS 6000 44P Series Model 270 Service Guide SA38 0572 02 ...
Страница 10: ...x Service Guide ...
Страница 14: ...xiv Service Guide ...
Страница 16: ...xvi Service Guide ...
Страница 20: ...Rear View 1 2 3 4 5 6 7 8 9 11 12 13 14 15 16 10 17 18 19 2 Service Guide ...
Страница 44: ...26 Service Guide ...
Страница 164: ...146 Service Guide ...
Страница 204: ...186 Service Guide ...
Страница 245: ...3 To remove the rear cover lift the cover up and away from the system Chapter 9 Removal and Replacement Procedures 227 ...
Страница 247: ...b Slide the covers to the rear and remove Chapter 9 Removal and Replacement Procedures 229 ...
Страница 288: ...270 Service Guide ...
Страница 289: ...Chapter 10 Parts Information This chapter contains parts information for the RS 6000 44P Series Model 270 271 ...
Страница 290: ...1 2 3 4 5 6 7 8 9 10 11 12 13 14 15 16 17 18 19 21 20 22 23 24 25 272 Service Guide ...
Страница 294: ...Keyboards and Mouse 276 Service Guide ...
Страница 296: ...Keyboards and Mouse Black 278 Service Guide ...
Страница 298: ...Power Cables 1 2 3 4 5 6 7 8 9 10 11 280 Service Guide ...
Страница 300: ...282 Service Guide ...
Страница 302: ...284 Service Guide ...
Страница 304: ...286 Service Guide ...
Страница 310: ...292 Service Guide ...
Страница 338: ...320 Service Guide ...
Страница 345: ......
Страница 346: ... Printed in U S A September 2001 SA38 0572 02 ...


