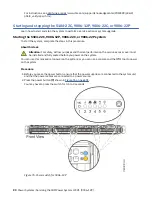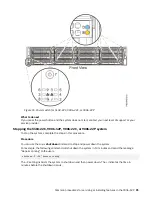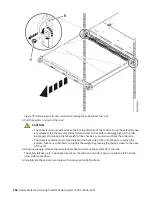
Figure 79. Removing the front screws and removing the system from the rack
3. Pull the system unit out of the rack.
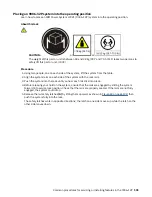
CAUTION:
• The chassis rails only extend about half of the distance of the chassis. Once the safety latches
are released, the chassis only slides forward a few inches before disengaging from the rails.
Be prepared to support the full weight of the chassis as you remove it from the slide rails.
• The chassis contains most of the weight in the back side of the unit. When you remove the
system, take care to be ready to support the weight by grasping the chassis closer to the back
of the unit.
4. Using two people, release the rail safety latches and remove the system from the rails.
The safety latches work in opposite directions; the latch on one side moves up while the latch on the
other side moves down.
5. Carefully set the system on a table with an appropriate ESD surface.
100 Power Systems: Servicing the IBM Power System LC921 (9006-12P)
Содержание Power System LC921 9006-12P
Страница 1: ...Power Systems Servicing the IBM Power System LC921 9006 12P IBM...
Страница 14: ...xiv Power Systems Servicing the IBM Power System LC921 9006 12P...
Страница 20: ...Figure 3 Turning the 2 5 inch tray upside down 6 Power Systems Servicing the IBM Power System LC921 9006 12P...
Страница 23: ...Figure 6 Turning the 2 5 inch tray upside down Removing and replacing parts in the 9006 12P system 9...
Страница 118: ...104 Power Systems Servicing the IBM Power System LC921 9006 12P...
Страница 120: ...106 Power Systems Servicing the IBM Power System LC921 9006 12P...
Страница 131: ......
Страница 132: ...IBM...

