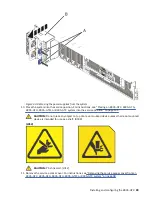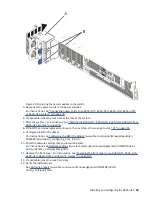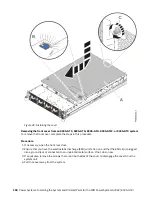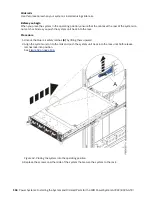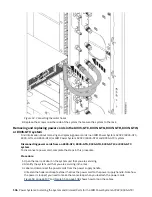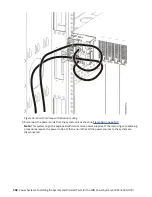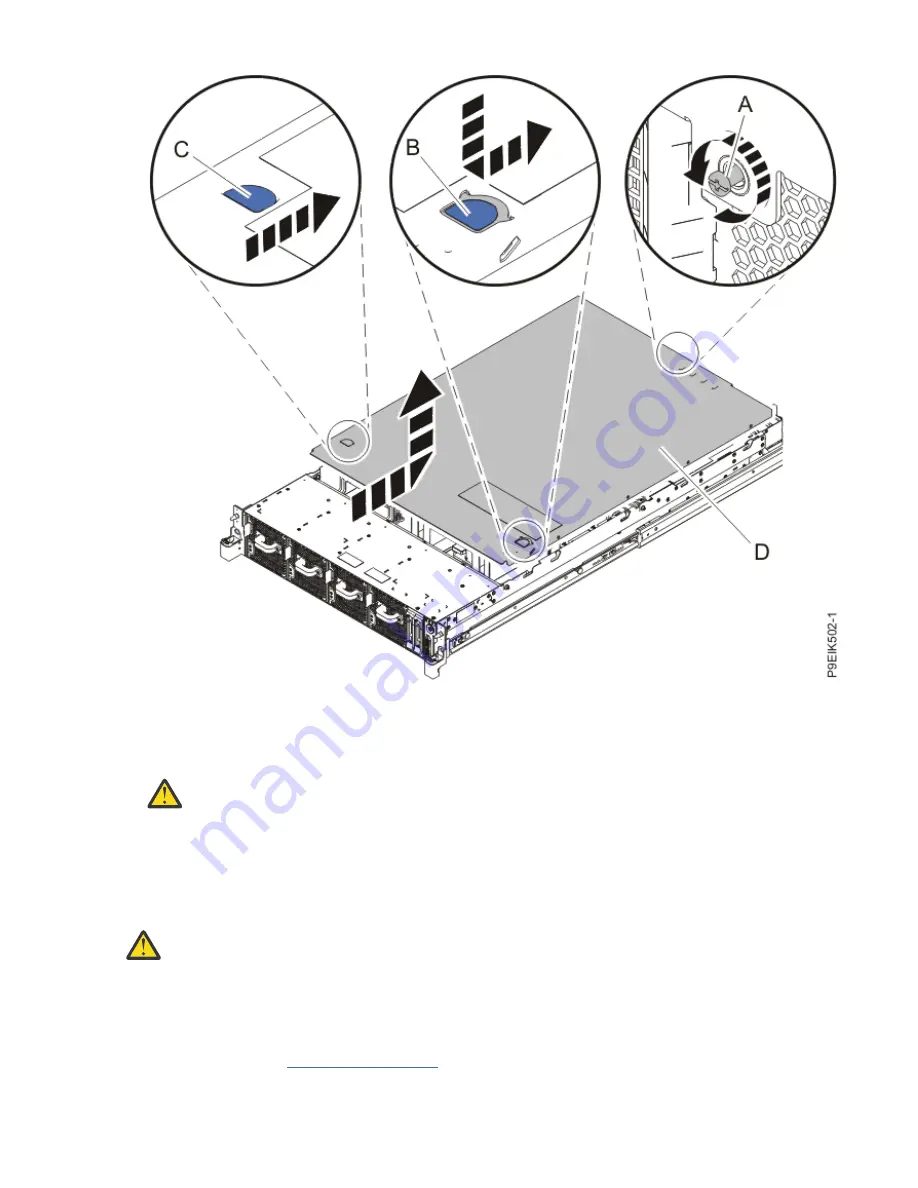
Figure 48. Removing the cover
3. While you press down on latch (B) and touch point (C), slide the cover (D) towards the rear of the
system unit. When the front of the service access cover clears the upper frame ledge, lift the cover up
and off the system unit.
Attention: For proper cooling and airflow, replace the cover before you power on the system.
Installing the service access cover on an 8335-GTC, 8335-GTG, 8335-GTH, 8335-GTW, or 8335-GTX
system
To replace the service access cover, complete the steps in this procedure.
About this task
Attention: For safety, airflow purposes and thermal performance, the service access cover must
be installed and fully seated before powering on the system on.
Procedure
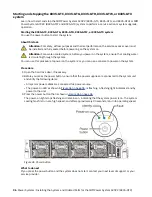
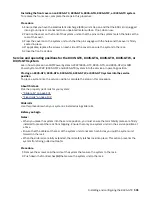
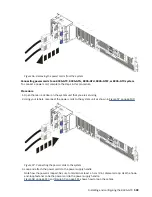
1. Place the cover (A) on the system unit such that the alignment pins on the cover are aligned to the
slots on the chassis. Slide the cover to the front of the system until the blue release latch (B) locks in
to place as shown in Figure 49 on page 100.
2. Fasten the cover screw (C) at the rear of the cover.
Installing and configuring the 8335-GTX 99
Содержание Power System AC922
Страница 1: ...Power Systems Installing the System and Ordered Parts for the IBM Power System AC922 8335 GTX IBM...
Страница 4: ...iv...
Страница 14: ...xiv Power Systems Installing the System and Ordered Parts for the IBM Power System AC922 8335 GTX...
Страница 105: ...or or or or Installing and configuring the 8335 GTX 91...
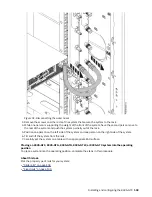
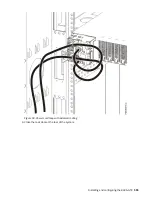
Страница 121: ...Figure 54 Routing the power cord loop in the cable management arm Installing and configuring the 8335 GTX 107...
Страница 126: ...112 Power Systems Installing the System and Ordered Parts for the IBM Power System AC922 8335 GTX...
Страница 137: ......
Страница 138: ...IBM...


