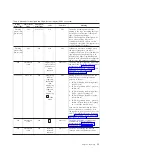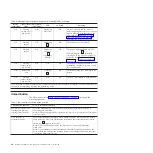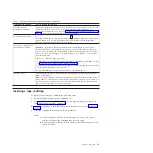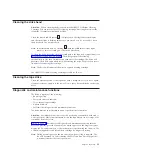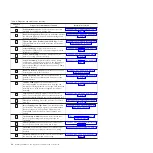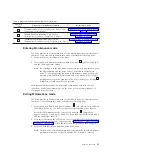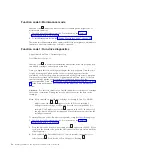
5.
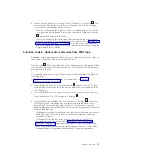
After viewing all error codes, exit this function by pressing the Unload button
again. The SCD will display
0
and exit Maintenance mode.
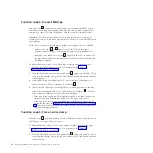
Function code A: Clear error code log
Function code
A
erases the contents of the error code log.
To execute Function code A: Clear error code log, complete the following steps:
1.
Put the drive in Maintenance mode. For instructions, see “Entering
Maintenance mode” on page 25.
2.
Press the Unload button once per second until
A
appears in the SCD. (If you
cycle past the desired code, press the Unload button once per second until the
code reappears.)
3.
Press and hold the Unload button for 3 or more seconds, then release it to
select the function.
A
flashes in the SCD, followed by
0
. The tape drive
erases all errors from the error code log and exits Maintenance mode.
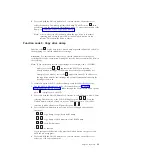
Function code C: Insert cartridge into tape drive
You cannot select this function; it is part of other maintenance functions (such as
Run tape drive diagnostics and Create FMR tape) that require a tape cartridge to
be inserted.
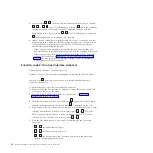
Function code E: Test cartridge & media
Approximate Run Time = 15 minutes per loop
Total Number of Loops = 10
Function code
E
performs tests that determine whether a suspect cartridge and
its magnetic tape are acceptable.
Press the Unload button to stop the diagnostic and exit Maintenance mode. Press
the Unload button once to abort the test at the end of the current test loop. Press
the Unload button twice to abort the test immediately. Wait for the drive to rewind
the tape and unload the cartridge.
Attention:
When you perform this test, data on the suspect tape will be
overwritten.
Note:
If you inserted an invalid tape cartridge (for example, Gen 2 or WORM
media), error code
J
or
7
appears in the SCD. If you inserted a
write-protected cartridge, or the media has read-only compatibility (for
example, Gen 3 media), error code
P
appears in the SCD. In either case,
the tape drive unloads the cartridge and exits Maintenance mode after the
cartridge is removed.
To execute Function code E: Test cartridge & media, complete the following steps:
Chapter 3. Operating
33
Содержание L5X
Страница 2: ......
Страница 10: ...viii Half High LTO Gen 5 SAS Tape Drive Installation and User s Guide...
Страница 14: ...xii Half High LTO Gen 5 SAS Tape Drive Installation and User s Guide...
Страница 16: ...xiv Half High LTO Gen 5 SAS Tape Drive Installation and User s Guide...
Страница 58: ...40 Half High LTO Gen 5 SAS Tape Drive Installation and User s Guide...
Страница 71: ...Figure 14 RID tag on rear panel Chapter 5 Resolving problems 53...
Страница 72: ...54 Half High LTO Gen 5 SAS Tape Drive Installation and User s Guide...
Страница 76: ...58 Half High LTO Gen 5 SAS Tape Drive Installation and User s Guide...
Страница 90: ...72 Half High LTO Gen 5 SAS Tape Drive Installation and User s Guide...
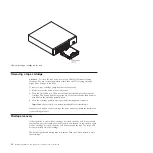
Страница 94: ...Figure 26 Sliding the drive forward 76 Half High LTO Gen 5 SAS Tape Drive Installation and User s Guide...
Страница 102: ...84 Half High LTO Gen 5 SAS Tape Drive Installation and User s Guide...
Страница 119: ......
Страница 120: ...Part Number 60Y1487 Printed in USA 1P P N 60Y1487...

