
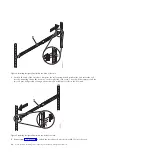

8.
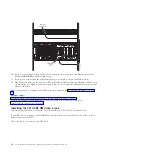
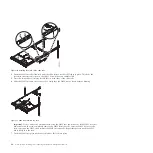
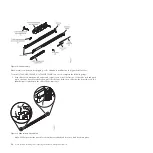
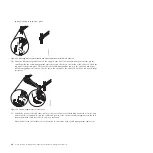
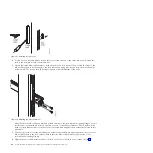
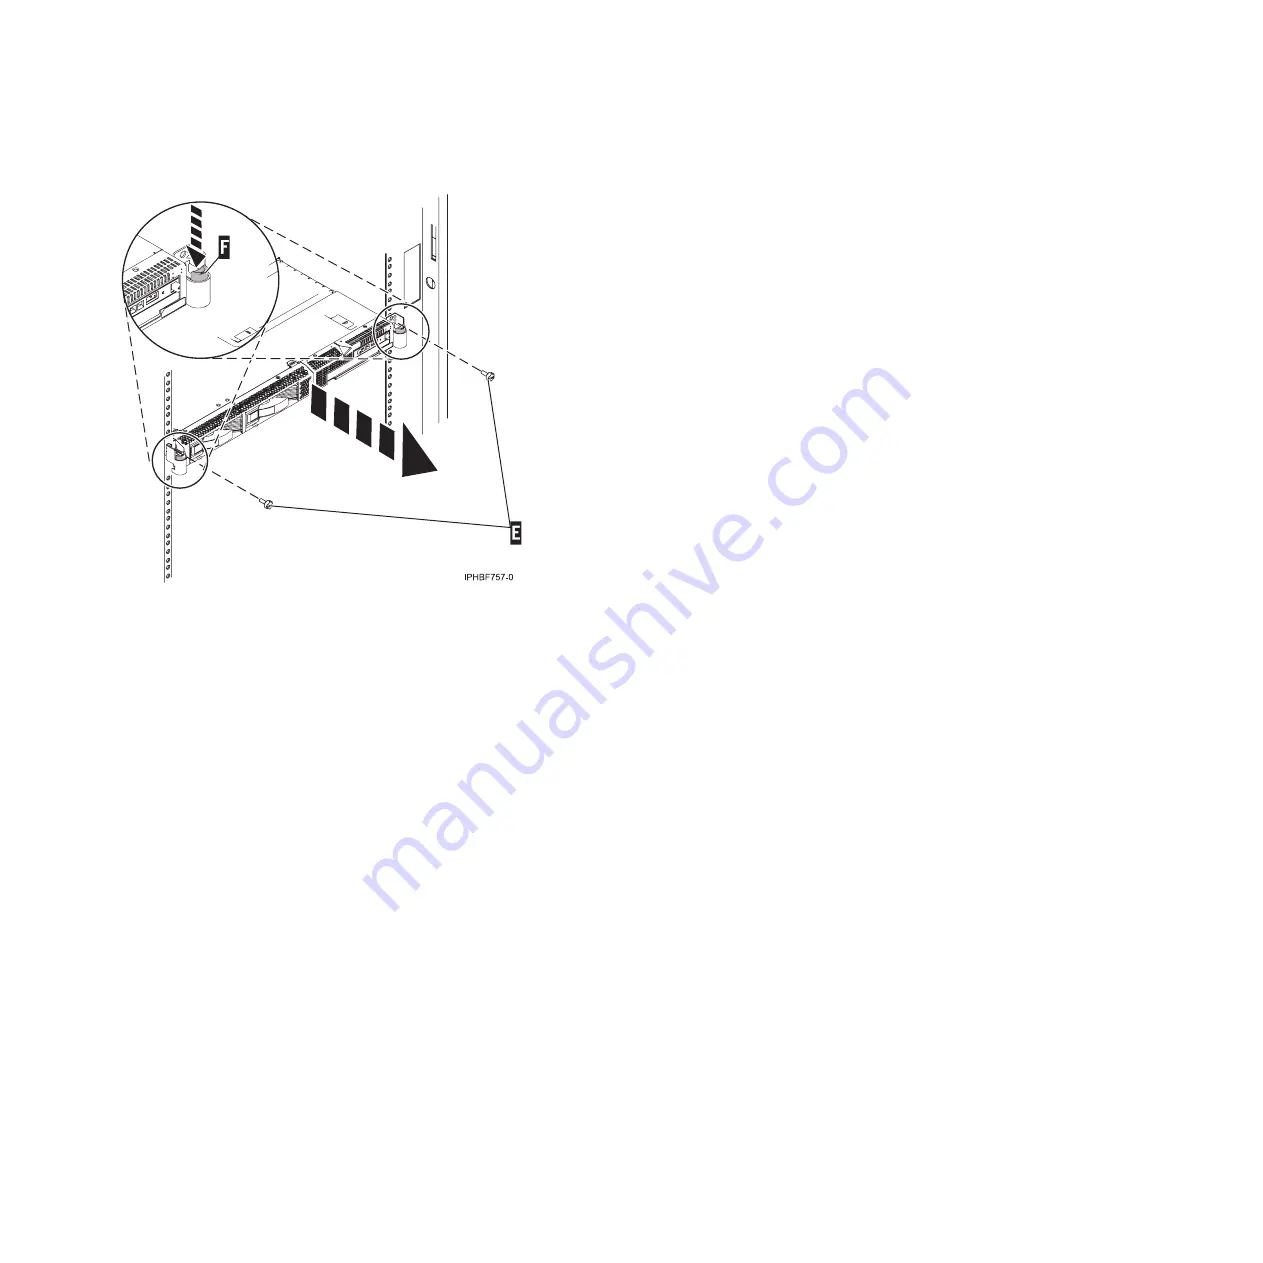
Completely tighten each of the four screws that were installed in the front and back of both rails.
9.
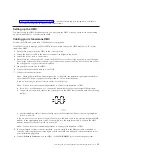
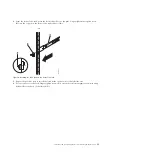
If the rack will be transported, insert and tighten the two rack security screws
(E)
.
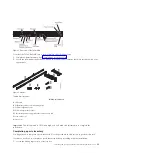
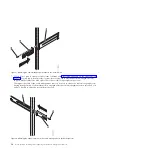
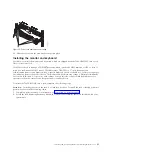
Installing the cable-management arm
You might need to install the cable-management arm. Use the procedure in this section to perform this
task.
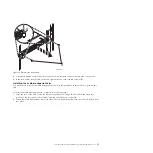
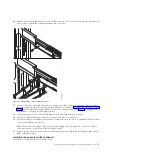
To install the cable-management arm, complete the following steps:
1.
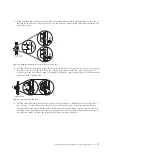
From the rear of the rack, locate the cable-management arm flange
(A)
located on the fixed rear
portion of the left system rail assembly (viewing from the back of the rack).
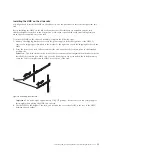
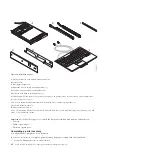
2.
Attach the cable-management arm clasp
(B)
to the rail by pushing the clasp onto the rail until it locks
into place.
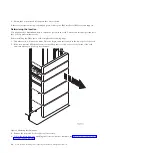
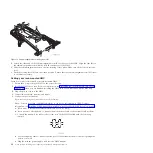
Figure 12. Rack latches and screws
Installing and configuring the Hardware Management Console
33
Содержание Hardware Management Console
Страница 1: ...Power Systems Installing and configuring the Hardware Management Console...
Страница 2: ......
Страница 3: ...Power Systems Installing and configuring the Hardware Management Console...
Страница 8: ...vi Power Systems Installing and configuring the Hardware Management Console...
Страница 107: ......
Страница 108: ...Printed in USA...


