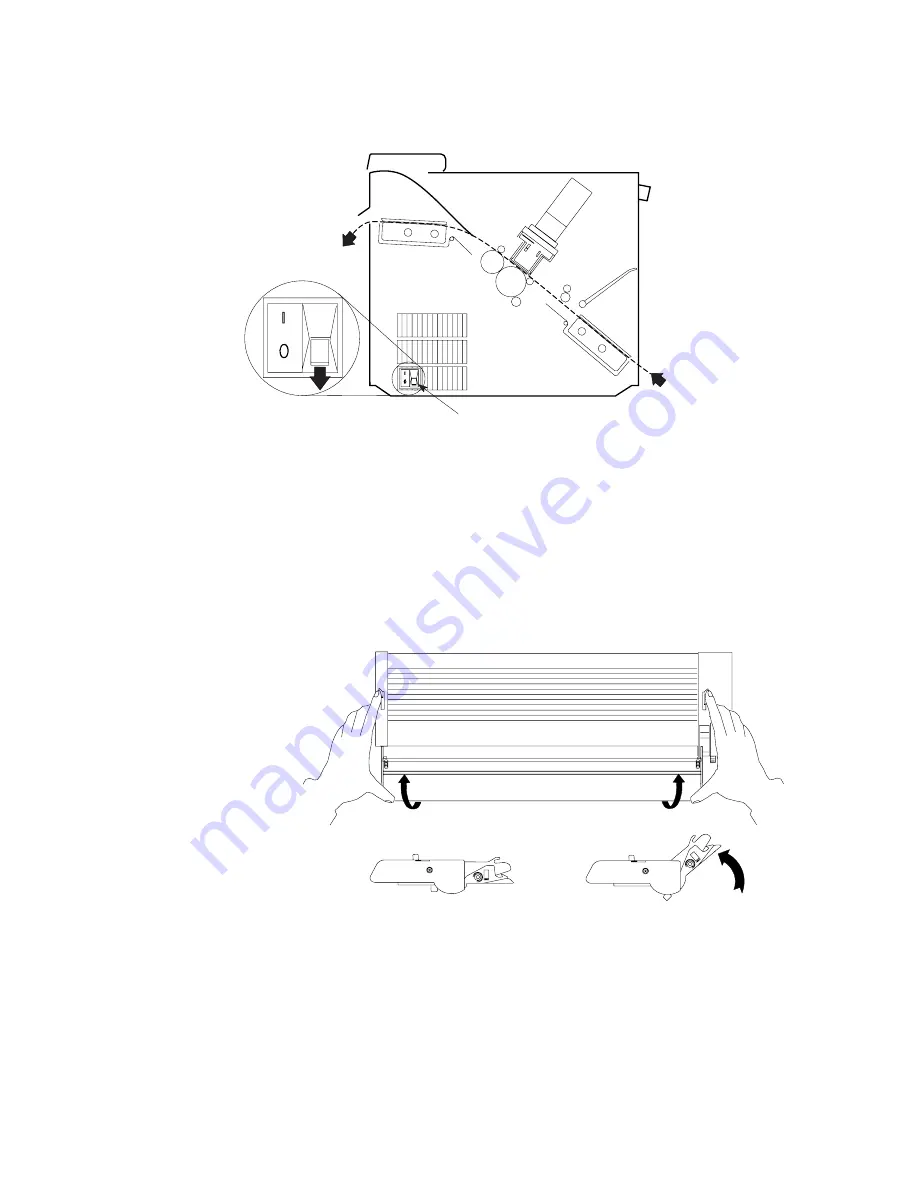
Installing Forms Tractor in Push-Pull Position
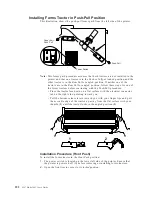
This illustration shows the push-pull forms path from the left side of the printer.
Power Switch
Paper Exit -
Push-Pull
Push-Pull
Note:
This forms path procedure assumes that both tractors are not installed in the
printer and that one tractor is in the Push or fully-extended position and the
other tractor is in the Rear Pull or angled position. If neither one of the
tractors are in the Rear Pull or angled position, follow these steps for one of
the forms tractors before continuing with the Push-Pull procedure:
v
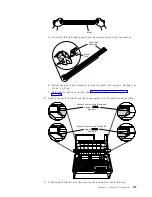
Place the tractor face down on a flat surface with the electrical connector
tab on the right side, pointing toward you.
v
Pull the bottom release levers toward you with your finger tips and pull
the movable edge of the tractor up away from the flat surface with your
thumbs (1) until the tractor locks in the angled position (2).
2
1
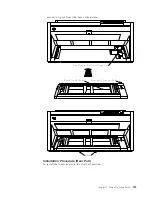
Installation Procedure (Front Push)
To install the forms tractor in the Front Push position:
1.
The power switch is located on the lower left side of the printer. Ensure that
the printer is powered off (O) before removing or installing forms tractors.
2.
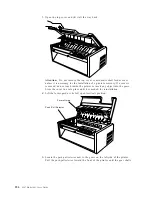
Open the front tractor cover to its locked position.
252
4247 Model 003 User’s Guide
Содержание 4247 Model 003
Страница 1: ...4247 Printer Model 003 User s Guide S544 5780 01 IBM ...
Страница 2: ......
Страница 3: ...4247 Printer Model 003 User s Guide S544 5780 01 IBM ...
Страница 46: ...36 4247 Model 003 User s Guide ...
Страница 62: ...52 4247 Model 003 User s Guide ...
Страница 84: ...74 4247 Model 003 User s Guide ...
Страница 86: ...76 4247 Model 003 User s Guide ...
Страница 126: ...116 4247 Model 003 User s Guide ...
Страница 152: ...142 4247 Model 003 User s Guide ...
Страница 168: ...158 4247 Model 003 User s Guide ...
Страница 184: ...174 4247 Model 003 User s Guide ...
Страница 186: ...176 4247 Model 003 User s Guide ...
Страница 188: ...178 4247 Model 003 User s Guide ...
Страница 190: ...180 4247 Model 003 User s Guide ...
Страница 194: ...184 4247 Model 003 User s Guide ...
Страница 287: ...e61a6001 3 3 3 7 7 35 7 Figure 16 Printer Demonstration Printout Chapter 18 Using the Operator Print Tests 277 ...
Страница 331: ...9 Reload the forms Chapter 20 Problems 321 ...
Страница 332: ...322 4247 Model 003 User s Guide ...
Страница 351: ...that of the power cord or plug whichever is less Appendix A Printer Specifications 341 ...
Страница 352: ...342 4247 Model 003 User s Guide ...
Страница 391: ......


