Routing and securing the hoses
Use one of the following procedures, depending on whether the rack is in a
raised-floor environment.
Important:
To help maintain optimum performance of the Rear Door Heat
eXchanger and provide proper cooling for all rack components, you
must always take the following precautions:
v
Install filler panels over all unoccupied bays.
v
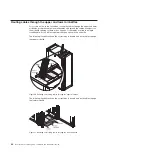
Route signal cables at the rear of the rack so that they enter or exit
the cabinet through the top and bottom air baffles.
v
Bundle signal cables together in a rectangle so that the air-baffle
sliders are closed as far as possible. Do not bundle signal cables
together in a circular formation. For more information, see “Routing
cables through the upper and lower air baffles” on page 42.
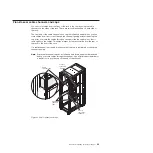
Raised-floor environment
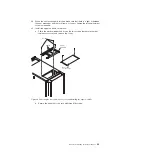
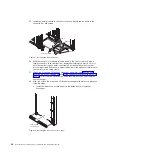
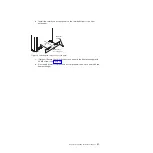
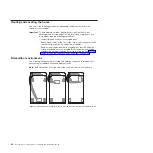
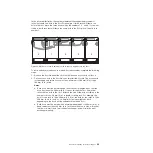
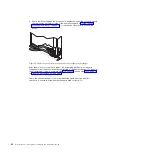
The following illustrations show routing and securing the hoses in a raised-floor
environment for individual racks and adjacent racks.
Note:
Both illustrations show the view of the rack from the top, looking down.
Figure 33. Routing and securing the hoses in a raised-floor environment for individual racks
44
Rear Door Heat eXchanger V2: Installation and Maintenance Guide
Содержание 1756
Страница 1: ...Rear Door Heat eXchanger V2 Type 1756 Installation and Maintenance Guide ...
Страница 2: ......
Страница 3: ...Rear Door Heat eXchanger V2 Type 1756 Installation and Maintenance Guide ...
Страница 38: ...28 Rear Door Heat eXchanger V2 Installation and Maintenance Guide ...
Страница 64: ...54 Rear Door Heat eXchanger V2 Installation and Maintenance Guide ...
Страница 90: ...80 Rear Door Heat eXchanger V2 Installation and Maintenance Guide ...
Страница 98: ...88 Rear Door Heat eXchanger V2 Installation and Maintenance Guide ...
Страница 101: ...website continued support line telephone numbers 79 Index 91 ...
Страница 102: ...92 Rear Door Heat eXchanger V2 Installation and Maintenance Guide ...
Страница 103: ......
Страница 104: ... Part Number 00D2434 Printed in USA 1P P N 00D2434 ...


