AHU Series Quick Reference Installation Guide
QS002 R1 Quick Reference Installation Guide - AHU
Wiring
(Manual section 2.6 Electrical Connections)
Default Settings
(Manual section 3.2 Default Fan Speed Settings)
Configuration with IBCconnect app (cont.)
Checklist
All AHU units comes set with the following default factory
settings. The free IBCconnect app allows for configurating custom
settings.
See reverse for a full page wiring diagram. See manual for
detailed wiring instructions.
AHU Fan Speed Operation
W1
Heating stage 1 = 600
CFM
Range 300-800
W2
Heating stage 2 = 800
CFM
Range 300-1000 (must be ≥
than heating stage 1)
Y1
Cooling stage 1 = 700
CFM
Range 300-800
Y2
Cooling stage = 1000
CFM
Range 300-1000 (must be ≥
than cooling stage 1)
G
Fan on speed = 400
CFM
Range 150-1000
Electrical connections
Ensure the power supply is
120V
15A circuit
☐
Check all electrical and thermostat connections to ensure
they are correct and tight
☐
Thermostat is in a suitable location.
☐
Water connections
All connections are pressure-tested and leak-free.
☐
All piping flushed to ensure all air is removed
☐
Check valve installed, external pump is flowing in the
correct direction
☐
Boiler/water heater properly installed and safe to operate
☐
Ducting connections
All connections pressure-tested and leak-free.
☐
Ducts sized correctly and joints sealed.
☐
Air supply air dampers and registers are opened.
☐
Inspect filter, return air ducting, and registers.
☐
Water temperature is sufficient for the space’s heating
requirements.
☐
Configuration with IBCconnect app
(Manual section 3.3 Operating the Unit with a Mobile App)
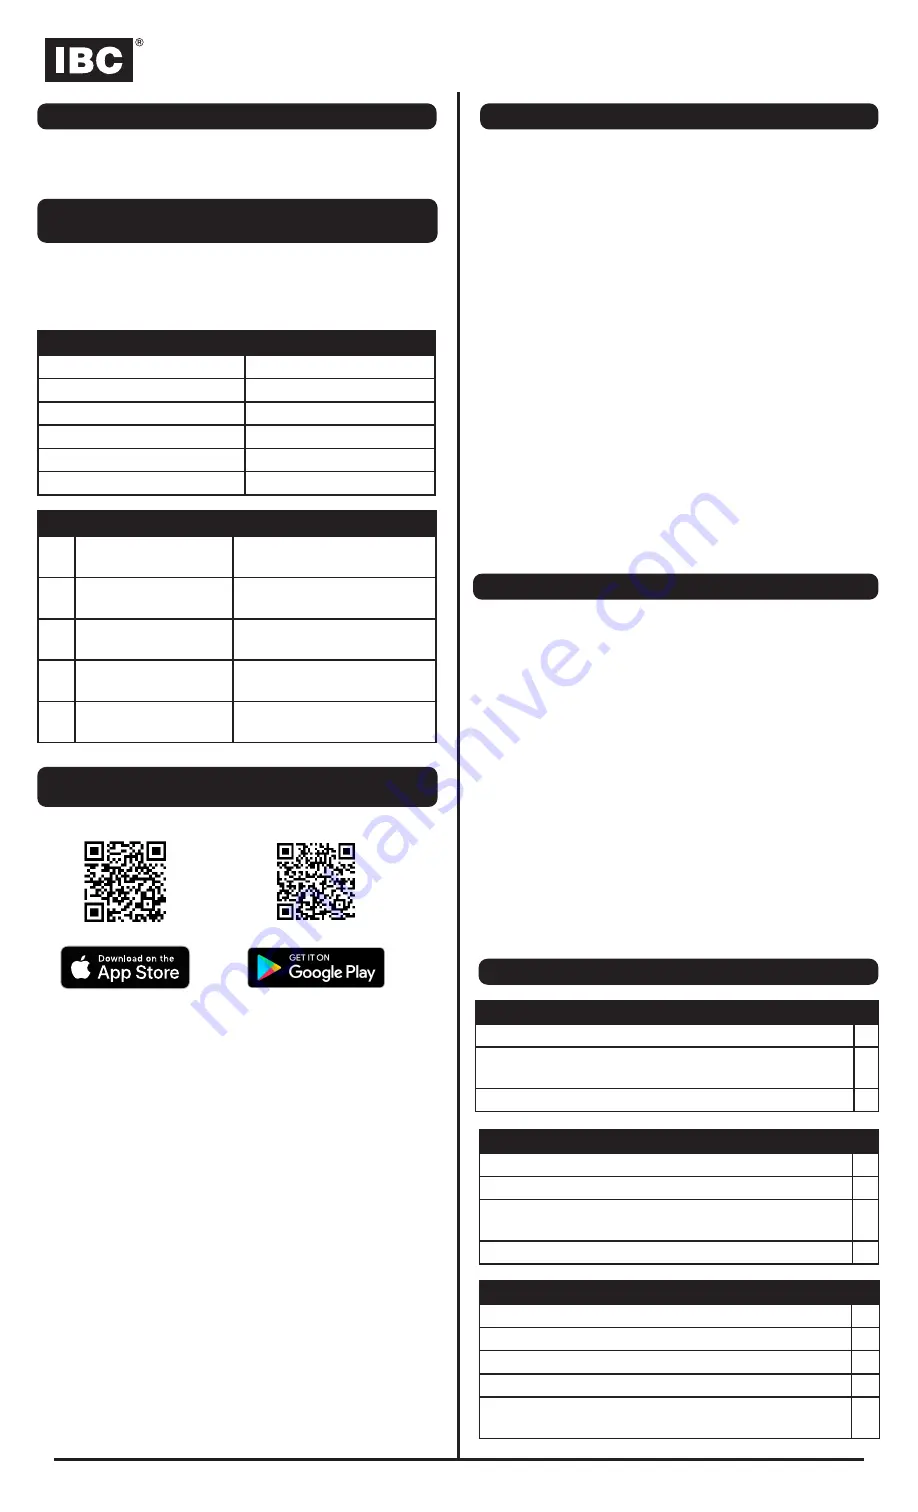
1. Scan the respective QR codes above, or search for
“IBCconnect” (one word) on the Google Play or Apple App
store and tap
Install
.
2. Connect your device to the AHU.
Depending on your device, follow either the Android or
Apple instructions below.
Android
1. Open the IBCconnect app. If the WiFi connection is not
displayed as
IBC-AHU
, tap the
WIFI SETTINGS
button.
2.
Select
IBC-AHU-xxxxx
(where “xxxxx” is the controller serial
number)
3.
Enter
1234567890
when prompted for a password the
first time you connect.
4. With the AHU cover off, the LEDs on the circuit board will
start blinking simultaneously in an ON-OFF-ON-OFF pattern
when connected.
5. Tap the device’s back button to return to the app, then tap
GET STARTED
to access the
Home
page, where you can start
adjusting settings.
Default Settings - Basic
Heating Mode
1 stage
Cooling Mode
2 stage
Boiler Heating
1 stage and 2 stage
Temperature
°F
Pump Enable
On
Tankless Mode
On
Apple
You need to first change some app settings after installation. This
may vary depending on device and iOS version.
1. In the main iPhone
Settings
, select
Cellular
.
2.
Scroll down to
IBCconnect
under
Cellular Data
, and set to
Off
.
3. Navigate to the device’s
Wi-Fi Settings
4. Locate and select “
IBC-AHU-xxxxx
” on the list of available
networks, where “xxxxx” is the controller’s serial number.
5.
Enter
1234567890
when prompted for a password the
first time you connect.
6. With the AHU cover off, the LEDs on the circuit board will
start blinking simultaneously in an ON-OFF-ON-OFF pattern
when connected.
7. Exit the
Settings
screen and open the IBCconnect app.
8. The landing page should display “IBC-AHU-xxxxx”
9. Tap
GET STARTED
to access the
Home
page, where you can
start adjusting settings.
Programming the air handling unit with the app
The IBC factory pre-programs the name of the model (AHU 800,
AHU 1200 or AHU 1600) in the appliance. However, you will need
to use the app to set the heating and cooling mode and to change
default settings.
To set the mode using the IBCconnect app:
1. Tap
(menu)
, and select
Basic Settings
.
2.
Set the
Heat Mode
and
Cool Mode
as desired.
3. To make adjustments to settings, tap
(menu)
, and then select
Advanced Settings
.
It is recommended that “Tankless” is set to On in most
applications for optimal performance.
4. Configure settings as desired (or accept defaults), and then
tap (
SAVE
).
5. To check the model and mode, go to (
menu
) and select
About
.


