background image

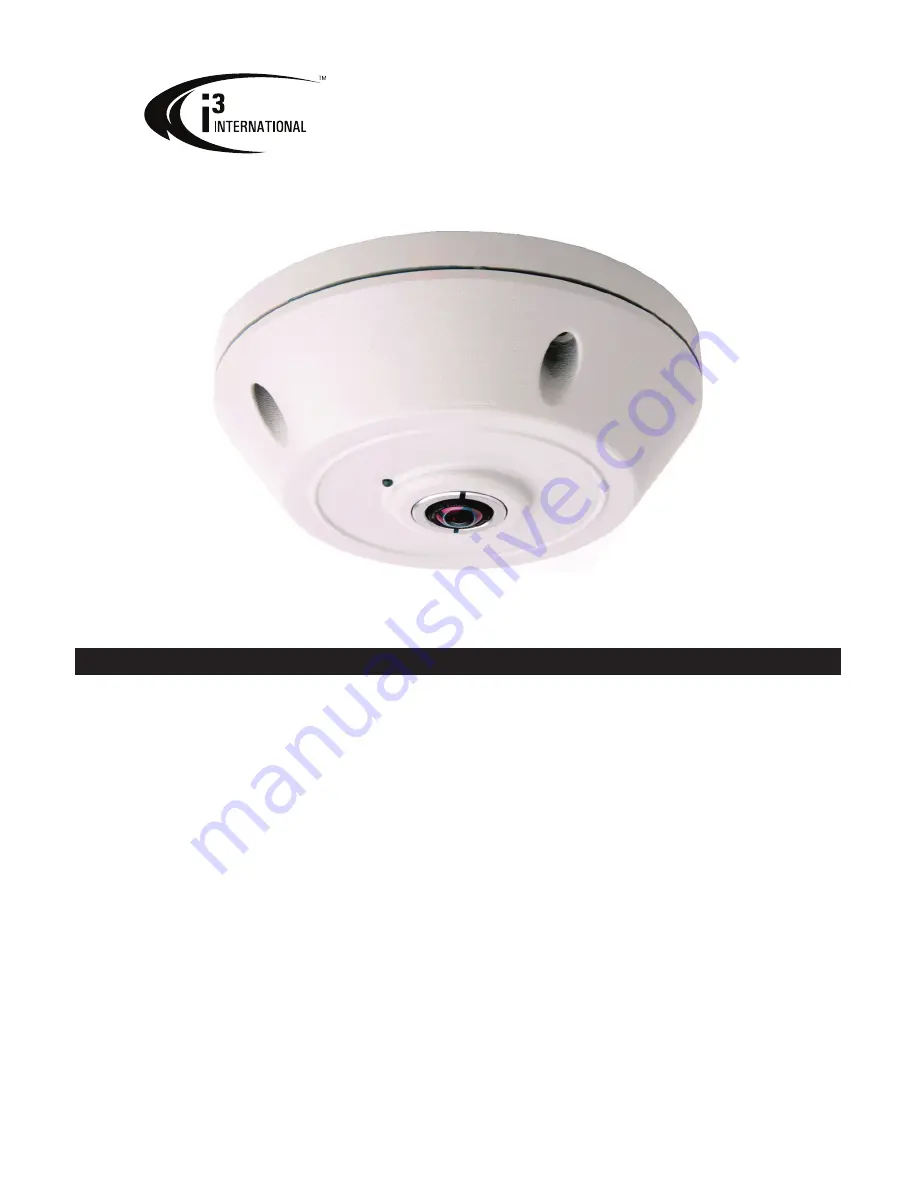
Ax36-series Megapixel 360º Cameras

Quick Start Guide

CONTENTS

Warnings and Operation Notes ..................................................

1. 

.3

Installation ............................................................................

2. 

.5

Initial Network Settings .........................................................

3. 

.6

Accessing  the  Camera  ...........................................................

4. 

.7

Changing

5. 

 IP Settings ................................................................8

Changing Camera View ...........................................................

6. 

.9

Optimizing

7. 

 Image Quality .........................................................10

Factory Default ..........................

8. 

............................................11

Specifications ........................................................................12

9. 

Before attempting to connect or operate this product, read these instructions carefully.
Save this manual for future use. 

Содержание Annexxus 36-series

Страница 1: ...tion 2 5 Initial Network Settings 3 6 Accessing the Camera 4 7 Changing 5 IP Settings 8 Changing Camera View 6 9 Optimizing 7 ImageQuality 10 Factory Default 8 11 Specifications 12 9 Before attempting to connect or operate this product read these instructions carefully Save this manual for future use ...

Страница 2: ...c nor its dealers or distributors shall be liable to any person or entity with respect to any liability loss or damage caused or alleged to have been caused directly or indirectly by this information Furthermore i International Inc reserves the right to revise this publication and to make changes to the content at any time without notice FCC This device complies with part 15 of the FCC Rules Opera...

Страница 3: ...al codes and to maintain your warranty When installing your Annexxus 36 series camera be sure to avoid excessive heat such as direct sunlight or heating appliances contaminants such as dust and smoke strong magnetic fields sources of powerful electromagnetic radiation such as radios or TV transmitters moisture and humidity areas with mechanical vibrations fluorescent lamps or objects that reflect ...

Страница 4: ...st from the lens Clean the body with a soft dry cloth If it is very dirty use a cloth dampened with a small quantity of neutral detergent then wipe dry Do not use volatile solvents such as alcohol benzene or thinners as they may damage the surface finish Servicing To avoid electrical shock and to preserve the product warranty DO NOT disassembles the camera Refer servicing to qualified personnel on...

Страница 5: ...5 i3 TRNG CAMS Ax36D indd Rev 120402 2 Installation Starting Up Working flashes ON OFF Option 1 Power over Ethernet Option 2 Local Power Supply PoE Device Class2 PSU 12V DC 5W ...

Страница 6: ...ial Network Settings NETWORK Camera Default Settings DHCP if supported by network otherwise IP Address 192 168 1 100 Netmask 255 255 255 0 Gateway 192 168 1 1 PC Laptop Settings IP Address 192 168 1 xxx Netmask 255 255 255 0 Gateway 192 168 1 1 ...

Страница 7: ... shortcut on the Desktop of your system to launch the program Click 2 Rediscover Highlight the Ax36 series camera you wish to connect to 3 Click 4 Connect Default Web Browser will then connect to the Ax36 series camera you ve 5 selected Default User Name and Password are 6 Admin Admin The following browsers have been tested Internet Explorer 9 Mozilla Firefox 6 Safari 5 Chrome 17 Note that with IE...

Страница 8: ...5 Changing IP Settings After completing steps above repeat instructions in the Accessing the Camera section on page 7 using the new IP address Or type in IP address into your PC laptop web browser Step 1 Step 2 Step 3 Step 4 Step 5 Step 6 ...

Страница 9: ...9 i3 TRNG CAMS Ax36D indd Rev 120402 6 Changing Camera View Pan Tilt Zoom Controls PTZ or click the image to pan or tilt and use mouse scroll wheel to zoom except IE View Select ...

Страница 10: ...10 i3 TRNG CAMS Ax36D indd Rev 120402 7 Optimizing Image Quality Per view Adjustments Camera Adjustments ...

Страница 11: ...ed location leave powered on 1 Remove screw entirely highlighted below 2 Insert pin paperclip and hold for approximately 10 seconds LED will turn off 3 Camera will then reboot this will take approximately 2 minutes 4 Repeat instructions in the Accessing the Camera section on page 7 5 ...

Страница 12: ...heye 1 4 640x480 ePTZ 5 8 320x240 ePTZ 9 640x480 Fisheye 10 11 640x240 180º Panorama 12 1280x240 360º HD Panorama 13 1280x720 HD ePTZ System Integration Alarms 1 x Alarm Input 1 x Alarm Output Alarm triggers External input Alarm events File upload via FTP external output activation TCP output message System Integration Temperature Range 0º to 45º C Power PoE IEEE 802 3af Class 2 or 12V DC Max 5W W...

Страница 13: ...13 i3 TRNG CAMS Ax36D indd Rev 120402 NOTES ...

Страница 14: ...i INTERNATIONAL INC 1 866 840 0004 www i3international com Canada 780 Birchmount Road Unit 16 Scarborough ON M1K 5H4 U S A 1967 Wehrle Drive Suite 1 PMB 034 Buffalo NY 14221 ...

Отзывы: