5
Basic Operations
Powering On/Off
Method 1
Method 2
Adjusting the Volume
1.
Press the
key on the remote microphone
speaker until the icon is shadowed.
2.
Press the
key to lower the volume and press
the
key to increase it.
Selecting a Zone
A zone is a group of channels exhibiting the same
property, which is programmed by your dealer and can
facilitate convenient management over the channel.
The radio supports 64 zones, each of which consists of
up to 16 channels.
To select a zone, do as follows:
1.
Press the
key on the remote microphone
s p e a k e r u n t i l Z O N E X X (e.g. Z O N E01) i s
shadowed.
2.
Press the
/
key to select a zone.
Long press to power on/off
Long press to power on/off
Selecting a Channel
1.
Press the
key on the remote microphone
speaker until CHXX (e.g. CH01) is shadowed.
2.
Press the
/
key to select a channel.
If the Channel Notify feature is enabled by your dealer,
the radio will announce the channel number upon
channel switching.
Setting TX Power Level
This feature is to set the TX power level to high or low.
High power can extend the signal coverage of the
radio, enabling you to communicate with farther radios.
Generally, we recommend you to adopt low power for
battery saving. However, if you cannot communicate
with radios located at a distant place with low power,
please select high power.
To set the TX power level, do as follows:
1.
Press the
key on the remote microphone
speaker until the TX power level Icon (e.g.
) is
shadowed.
2.
Press the
/
key to switch power level.
Call Services
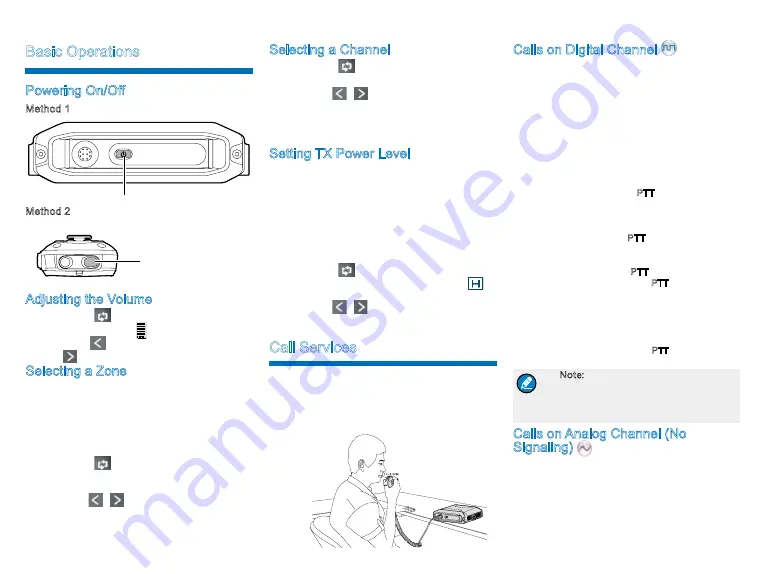
After the radio is powered on, you can make and
receive calls. To ensure optimal volume of the receiving
radio, keep the palm microphone about 2.5 to 5
centimeters away from your mouth when transmitting.
Calls on Digital Channel
You can initiate a private call, group call or all call (your
radio must be programmed to allow you to use the all
call service) through the same operations on digital
channel.
When calling back, the radio will make a call to the
calling party in private call and all call (your radio must
be programmed to allow you to call back in an all call);
but in group call, the radio will make a call to all parties
involved. Here takes the private call between Radio A
and Radio B as example:
1.
Radio A and B select the same digital channel.
2.
Radio A holds down the PTT key to initiate a call.
Radio A may preset a regular private call/group
call/all call contact for each digital channel via the
dealer.
3.
By holding down the PTT key, Radio A can talk
to the microphone when the LED indicator on the
radio glows red.
4.
Radio A releases the PTT key to finish talking.
Radio A can hold down the PTT key to talk when
the LED indicator on the radio is glowing orange.
When receiving, the LED indicator on the radio
glows green.
5.
Radio B can receive the call without any operation.
When receiving, the LED indicator glows green.
6.
Radio B can hold down the PTT key to talk when
the LED indicator on the radio is glowing orange.
Note: The Call Hang Time (the duration
of LED indicator glowing orange) is
preset by your dealer. If neither party
talk before this duration expires, the
call will end.
Calls on Analog Channel (No
Signaling)
On the analog channel without signaling, the calling
operations are the same as that on the digital channel.
The difference is that the called parties are all the
users on the channel, rather than the preset contact for
the channel.
Please refer to the corresponding Feature Book for
operation description on how to make and receive calls
on the analog channel with signaling.


