6
Muffler
6.1 Dismantling
WARNING: The muffler becomes very hot
during operation. Do not touch the muffler
until it has cooled down.
1. Remove the heat protector.
2.
Remove the 3 screws that hold the muffler.
3. Remove the gasket.
See figure 1.
6.2 Cleaning and inspection
1.
Examine the muffler. Replace the muffler if it is
deformed or have cracks. See fig. 1.
2.
If the muffler is fitted with a spark arrestor mesh,
clean the spark arrestor mesh with a brush and put it
in place before you attach the muffler. Make sure the
mesh is in the correct position. See fig 2.
3.
Remove carbon from the muffler gently with a
screwdriver.
6.3 Assembling
Note: Use the 2 screws (A) to thread the holes when you
install the muffler to a new crankcase.
1.
Fit the gasket and the muffler. See figure 1. Tighten
the screws.
2. Start the engine.
3. When the engine is warm, tighten the screws again
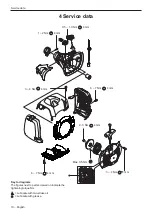
with the correct torque. See Service data.
A
Muffler
Fig. 1
Fig. 2
20 – English
Содержание 545FX AT
Страница 1: ...Workshop manual English 545RXT AT 545FX AT 545FXT AT 545FX 545FXT 545RX 545RXT ...
Страница 2: ......
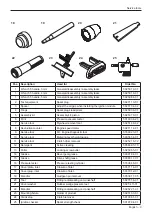
Страница 8: ...Service tools 3 Service tools 3 mm 4 mm 5 mm 1 11 4 6 9 7 10 8 5 2 12 3 13 14 15 16 17 8 English ...
Страница 79: ...English 79 ...
Страница 80: ...2018 10 04 115 88 11 26 ...

