background image

Luminette

®

 PowerView


Motorization Quick Tips

Installation

Mounting the Brackets


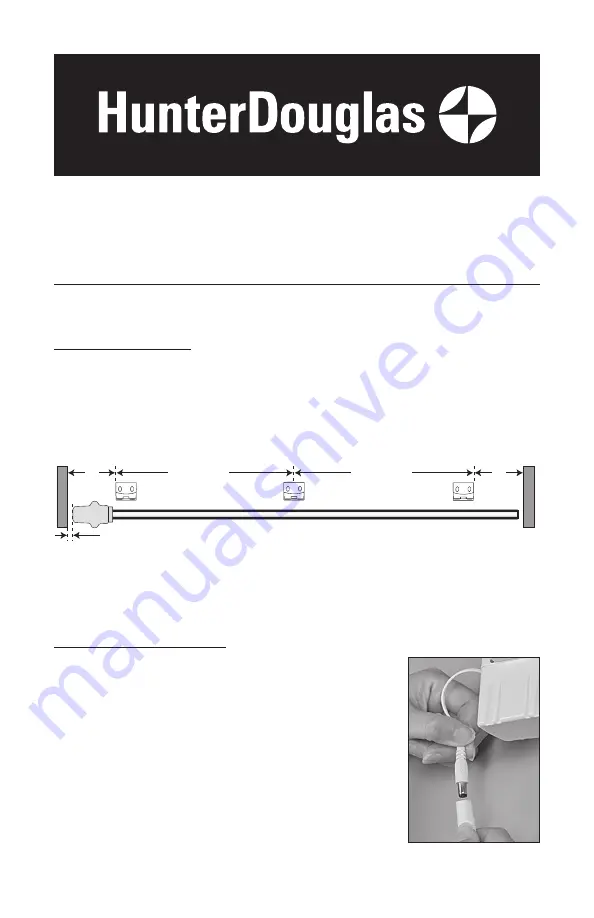
Mount the brackets 5" in from each jamb for inside/ceiling mount and 5" from the end of 
the headrail for outside mount.


If more than two installation brackets are required, mount the additional bracket(s) 
spaced evenly between the two end brackets. 

CAUTION:  

Installation brackets should be fastened into wood whenever possible. Use drywall 

anchors when mounting into drywall. When attaching brackets into drywall, additional brackets 
may be required to keep the headrail level after the fabric is attached.

Remove the Motor Assembly


Unplug the motor’s power cable from the extension cable to the 
DC power supply.


There are two methods for removing the motor shown on the 
following page. Choose the one that works best for you.

5"

Space Evenly

Space Evenly

Headrail End Marks

Window Opening

5"

Outside Mount

Top View

Bracket

Jamb

Jamb

SofTrak

™ 

Headrail

Space Evenly

Space Evenly

5"

5"

5

/

8

" Gap Required

Motor

Power

Cable

Extension

Cable

Содержание Luminette PowerView

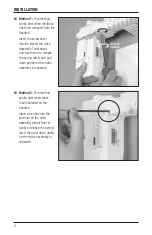
Страница 1: ...be fastened into wood whenever possible Use drywall anchors when mounting into drywall When attaching brackets into drywall additional brackets may be required to keep the headrail level after the fa...

Страница 2: ...about one fourth turn to release the spring latch and pull down gently on the motor assembly to separate Method 2 This method works best when fabric is still installed on the headrail Insert a hex key...

Страница 3: ...f snapping the motor onto the drive assembly seems difficult grasp the lead carrier and pull the carriers slightly away from the motor as shown at right The motor should now snap in easily If you remo...

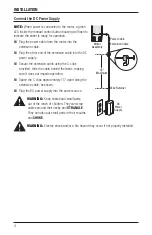
Страница 4: ...the C clips provided Hide the cable behind the fabric making sure it does not impede operation Space the C clips approximately 15 apart along the extension cable as shown Plug the DC power supply into...

Страница 5: ...e up to an 8 second pause between the vanes tilting from counter clockwise to clockwise Pressing the manual control button while the carriers are traversing or the pinion clips are rotating will stop...

Страница 6: ...2 Press all or groups 1 6 to select the specific sheer s to operate The group button s will light to show they are selected a Multiple group buttons may be selected at a time b To deselect a group pr...

Страница 7: ...1 Press and hold the manual control button for 6 seconds The sheer will move slightly 2 Release the manual control button The sheer will move to its fully open position to set the OPEN travel limit th...

Страница 8: ...135103639 2016 Hunter Douglas All rights reserved All trademarks used herein are the property of Hunter Douglas or their respective owners 9 16...

Отзывы: