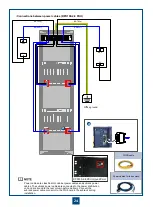
A C -L
A C -N
G N D
L O A D 3 (-)
L O A D 4 (-)
L O A D 3 (+ )
L O A D 4 (+ )
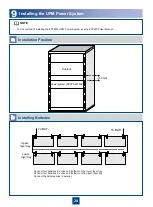
T o p
B o tto m
T o p
B o tto m
21
1
2
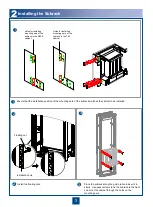
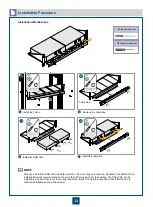
Fix the two mounting ears on the power system by
using six M3 screws.
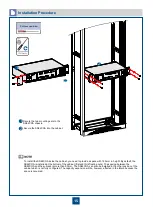
Determine the position of installing the power system
on the mount bar of the cabinet. Then, install the
captive nuts in the corresponding holes. Fix the power
system in the cabinet by using four screws.
N63E cabinet
T63 cabinet
1
2
Installing the EPS75-4815AF Power System in the ETSI Cabinet
c
Cable Connection of the UPM
d
A
B
To the 110 V /220 V live wire
To the 110 V /220 V neutral wire
To the grounding
A
B
To the storage battery (-)
To the storage battery (+)
•
Before
installing the AC input power cables,
install
an
upper-level AC input circuit breaker to
protect
the system.
•
Before installing the AC input power cables,
switch
off
the corresponding upper-level AC input circuit breaker.
DANGER
Содержание OptiX OSN 2500
Страница 1: ...HUAWEI TECHNOLOGIES CO LTD OptiX OSN 2500 Quick Installation Guide Issue 12 Date 2017 09 30 ...
Страница 19: ...16 Cable Connections c COA power interface F f cable a b a b COA power cable ...
Страница 36: ...33 Upward Cabling c Cable distribution plate To the alarm monitor SEI board ...
Страница 37: ...34 Downward cabling d Cable distribution plate SEI board To the alarm monitor a a ...

