Other Network Settings
2-12
4. Enter the following information:
— Start IP Address
Start IP Address
Start IP Address
Start IP Address
—
End IP Address
End IP Address
End IP Address
End IP Address
—
Default Lease Time (optional)
Default Lease Time (optional)
Default Lease Time (optional)
Default Lease Time (optional)
- the default time value for clients to retain the assigned IP Address. DHCP
automatically renews IP Addresses without client notification. Default is 86400 seconds.
—
Maximum Lease Time (optional)
Maximum Lease Time (optional)
Maximum Lease Time (optional)
Maximum Lease Time (optional)
- the maximum time value for clients to retain the assigned IP Address. DHCP
automatically renews IP Addresses without client notification. Default is 86400 seconds.
—
—
—
— Comment (optional)
Comment (optional)
Comment (optional)
Comment (optional)
—
Status
Status
Status
Status
- IP Pools are enabled upon entry in the table. Use the
Edit
Edit
Edit
Edit
button to disable or delete existing table entries.
5. Enter the
Default Gateway IP Address
Default Gateway IP Address
Default Gateway IP Address
Default Gateway IP Address
, the
Primary
Primary
Primary
Primary
and
Secondary DNS IP Addresses
Secondary DNS IP Addresses
Secondary DNS IP Addresses
Secondary DNS IP Addresses
, and select the
Enable DHCP Server
Enable DHCP Server
Enable DHCP Server
Enable DHCP Server
check box.
6. Reboot the WL520 unit for the changes to take affect.
maintain 802.11b client connections using link integrity
maintain 802.11b client connections using link integrity
maintain 802.11b client connections using link integrity
maintain 802.11b client connections using link integrity
NOTE:
This feature is only applicable to 2.4 GHz (802.11b) cards.
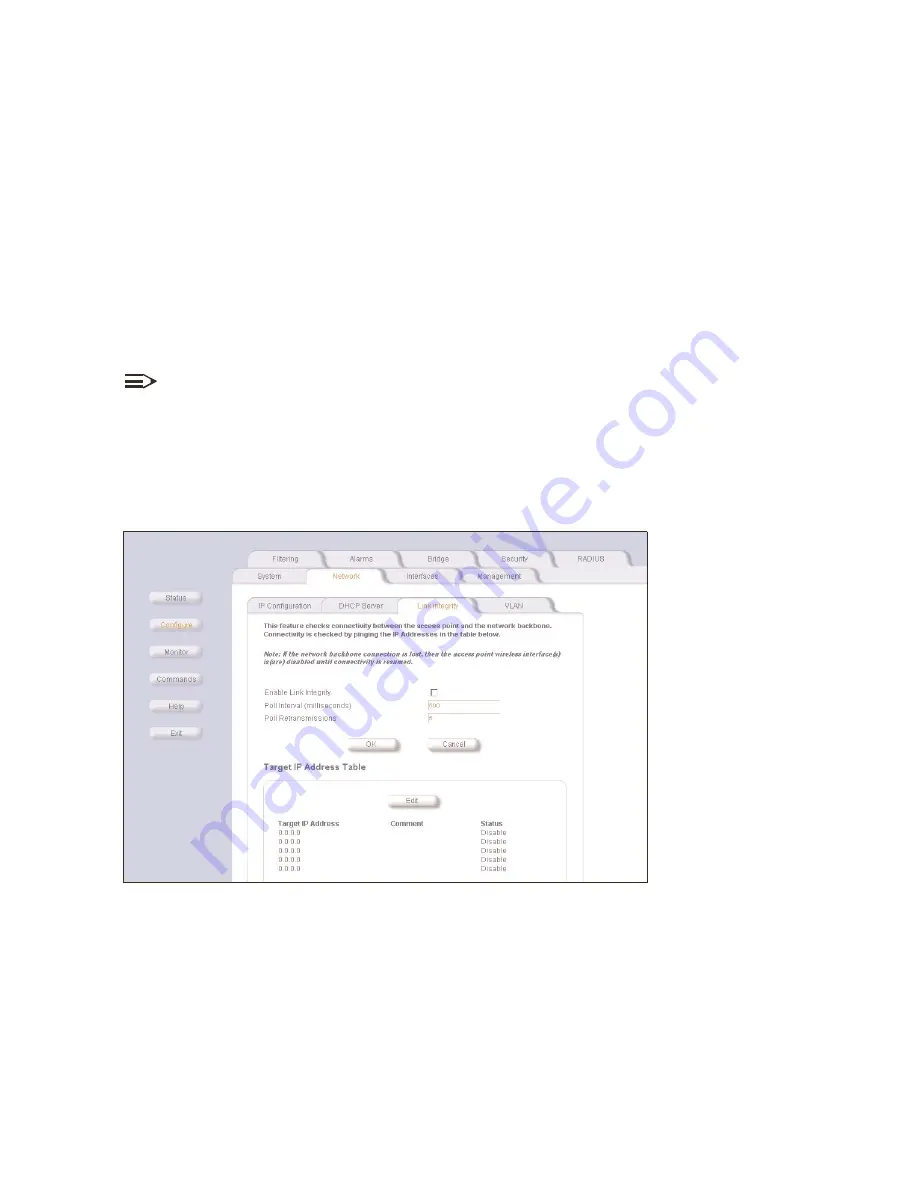
The Link Integrity feature checks the link between the WL520 and the nodes on the backbone. These nodes are listed by their
IP address on the Link Integrity IP Address Table, and serve as backup. If the link goes down, the client will connect to another
WL520 in your network that still communicates with the server.
configure link integrity
configure link integrity
configure link integrity
configure link integrity
Figure 2-13
Figure 2-13
Figure 2-13
Figure 2-13 Link Integrity
Link Integrity
Link Integrity
Link Integrity
1. In the Web Interface, click the
Configure
Configure
Configure
Configure
button and select the
Network
Network
Network
Network
tab.
2. Select the
Link Integrity
Link Integrity
Link Integrity
Link Integrity
sub-tab.
3. Click the
Edit
Edit
Edit
Edit
button in the
Target IP Address Table
Target IP Address Table
Target IP Address Table
Target IP Address Table
.
4. Enter the IP Address of the host computer you want to check and add comments to identify the computer if you wish. This
Target IP Address is enabled as soon as it is entered in the table. Click
OK
OK
OK
OK
.
5. Set the following parameters as needed:
–
Poll Interval
Poll Interval
Poll Interval
Poll Interval
- the interval between link integrity checks. Range is 500 - 15000 ms in increments of 500 ms; default is
500 ms.
–
Poll Retransmissions
Poll Retransmissions
Poll Retransmissions
Poll Retransmissions
- the number of times a poll should be retransmitted before the link is considered down.
6. Click to select the
Enable Link Integrity
Enable Link Integrity
Enable Link Integrity
Enable Link Integrity
check box.


