Processor and heatsink options
Installing a processor heatsink assembly
The server supports single-processor and dual processor operations.
Prerequisites
Before installing this option, be sure that you have the following items:
• Processor or heatsink kit contents
• T-30 Torx screwdriver
Procedure
1.
Observe the following alerts.
CAUTION:
When handling the heatsink, always hold it along the top and bottom of the fins. Holding it from the
sides can damage the fins.
CAUTION:
To prevent possible server malfunction and damage to the equipment, multiprocessor
configurations must contain processors with the same part number.
CAUTION:
If installing a processor with a faster speed, update the system ROM before installing the
processor.
To download firmware and view installation instructions, see the
.
CAUTION:
THE CONTACTS ARE VERY FRAGILE AND EASILY DAMAGED.
To avoid damage to the socket
or processor, do not touch the contacts.
2.
Power down the server (
on page 24).
3.
Remove all power:
a.
Disconnect each power cord from the power source.
b.
Disconnect each power cord from the server.
4.
Remove the server from the rack (
Remove the server from the rack
5.
6.
Remove the dust cover from the processor socket you intend to upgrade.
7.
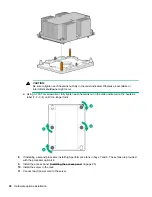
Install the processor heatsink assembly:
a.
Locate and align the Pin 1 indicator on the processor carrier and the socket.
b.
Align the processor-heatsink module with the heatsink alignment pins and gently lower it down until it
sits evenly on the socket.
The heatsink alignment pins are keyed. The processor will only install one way.
Your heatsink may look different than the one shown.
Processor and heatsink options
89
Содержание ProLiant DL360 Gen10
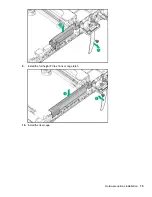
Страница 75: ...9 Install the full height PCIe x16 riser cage latch 10 Install the riser cage Hardware options installation 75 ...
Страница 79: ... Full length 9 Install the expansion board Hardware options installation 79 ...
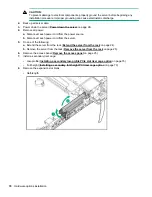
Страница 96: ... 4 LFF 9 Guide the SID cable through the front of the server 96 Hardware options installation ...

