background image

Chapter 1: Getting Started

9

Chapter 1: 

Getting Started

Congratulations on your purchase of this HP Photosmart 

digital camera! This camera has many features to enhance 

your picture-taking experience, including 7 shooting modes, 

HP Instant Share

, direct printing capability, manual and 

automatic controls, on-camera Help, and an optional 

camera dock.
With 

HP Instant Share

, you can easily select images in your 

camera to be automatically sent to your favorite destinations 

(such as e-mail addresses and online albums) the next time you 

connect the camera to your computer. Your friends and family 

can easily receive and view your pictures in e-mail without 

being burdened by large file attachments. And with the direct 

printing capability, you can easily select images in your 

camera to be automatically printed the next time you connect 

the camera to your computer or directly to any HP Photosmart 

printer or PictBridge-compatible printer without ever connecting 

to your computer.
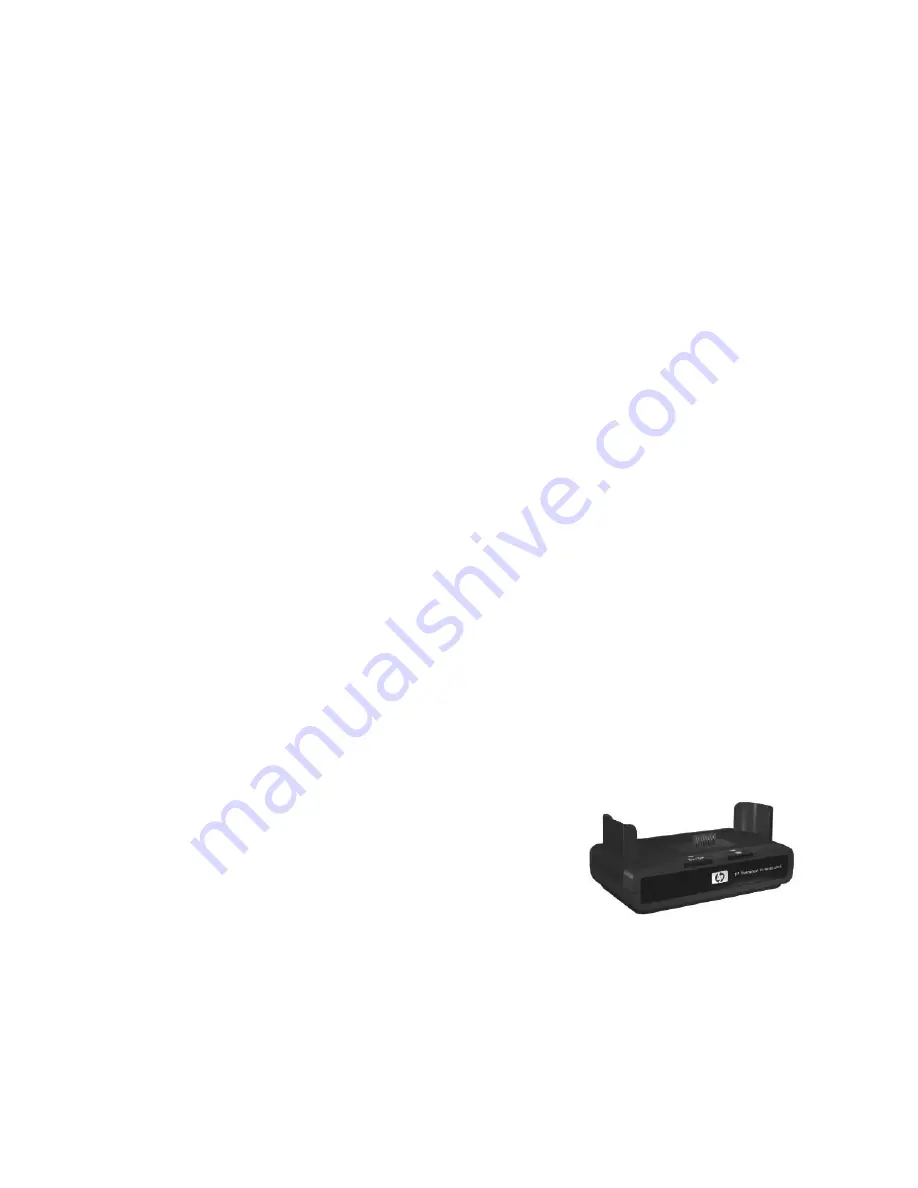
To further enhance your experience, 

you can purchase an HP Photosmart 

M-series dock. The camera dock 

allows you to easily transfer images to 

a computer, send images to a printer 

or television, and recharge Nickel Metal Hydride (NiMH) 

batteries in your camera. The dock also provides a convenient 

home for your camera.

Содержание Photosmart M407

Страница 1: ...mera to your computer Your friends and family can easily receive and view your pictures in e mail without being burdened by large file attachments And with the direct printing capability you can easily select images in your camera to be automatically printed the next time you connect the camera to your computer or directly to any HP Photosmart printer or PictBridge compatible printer without ever ...

Страница 2: ...Memory card door on the side of the camera by sliding the door down toward the bottom of the camera 2 Insert the batteries as indicated inside the door 3 If you want to install an optional memory card leave the Battery Memory card door open and go on to Installing a Memory Card Optional on page 11 However if you do not have an optional memory card to install close the Battery Memory card door by p...

Страница 3: ...ra using the optional HP AC power adapter or optional HP Photosmart M series dock or recharge the batteries separately in the optional HP Photosmart Quick Recharger For more information see Appendix B Purchasing Camera Accessories on page 139 Installing a Memory Card Optional If you do not have an optional memory card to install skip this section and go on to the next section Turning on Power on p...

Страница 4: ...oor down and sliding the door toward the top of the camera until the door latches To remove the memory card from the camera first turn the camera off Then open the Battery Memory card door press down on the top edge of the memory card and it will spring outward from the slot Turning on Power Turn the camera on by sliding the ON OFF switch to the right and then releasing it The lens extends and the...

Страница 5: ... 6 Using the Setup Menu on page 79 Setting the Date and Time The camera has a clock that records the date and time at which you take each picture This information is recorded in the image properties which you can see when viewing the image on your computer You can also choose to have the date and time imprinted on the image see Date Time Imprint on page 51 The first time you turn the camera on a D...

Страница 6: ...hange the date and time settings later you can do this with the Date Time setting in the Setup menu See Chapter 6 Using the Setup Menu on page 79 Installing the Software The HP Image Zone software allows you to transfer images from the camera and then view edit print or e mail them It also allows you to configure the HP Instant Share menu on the camera NOTE If you do not install the HP Image Zone ...

Страница 7: ...ntosh 1 Close all programs and temporarily disable any virus protection software running on your computer 2 Insert the HP Image Zone software CD into the CD drive of your computer 3 Double click the CD icon on the computer desktop 4 Double click the installer icon and then follow the on screen instructions to install the software NOTE Before you can transfer images from the camera to your Macintos...

Страница 8: ...your computer 2 On Windows Click View User s Manual on the Main page of the CD installation screen to view the User s Manual On Macintosh Look in the readme file in the docs folder of the HP Image Zone software CD to locate the User s Manual in your language Camera Parts Refer to the pages in parentheses after the part names in the following tables for more information about those parts Back and F...

Страница 9: ...ing still pictures zooms out the lens to the wide angle position z Thumbnails While in Playback allows you to view still images and the first frames of video clips arranged in a matrix of nine thumbnail images per screen z Zoom In While taking still pictures zooms in the lens to the telephoto position z Magnify While in Playback allows you to magnify a still image 4 Wrist strap mount page 10 Allow...

Страница 10: ...ws you to frame pictures and video clips using Live View and review them afterward in Playback and to view all the menus 10 HP Instant Share Print button page 63 Turns the HP Instant Share Menu on and off on the Image Display 11 Timer Burst button pages 41 43 Allows you to select between the Normal Self Timer Self Timer 2 Shots and Burst settings 12 MODE button page 38 Allows you to select between...

Страница 11: ...l z AF blinking green When you press the Shutter button halfway down or all the way down either a focus error occurred the flash is still charging or the camera is processing a picture see the NOTE below z Both and AF blinking An error has occurred that prevents the camera from taking the picture see the NOTE below NOTE If an error prevents a picture from being taken then an error message will app...

Страница 12: ...re attached to still images and for the audio portion of video clips 2 Self Timer Video light page 41 Blinks during the count down before taking a picture or recording video when the camera is set to Self Timer or Self Timer 2 shots Also turns on solid when recording video 3 Flash page 37 Provides additional light to improve picture taking 6 7 1 4 5 2 3 ...

Страница 13: ...rechargeable batteries in the camera 5 USB connector pages 73 75 Allows you to connect a USB cable from the camera to a USB enabled computer or any HP Photosmart printer or PictBridge compatible printer 6 Tripod mount Allows you to mount the camera on a tripod 7 Camera dock connector page 140 Allows you to connect the camera to the optional HP Photosmart M series dock Name Description ...

Страница 14: ...enus Capture Allows you to take still pictures and record video clips For information about using Capture see Chapter 2 Taking Pictures and Recording Video Clips on page 27 Playback Allows you to review the still images and video clips that you capture For information about using Playback see Chapter 3 Reviewing Images and Video Clips on page 53 Name Description 1 Shutter button pages 27 28 Takes ...

Страница 15: ...Live View on then press the Menu OK button If Live View is already on simply press the Menu OK button For information about using this menu see Using the Capture Menu on page 44 To display the Playback Menu press the Menu OK button while you are in Playback If you are not currently in Playback press the Playback button first then press the Menu OK button For information about using this menu see U...

Страница 16: ...e menu tab for the Setup Menu For information about using the Setup Menu see Chapter 6 Using the Setup Menu on page 79 To display the Help Menu first access either the Capture Playback or HP Instant Share menu then use the buttons to move to the menu tab for the Help Menu For information about using the Help Menu see the next section Using the Help Menu The Help Menu provides helpful information a...

Страница 17: ...ff As shown in the example here a text description of the current setting for the button that was just pressed appears at the top of the screen Beneath that icons for the current flash shooting mode and timer burst settings are shown with the icon for the button that was just pressed highlighted The bottom portion of the screen shows whether a memory card is installed indicated by the SD icon powe...

Страница 18: ... that you change from their default settings reset to their default values after you turn the camera off However you can restore the non default settings from the last time the camera was on by holding down the Menu OK button while sliding the ON OFF switch to turn the camera on The icons for the restored settings are then displayed in the Live View screen ...

Отзывы: