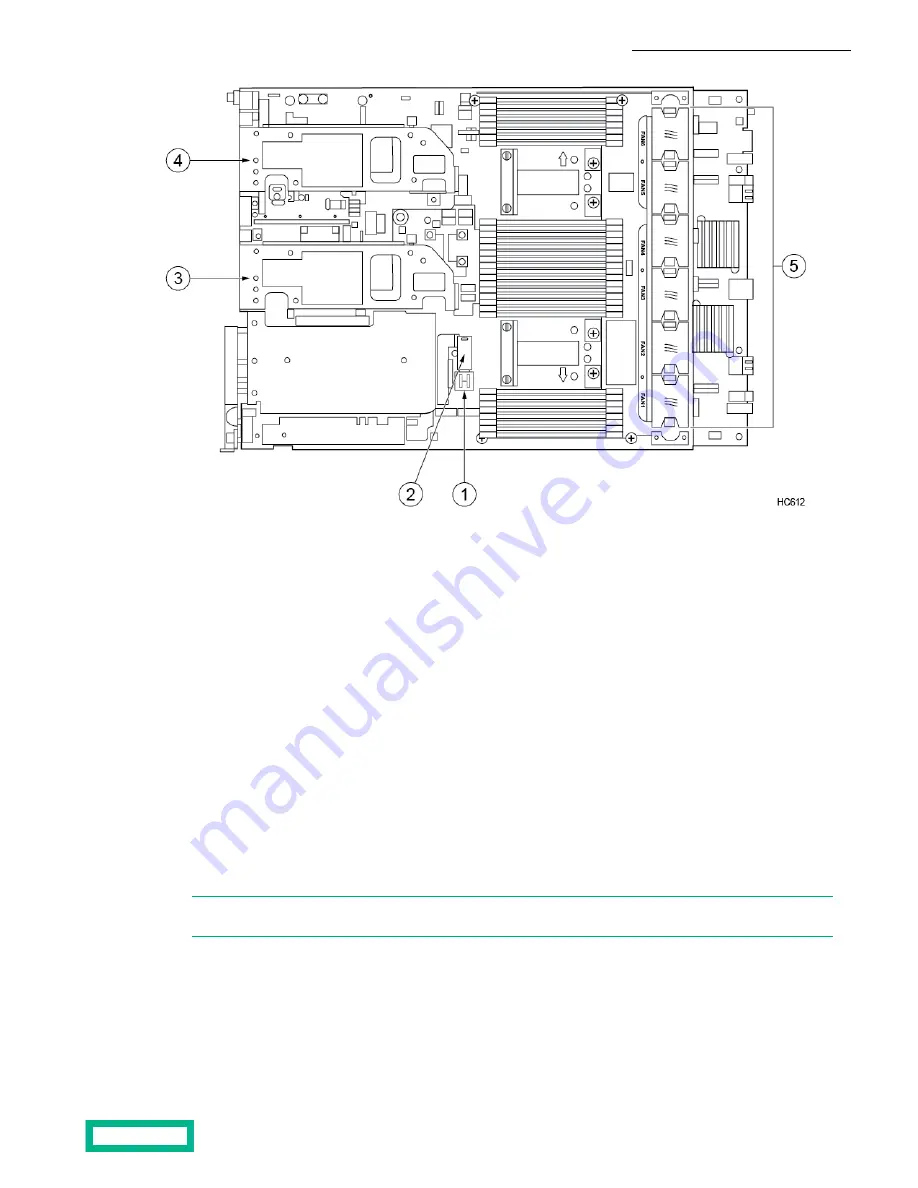
4
1
Left PCIe cage
USB ports
2
5
USB boot device
Fans
3 Secondary PCIe cage (if present)
b) Gently but firmly pull the USB boot device out of its port.
c) Insert the new boot device into the same USB port.
You should feel it seat into the port.
4. Install the controller into the chassis.
a) Make sure the controller release levers are fully extended.
b) Slide the controller into the chassis bay. Do not force the controller. If it does not slide in easily, remove it and try again.
c) After the controller is in place, return the controller release lever to its original closed position, and then tighten the
thumbscrews.
d) Reconnect all the network cables to the controller (as labeled from step 2).
e) Reconnect the power cables to both power supplies.
5. Verify that the controller is powered on.
After installation, the controller powers on automatically. The controller LEDs on the array remain on. If the controller does
not power on automatically, contact HPE Support.
Note: If firmware updates are required, the new controller can take longer to appear in the UI. If the controller
takes longer than 45 minutes to report an Active/Standby state, contact HPE Support for assistance.
Fail Over a Controller Using the GUI
A failover switches management of the array from the active controller to the standby controller.
Before you begin
Failover requires one controller to be in Active mode and the other controller to be in Standby mode.
Maintenance Procedures 74


