7.
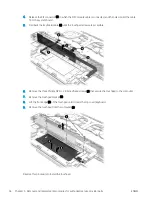
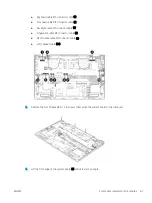
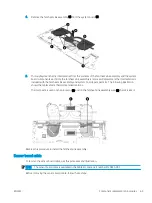
Remove the system board (2) by sliding it up and forward at an angle.
Reverse this procedure to install the system board.
Fan/heat sink assembly
To remove the fan/heat sink assembly, use these procedures and illustrations.
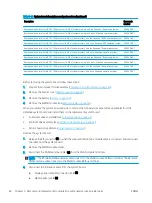
Table 5-11
Fan/heat sink assembly descriptions and part number
Description
Spare part number
Fan/heat sink assembly assembly (includes replacement thermal material and fan cables)
M16051-001
Before removing the fan/heat sink assembly, follow these steps:
1.
Prepare the computer for disassembly (
Preparation for disassembly on page 42
).
2.
Remove the bottom cover (
3.
Remove the battery (
).
4.
Remove the system board (
).
Remove the fan/heat sink assembly:
1.
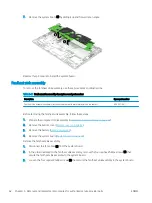
Disconnect the fan cables (1) from the system board.
2.
In the order indicated on the fan/heat sink assembly, remove the four captive Phillips screws (2) that
secure the fan/heat sink assembly to the system board.
3.
Loosen the four captive Phillips screws (3) that secure the fan/heat sink assembly to the system board.
62
Chapter 5 Removal and replacement procedures for authorized service provider parts
ENWW
Содержание EliteBook x360 1030
Страница 4: ...iv Safety warning notice ENWW ...
Страница 8: ...viii ENWW ...
Страница 12: ...4 Chapter 1 Product description ENWW ...
Страница 17: ...Keyboard area ENWW Keyboard area 9 ...
Страница 86: ...78 Chapter 8 Specifications ENWW ...
Страница 94: ...86 Chapter 9 Statement of memory volatility ENWW ...
Страница 98: ...90 Chapter 10 Power cord set requirements ENWW ...
Страница 100: ...92 Chapter 11 Recycling ENWW ...


