1
4
2
3
5
6
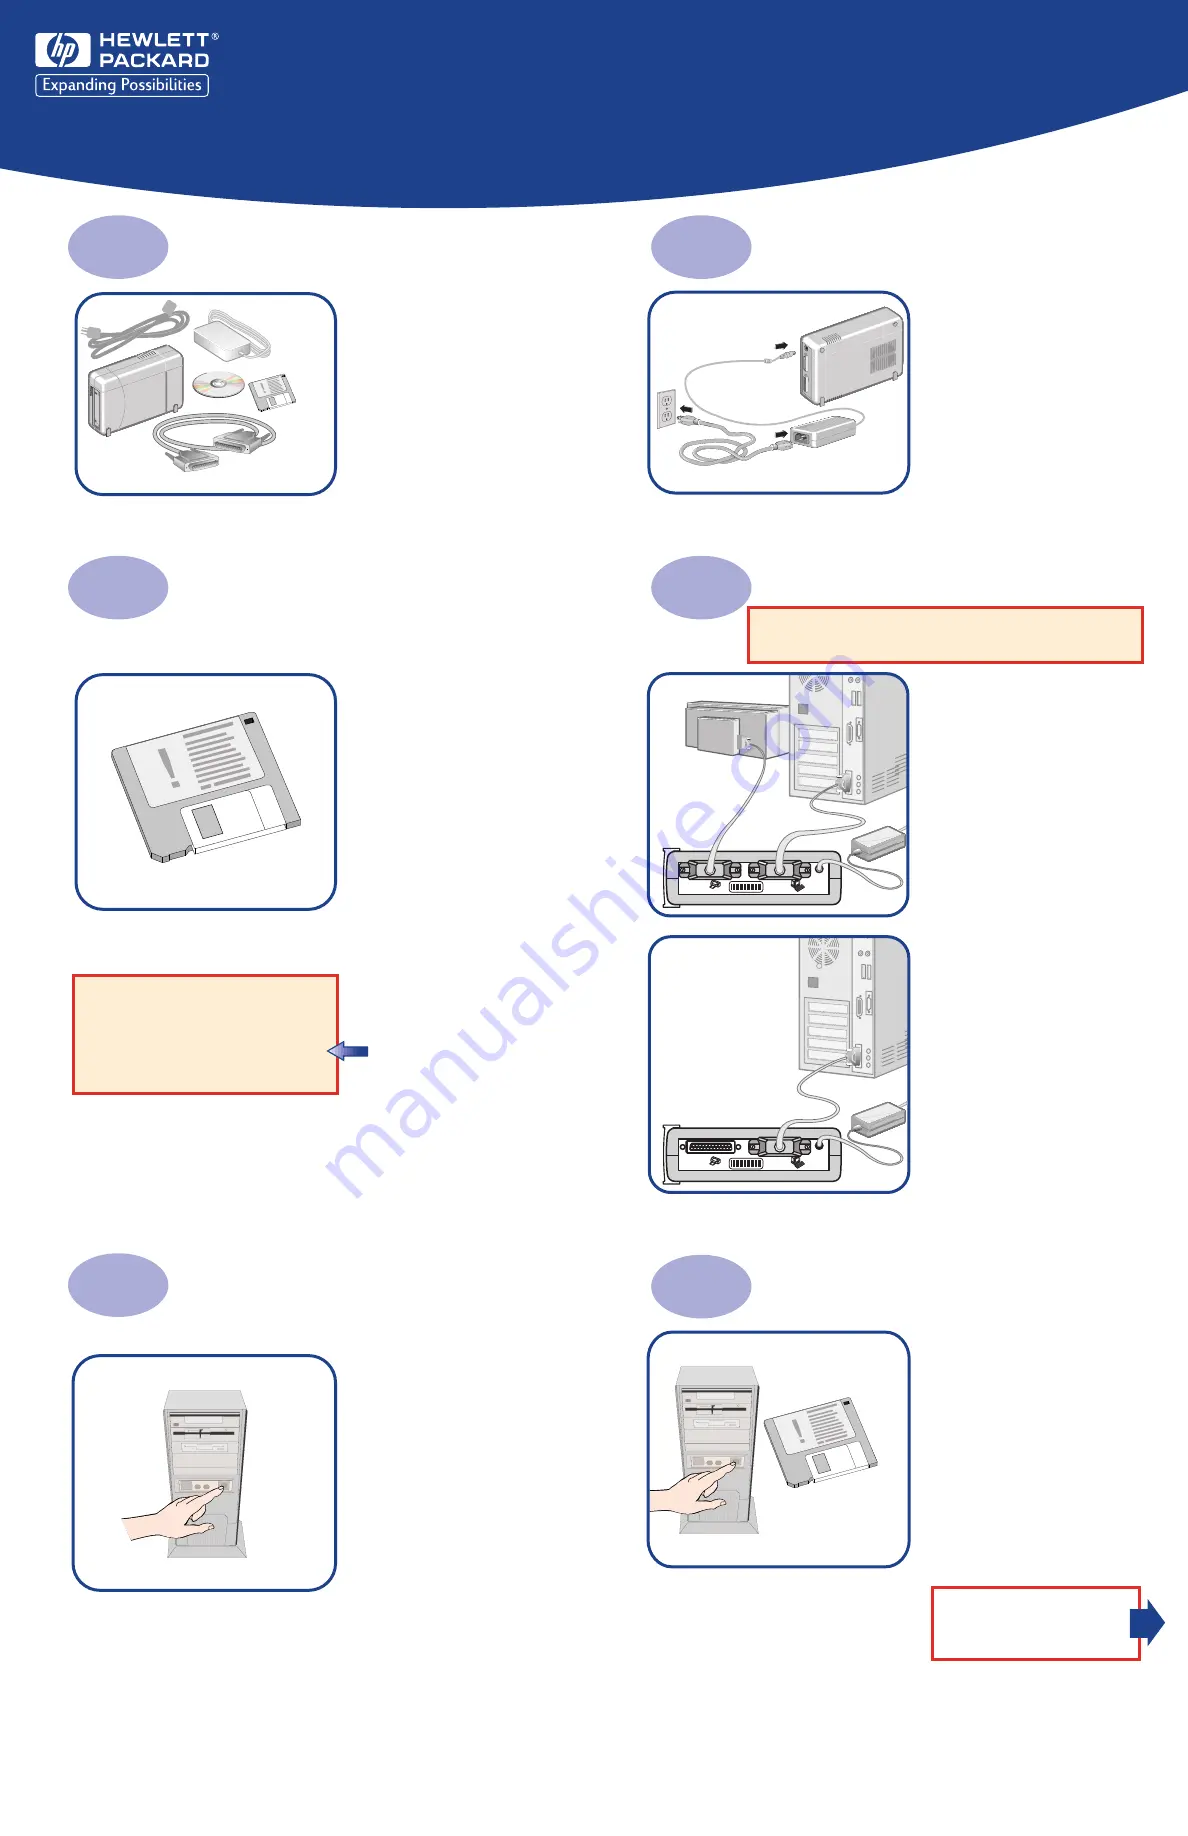
Unpack your tape drive.
Connect the power cords.
Connect the drive.
Turn on your computer.
Shut down your operating system
and turn off your computer.
Run the “Install Assistant” software.
The Install Assistant Software evaluates your system and
recommends the best way to install your tape drive.
Power
To Printer
To Computer
Power
To Printer
To Computer
Contents:
• External tape drive
• Power supply
• Power cord
• Data cable
• HP Colorado Backup II CD
• “Run This First!” floppy diskette
A.
Install your tape software.
Follow the instructions
under
“Installing Your
Tape Software”
on the
back of this sheet.
B.
Run the “Install Assistant”
software (as in Step 2).
C.
Select
“Test the tape
drive.”
D.
Select
“External HP
8GB/5GB Tape Drive
.
”
If the test fails, see
“Troubleshooting” on
the other side.
A.
Insert the “Run This First!”
floppy diskette:
Windows 95/98 and NT 4.0:
On the task bar, click
Start > Run.
DOS and Windows 3.1:
Exit to the DOS prompt.
B.
Type
A:\ASSIST, then press
ENTER.
C.
Select
“View the installation
recommendations.”
D.
Select
“External HP
8GB/5GB Tape Drive.”
E. Mark the recommendations
here.
You will use them later.
F.
Click
FINISH
, then remove the
floppy diskette.
With a Printer
Without a Printer
To install your tape software and access the user's guides, see the other side.
Which parallel port?
❑
LPT1
❑
LPT2
Attach to a printer?
❑
Yes
❑
No
*C4388-90900*
C4388-90900
Refer to your “Attach to a printer?” answer
from Step 2.
installing your drive


