FINAL
TRIM
SIZE
:
7.0
in
x
8.5
in
5
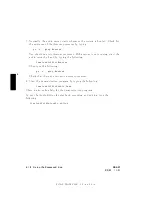
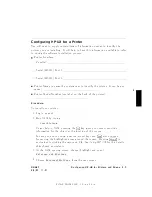
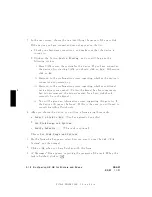
If
y
our
w
orkstation
do esn't
ha
v
e
an
y
prin
ters
connected,
y
ou
will
see
a
message.
Make
sure
y
ou
ha
v
e
a
prin
ter
connected.
Click
on
NNNNNNNN
OK
or
press
4
Return
5.
5.
F
rom
the
NNNNNNNNNNNNNNNNNNNNNNN
Actions
men
u
(on
the
men
u
bar
at
the
top
of
the
windo
w),
clic
k
on
NNNNNNNNNNNNNNNNNNNNNNNNNNNNNNNNNNNNNNNNNNNNNNNNNNNNNNNNNNNNNNNNNNNNNNNNNNNNN
Add
Local
Printer/Plotter
6.
Click
on
an
appropriate
selection
on
the
sub-men
u
giving
options
for
P
arallel,
Serial,
HP-IB,
etc.
7.
A
windo
w
will
give
y
ou
information
on
a
v
ailable
parallel
or
serial
in
terfaces.
8.
If
y
ou
c
hose
NNNNNNNNNNNNNNNNNNNNNNNNNNNNNNNNNNNNNNNNNNNNNNNNNNNNNNNNNNNNNNNNNNNNNNNNNNNNNNNNNNNNNNNNNNNNNNNNNNNNNNNNNN
Add
Serial
(RS-232)
Printer/Plotter
,
more
than
one
serial
in
terface
could
b e
listed.
The
serial
in
terfaces
are
listed
in
ascending
order.
The
low
est-n
um
b ered
serial
in
terface
corresp onds
to
the
low
est-n
um
b ered
serial
connector
on
y
our
system.
Cho ose
the
one
to
whic
h
y
ou
ha
v
e
connected
y
our
prin
ter.
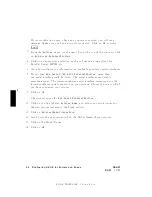
9.
Click
on
NNNNNNNN
OK
The
windo
w
op ens
for
NNNNNNNNNNNNNNNNNNNNNNNNNNNNNNNNNNNNNNNNNNNNNNNNNNNNNNNNNNNNNNNNNNNNNNNNNNNNN
Add
Local
Printer/Plotter
.
10.
Click
on
the
b o
x
lab
eled
NNNNNNNNNNNNNNNNNNNNNNNNNNNNNNNNNNNNNN
Printer
Name
and
en
ter
y
our
printername
for
the
new
prin
ter
(en
tered
in
the
blank
earlier).
11.
Click
on
NNNNNNNNNNNNNNNNNNNNNNNNNNNNNNNNNNNNNNNNNNNNNNNNNNNNNNNNNNNNNNNNNNNNNNN
Printer/Model
Interface
12.
Scroll
do
wn
the
next
screen
to
nd
the
Mo
del
Name
of
y
our
prin
ter.
13.
Click
on
the
Mo
del
Name.
14.
Click
on
NNNNNNNN
OK
.
5-4
Configuring
HP-UX
for
Printers
and
Driv
es
DRAFT
2/5/97
11:31
Содержание 745i/100
Страница 7: ...FINAL TRIM SIZE 7 0 in x 8 5 in VCCI Statement Japan Only DRAFT 2 5 97 11 31 vii ...
Страница 26: ...FINAL TRIM SIZE 7 0 in x 8 5 in ...
Страница 112: ...FINAL TRIM SIZE 7 0 in x 8 5 in ...
Страница 174: ...FINAL TRIM SIZE 7 0 in x 8 5 in ...
Страница 190: ...FINAL TRIM SIZE 7 0 in x 8 5 in ...

