background image

6 -

INSTALLATION – ELECTRICAL CONNECTION

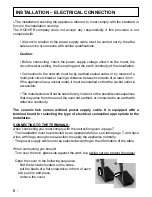
«The installation receiving the appliance referred to must comply with the standard in
force in the installation country».
The HOOVER company does not accept any responsibility if this provision is not
complied with.

• All work in relation to the power supply cable must be carried out by the after
sales service or someone with similar qualifications.

Caution:

• Before connecting, check the power supply voltage shown on the meter, the
circuit breaker setting, the fuse rating and the earth continuity of the installation.

• Connection to the network must be by earthed socket outlet, or by means of a
multi-pole circuit-breaker having a distance between contacts of at least 3 mm.
If the appliance has a socket outlet, it must be installed so that the socket outlet is
accessible.

• The manufacturer will not be liable for any incident, or the possible consequences
that may arise from the use of the oven not earthed, or connected to an earth with
defective continuity.

The ceramic hob comes without power supply cable. It is equipped with a
terminal board for selecting the type of electrical connection appropriate to the
installation.

CONNECTING TO THE TERMINALS:
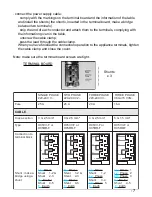
when connecting you must comply with the instruction given in page 7.
. The installation must be protected by an appropriate fuse, see table page 7, and have
wires with large enough cross-section to supply the appliance normally.
. The power supply cable must be selected according to the information of the table.

When connecting you should:
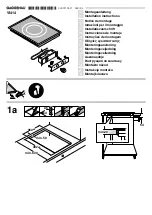
. Turn over the hob, glass side against the work top, taking care to protect the glass!

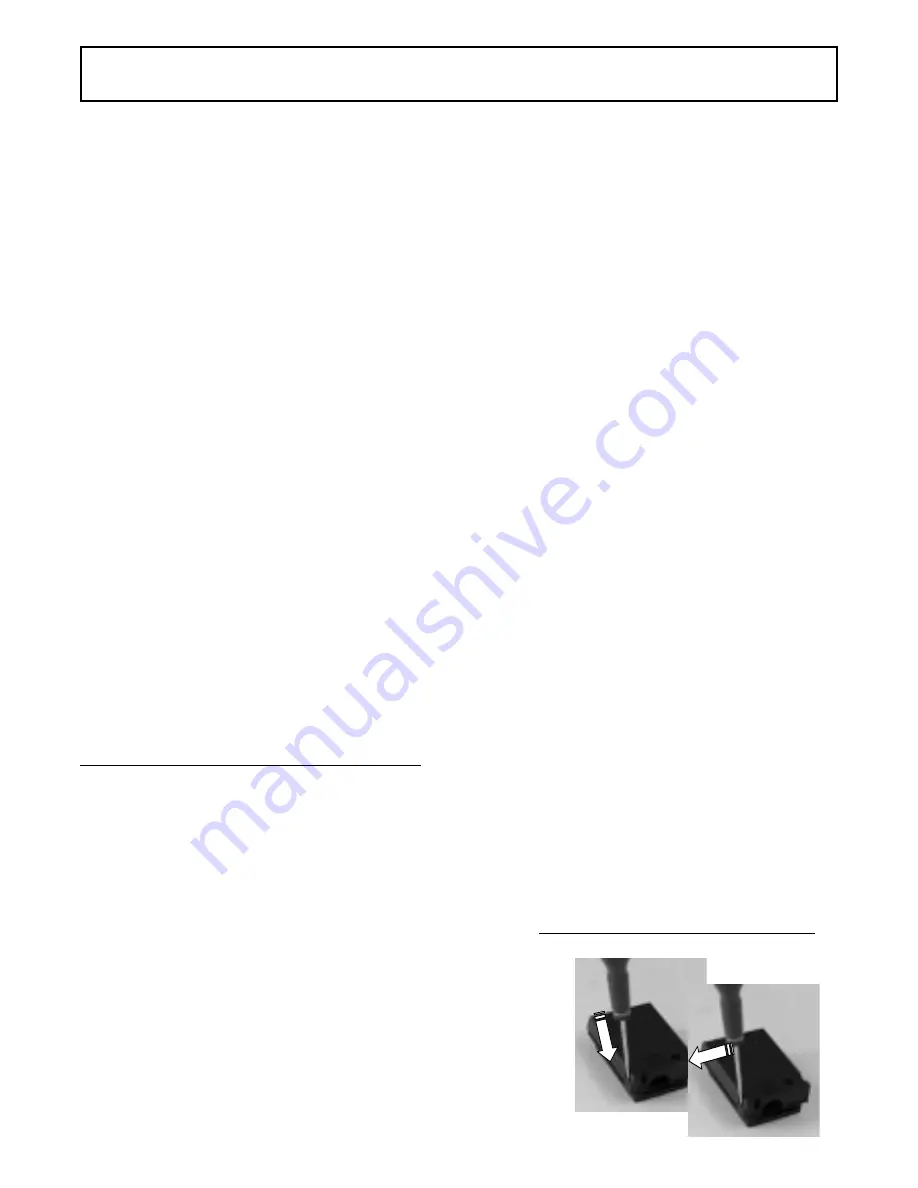
. Open the cover in the following sequence:

. find the two tabs located on the sides,
. put the blade of a flat screwdriver in front of each
tab, push in and press,
. remove the cover.

Содержание HVH 551

Страница 1: ...1 41011026 INSTRUCTIONS FOR USE AND INSTALLATION Glass Ceramic Hobs HVH 551 HVH 750...

Страница 2: ...ils 8 9 The controls 10 Use Switching on the ceramic hob 11 Starting a cooking zone 11 Stopping a cooking zone 12 General stopping 12 Residual heat indicator 12 Pan detector 12 13 Programming a cookin...

Страница 3: ...oke and unpleasant smells not to mention the risks of fire propagation READ THE INSTRUCTIONS CAREFULLY TO MAKE THE MOST OF YOUR HOB We recommend you keep the instructions for installation and use for...

Страница 4: ...the product whether or not it causes damage to goods and or persons INSTALLATION IMPORTANT NOTICE The unit or support for the hob as well as the walls of any adjacent units must be made of high tempe...

Страница 5: ...1 HVH 750 Fitting the hob in a support unit Fitting the hob above a ventilated oven equipped with a cooling fan for the electrical components It is forbidden to fit the hob above a non ventilated oven...

Страница 6: ...et is accessible The manufacturer will not be liable for any incident or the possible consequences that may arise from the use of the oven not earthed or connected to an earth with defective continuit...

Страница 7: ...2 L3 N 1 2 3 4 5 T N L1 E S A H P E L G N I S V 0 4 2 0 2 2 E S A H P O W T 2 V 0 4 2 0 2 2 E S A H P E E R H T 3 V 0 4 2 0 2 2 E S A H P E E R H T N 3 V 5 1 4 0 8 3 e s u F A 5 2 A 5 2 A 0 2 A 6 1 E...

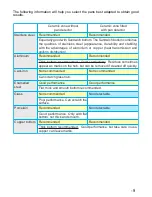
Страница 8: ...rt getting on the cooking surface Use pans big enough to fully cover the heat source it is best to make sure that the bottom is at least as large as the cooking zone If the bottom is slightly larger t...

Страница 9: ...f f o d e n a e l c f i d e v o m e r e b n a c t u b b o h e h t n o s k r a m s a r a e p p a n o r i t s a C d e d n e m m o c e r t o N d e d n e m m o c e r t o N b o h s s a l g h c t a r c s n...

Страница 10: ...locking button with indicator lamp 9 Additional zone operational LED 10 Cooking zone programming indicator when displayed it shows that the timer controls the cooking zone 11 Control LED on the cookin...

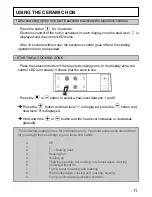
Страница 11: ...shows that the zone is live Press the or button to select a heat level between 1 and 9 Press the button and heat level 1 is displayed press the button and heat level 9 is displayed Hold down the or b...

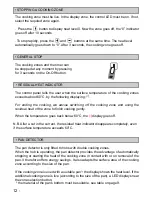
Страница 12: ...he cooking zone and using the residual heat of the zone to finish cooking gently When the temperature goes back below 60 C the display goes off N B After a cut in the current the residual heat indicat...

Страница 13: ...displayed it shows that the zone is live Press the Timer button The zone mark around the timer display shows the controlled zone Press the button to select the time in minutes This is saved automatica...

Страница 14: ...from starting the hob It is also used for cleaning the control strip as the controls can be locked without the hob being on Start the required cooking zones Select a heat level for each of them Press...

Страница 15: ...cloth or kitchen roll until the surface is clean If stains remain after this usual cleaning Sprinkle a few more drops of special cleaner Use a scraper keeping it at an angle of 30 to the hob until th...

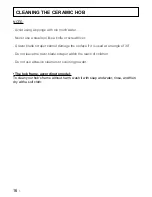
Страница 16: ...damage the surface if it is used at an angle of 30 Do not leave the razor blade scraper within the reach of children Do not use abrasive cleaners or scouring powder The hob frame according to model T...

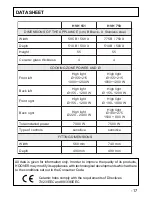
Страница 17: ...5 t h g i e H 5 5 5 5 s s e n k c i h t s s a l g c i m a r e C 4 4 D N A R E W O P E N O Z G N I K O O C t f e l t n o r F t h g i l h g i H 5 1 2 5 5 1 W 0 0 2 1 0 0 0 1 t h g i l h g i H 5 1 2 5 5...

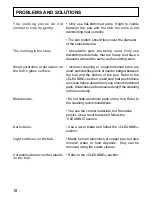
Страница 18: ...the cooking zone Incorrect cleaning or rough bottomed pans are used particles like grains of sand or salt get between the hob and the bottom of the pan Refer to the CLEANING section make sure that pa...

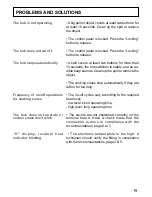
Страница 19: ...elease A spill covers at least two buttons for more than 10 seconds the hob switches to safety and an au dible beep sounds Clean up the spill or remove the object The cooking zones stop automatically...

Страница 20: ...20...
Отзывы: