5 - 2
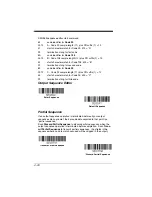
symbology to which you want to apply the prefix or suffix. For
example, for Code 128, Code ID is “j” and Hex ID is “6A”.
Step 3.
Scan the 2 hex digits from the
cover of this manual or scan
9
,
9
for all symbologies.
Step 4.
Determine the hex value from the
beginning on page A-4, for the prefix or suffix you wish
to enter.
Step 5.
Scan the 2 digit hex value from the
back cover of this manual.
Step 6.
Repeat Steps 4 and 5 for every prefix or suffix character.
Step 7.
To add the Code I.D., scan
5
,
C
,
8
,
0
.
To add AIM I.D., scan
5
,
C
,
8
,
1
.
To add a backslash (\), scan
5
,
C
,
5
,
C
.
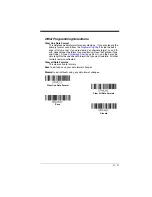
Note: To add a backslash (\) as in Step 7, you must scan 5C twice – once
to create the leading backslash and then to create the backslash
itself.
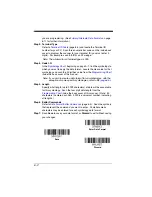
Step 8.
Scan
Save
to exit and save, or scan
Discard
to exit without saving.
Repeat Steps 1-6 to add a prefix or suffix for another symbology.
Example: Add a Suffix to a specific symbology
To send a CR (carriage return)Suffix for U.P.C. only:
Step 1.
Scan
Add Suffix
.
Step 2.
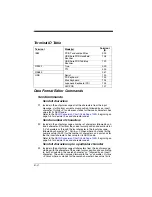
Determine the 2 digit hex value from the Symbology Chart
U.P.C..
Step 3.
Scan
6
,
3
manual.
Step 4.
Determine the hex value from the
beginning on page A-4, for the CR (carriage return).
Step 5.
Scan
0
,
D
inside the back cover of this
manual.
Step 6.
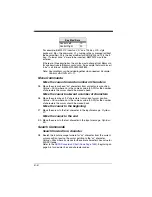
Scan
Save
, or scan
Discard
to exit without saving.
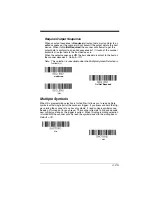
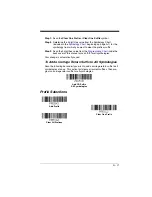
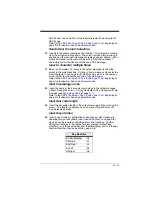
To Clear One or All Prefixes or Suffixes
You can clear a single prefix or suffix, or clear all prefixes/suffixes for a
symbology. If you have been entering prefixes and suffixes for single sym-
bologies, you can use
Clear One Prefix (Suffix)
to delete a specific char-
acter from a symbology. When you
Clear All Prefixes (Suffixes)
, all the
prefixes or suffixes for a symbology are deleted.
Содержание XENON 1900
Страница 1: ... Xenon 1900 1902 Area Imaging Scanner User s Guide ...
Страница 14: ...CCB01 010BT Base Item Number Serial Number and Revision Information location Compliance Label location ...
Страница 62: ...2 28 ...
Страница 95: ...3 33 ESC 8 Razz or error tone to indicate a decode communication to host was unsuccessful Command Action ...
Страница 96: ...3 34 ...
Страница 124: ...4 28 ...
Страница 204: ...7 62 ...
Страница 224: ...8 20 ...
Страница 232: ...9 8 ...
Страница 237: ...10 5 9 If you ve selected the defaults during installation you can click on Start Menu All Programs Honeywell EZConfig ...
Страница 238: ...10 6 ...
Страница 284: ...12 4 CCB01 010BT Charge Base Mounting 8x32 thread x 39 in 10mm deep 2 36 in 59 84mm 3 35 in 85 09mm 2 8 in 72 1mm ...
Страница 309: ...Sample Symbols Aztec MaxiCode Micro PDF417 Package Label Test Message Test Message ...
Страница 310: ...Programming Chart 1 0 2 3 6 7 5 4 8 9 ...
Страница 312: ...Honeywell Scanning Mobility 9680 Old Bailes Road Fort Mill SC 29707 Xenon UG Rev C 3 11 ...

