


S8610U UNIVERSAL INTERMITTENT PILOT GAS IGNITION CONTROL
15
69-1955
SETTINGS AND ADJUSTMENTS
DIP Switch (S1) Settings
When replacing an existing ignition control with the
S8610U, refer to Table 2 on page 2 for the correct DIP
switch settings.
NOTE: Refer to Table 11 for lockout control of DIP
switch timing settings.
IMPORTANT
Do not power the ignition control prior to setting
the DIP switches.
The following timing parameters may be set with this
2-position DIP switch.
Prepurge
To select Prepurge, set
SW1
according to Table 10.
Trial for Ignition (TFI)
To select the Trial for Ignition timing, set
SW2
according to
NOTE: The default factory settings (all OFF) are in
Bold
Fig. 6. DIP Switch (S1) and Jumper (P4) Location.
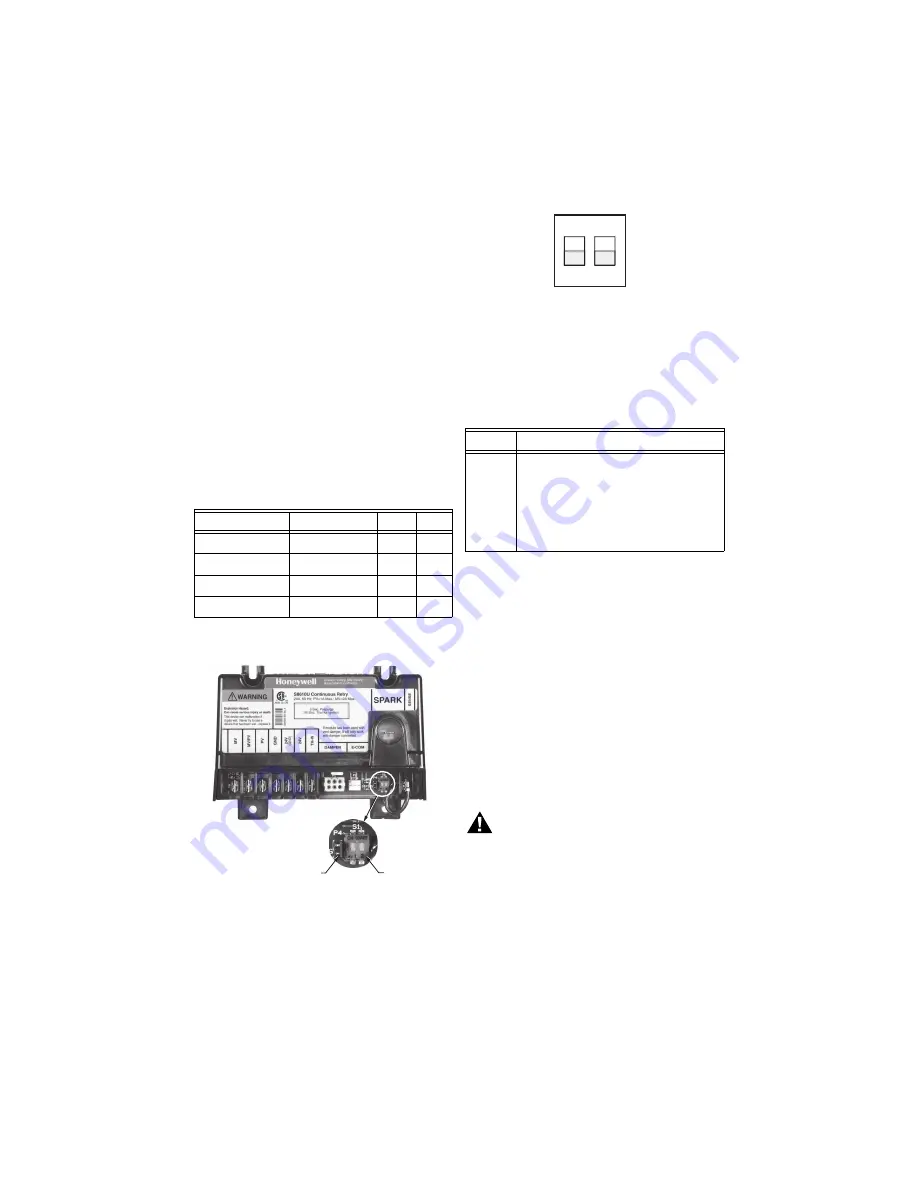
Fig. 7. DIP Switch (S1) - shown with factory default
settings (OFF) for SW1 and SW2.
Jumper
This jumper (labeled P4) is used to lock the operating
sequence selected by the DIP switch settings. See Fig. 6
for jumper location.
IMPORTANT
Once the Jumper has been pulled or the module
starts the 10
th
“Call for Heat”, the control operat-
ing sequence is permanently locked and cannot
be reset by replacing the jumper or by resetting
the Dip Switch.
CHECKOUT
Check out the gas control system:
• At initial installation of the appliance.
• As part of regular maintenance procedures.
Maintenance intervals are determined by the
application.
For additional information, See “Planning the
Installation” on page 4.
• As the first step in troubleshooting.
• Any time work is done on the system.
WARNING
Fire or Explosion Hazard.
Failure to heed these warnings may cause fire
or explosion with property damage, injury, or
loss of life.
1. If you smell gas or suspect a gas leak, turn off
gas at manual service valve and evacuate the
building. Do not try to light any appliance, do
not touch any electrical switch or telephone in
the building until you are sure no spilled gas
remains.
2. Gas leak test must be done as described in the
steps below on initial installation and any time
work is done involving the gas piping.
Table 10. DIP Switch (S1) Settings.
Prepurge
Trial For Ignition
SW1
SW2
None
90 seconds
OFF
OFF
30 seconds
90 seconds
ON
OFF
None
15 seconds
OFF
ON
30 seconds
15 seconds
ON
ON
M23618
S1 DIP SWITCH
P4 JUMPER
Table 11. Jumper Usage.
Jumper
Action to lock the control’s operating sequence
P4
To ensure proper system operation (after
installation and checkout), pull jumper to
lock the DIP switch settings.
NOTE: If jumper is not removed during
installation, the ignition control
locks the DIP switch settings after
the 10
th
“Call for Heat” cycle.
ON
1
2
S1
M23587