


1126800
SmartPAC 2 with WPC Integration
Page 334
Chapter 6
SmartPAC 2 Run Mode
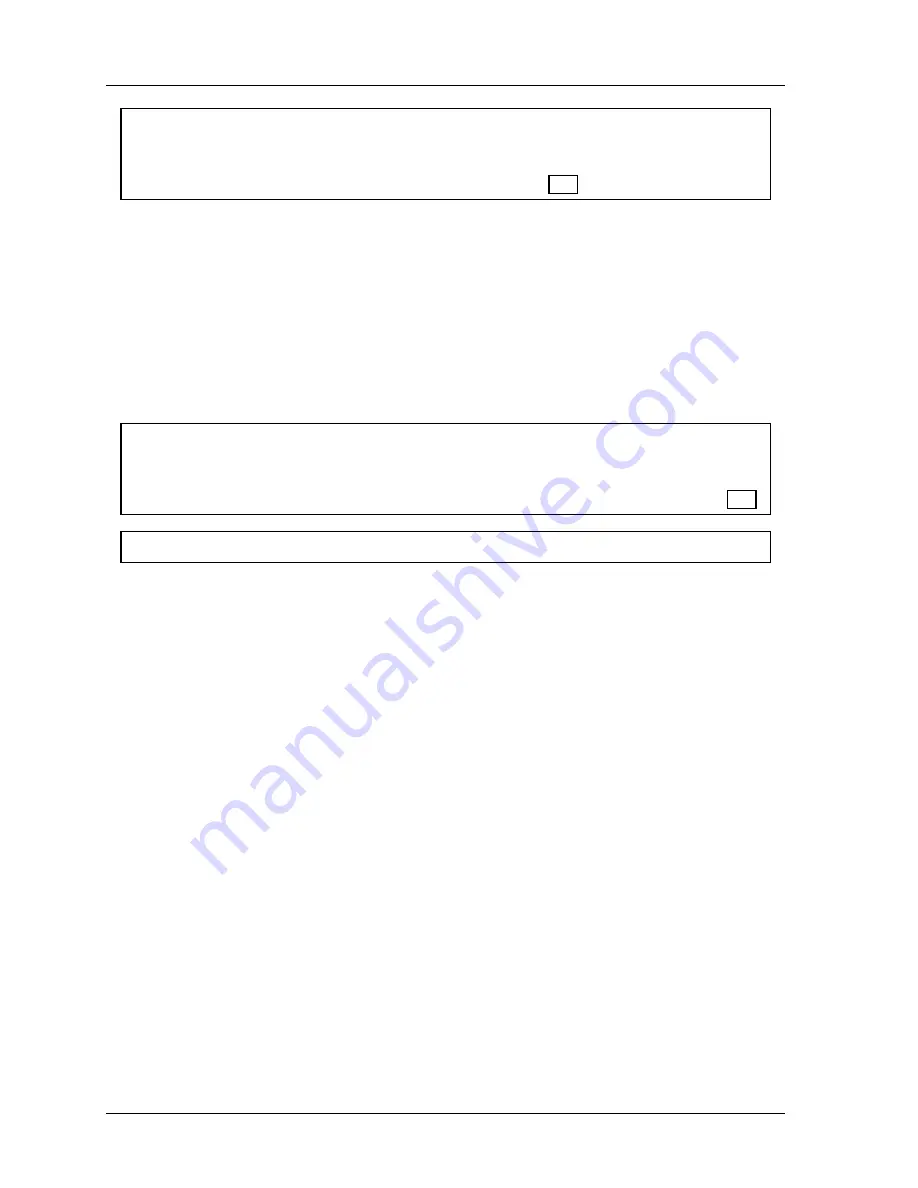
ARE YOU LOCKED OUT?
Access to changing the information on this screen may be limited to Program mode or may
require a password. The security access settings in the Initialization menu determine when
changes can be made. “Security Access” in Chapter 4, page 251.
4. For green, green quick check, and green constant sensors, you can adjust the ready
signal while the press is running or stopped.
See the next section for more information on
how to use the display to easily adjust the ready signal for green sensors.
5. Adjust the maximum number of strokes for the green special sensor, in the same way
you set it in Program mode (Chapter 5). Use the up or down cursor keys to adjust the
number from 1 to 99.
6. When you are done adjusting sensors, exit and save the changed settings, by pressing
RESET. You will go back to the display of your sensors. You can choose another sensor
to view and/or adjust.
FOR MORE INFORMATION
Refer to "Understanding Sensor Technology" in Chapter 1 for a detailed description of the
different types of sensors available in SmartPAC 2 with die protection. Refer to "Die
Protection" in Chapter 5 for detailed instructions on modifying sensors, starting on page 292.
For HELP press the HELP key located at the center of the cursor (arrow) keys.
Adjusting the Ready Signal for Green Sensors
(RUN – DIE PROTECTION – Select Sensor)
Adjusting the ready signal in Run mode is almost the same as adjusting it in Program mode.
To adjust sensors, select "Die Protection" from the Main Run menu. There are two
differences from adjusting sensors in Program mode.
First, you see the sensor's on and off time (its actuation angle), so that it is easy to set the
ready signal precisely.
Second, the ready signal arc moves around the circle diagram much slower than in Program
mode when you press the cursor keys. This is so that it is easier to zero in on an exact setting
(and so it is harder to make big changes in the setting).
Содержание SmartPAC 2
Страница 192: ...1126800 SmartPAC 2 with WPC Integration Page 170 Chapter 2 Installing SmartPAC 2 and WPC ...
Страница 222: ...1126800 SmartPAC 2 with WPC Integration Page 200 Chapter 3 SmartPAC 2 Keyboard Displays and Operating Modes ...
Страница 294: ...1126800 SmartPAC 2 with WPC Integration Page 272 Chapter 4 SmartPAC 2 Initialization Mode ...
Страница 342: ...1126800 SmartPAC 2 with WPC Integration page 320 Chapter 5 SmartPAC 2 Program Mode ...
Страница 404: ...1126800 SmartPAC 2 with WPC Integration Page 382 Chapter 6 SmartPAC 2 Run Mode ...
Страница 448: ...1126800 SmartPAC 2 with WPC Integration Page 426 Chapter 7 SmartPAC 2 Fault Messages ...
Страница 476: ...1126800 SmartPAC 2 with WPC Integration page 454 Appendix C Updating SmartPAC 2 Firmware ...
Страница 478: ...1126800 SmartPAC 2 with WPC Integration page 456 Appendix D SmartView Remote Viewing and E mail Setup ...
Страница 480: ...1126800 SmartPAC 2 with WPC Integration page 458 Appendix E Upgrade from Original SmartPAC to SmartPAC 2 ...
Страница 482: ...1126800 SmartPAC 2 with WPC Integration page 460 Appendix F Replacing SmartPAC 2 PC Board ...
Страница 492: ...1126800 SmartPAC 2 with WPC Integration page 470 Glossary ...